
When you’re running an online shop you’ve made with Divi and WooCommerce, you’ll occasionally want to show coupon codes on your website to increase the sense of urgency. Across the web, you’ll notice that many online shops share the coupon codes in a bar that’s stuck to the top of the page. Now, with Divi’s Theme Builder, you’re able to automatically add such coupon code bar to products that are eligible for the coupon code.
In this tutorial, we’ll show you exactly how to do that. There are several parts to this tutorial, from setting up the coupon code to creating a separate product template for products in the discount category. You’ll be able to download the template’s JSON file for free as well! The overall style we’re using is based on the bold product page layout we’ve shared in the past.
Let’s get to it!
Preview
Before we dive into the tutorial, let’s take a quick look at the outcome across different screen sizes.
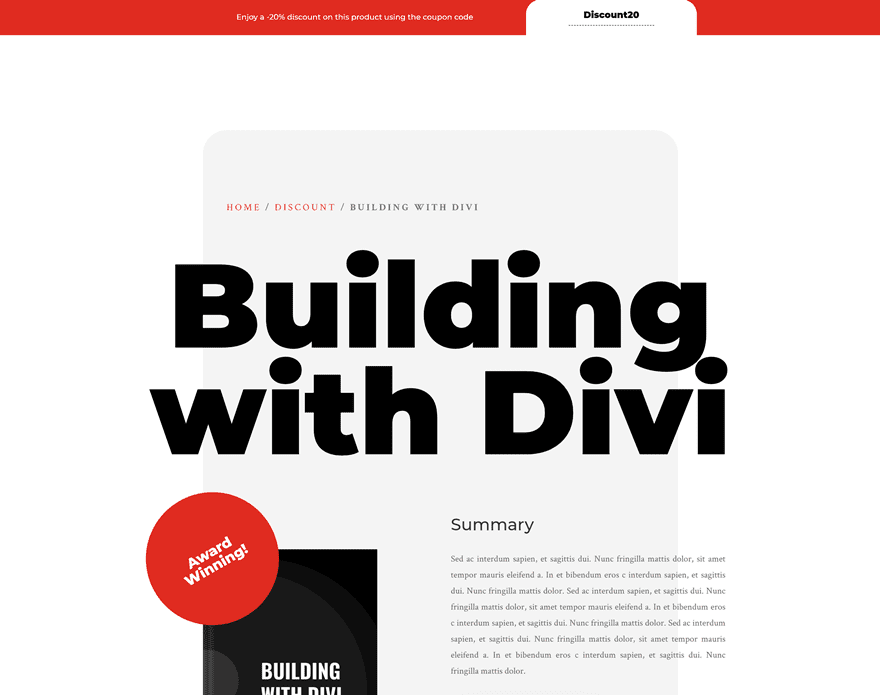
Desktop
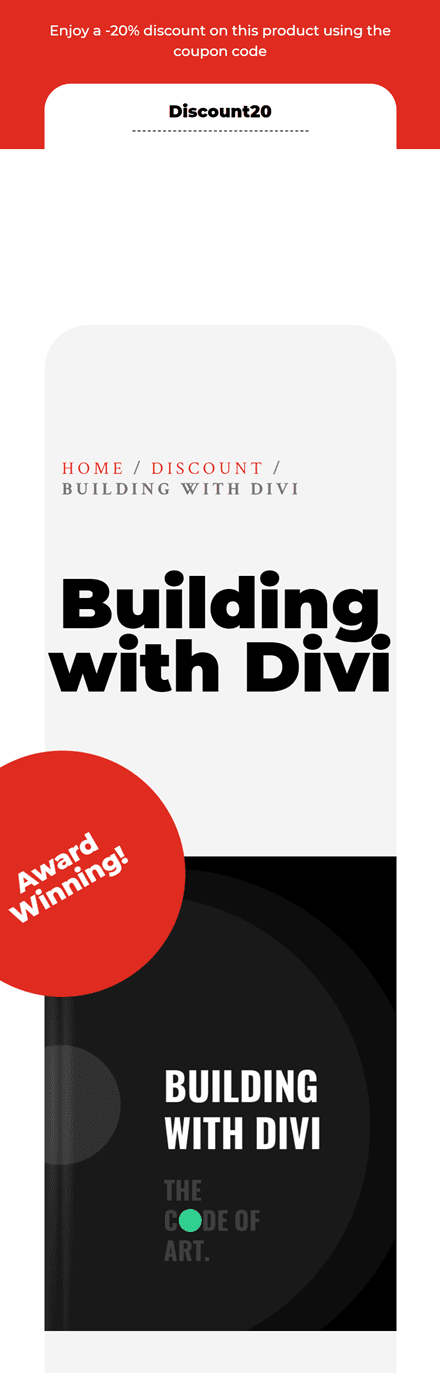
Mobile
Download The Product Page Template for FREE
To lay your hands on the product page template, you will first need to download it using the button below. To gain access to the download you will need to subscribe to our newsletter by using the form below. As a new subscriber, you will receive even more Divi goodness and a free Divi Layout pack every Monday! If you’re already on the list, simply enter your email address below and click download. You will not be “resubscribed” or receive extra emails.
Tutorial Overview
- Make sure you have Divi and the WooCommerce plugin installed on your website
- In the first part of the tutorial, we’ll create a new discount product category
- We’ll assign the eligible products to this new product category
- Then, we’ll create a new coupon code and make sure the coupon code applies to the product category we created only
- Inside the theme builder, we’ll create a new template for that particular product category
- We’ll reuse the normal product page body for this template and add a top coupon code bar using Divi’s built-in options
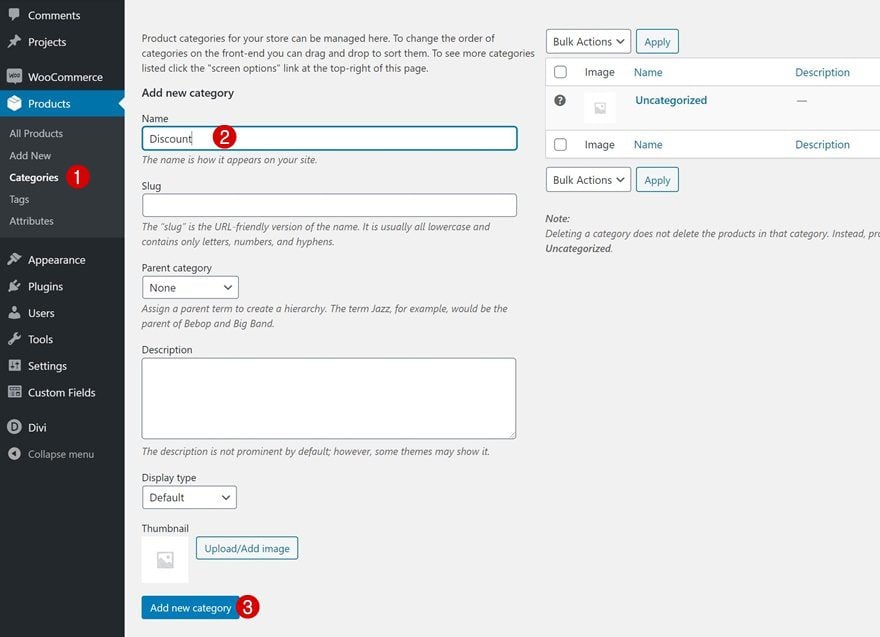
1. Create New Discount Product Category
Go to Product Categories & Add New Discount Product Category
Start by installing the WooCommerce plugin on your WordPress website and add a new product category dedicated to all products eligible for the new discount. If you’re planning on using the coupon code on existing product categories, you can use those instead.
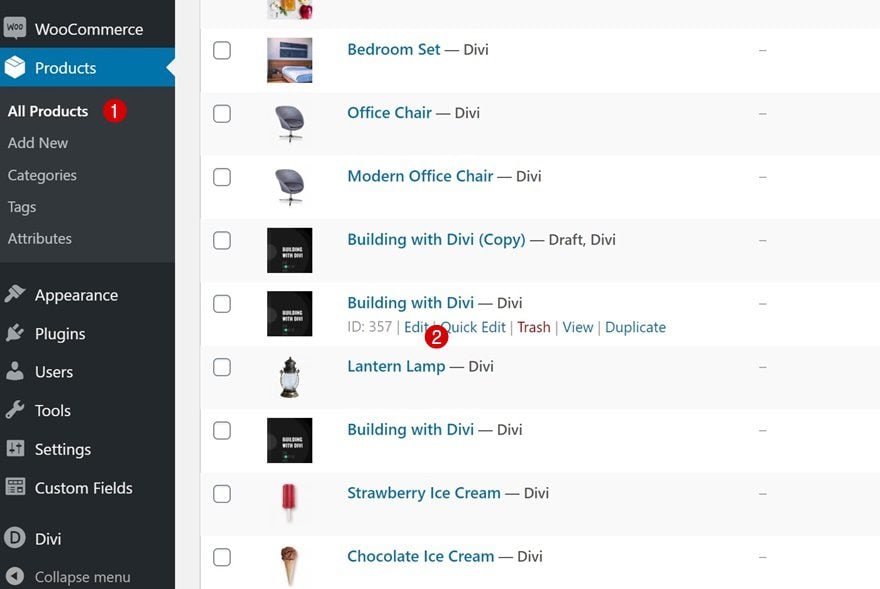
2. Assign Products to New Discount Category
Edit Product
Then, open the products you want to include in the sale.
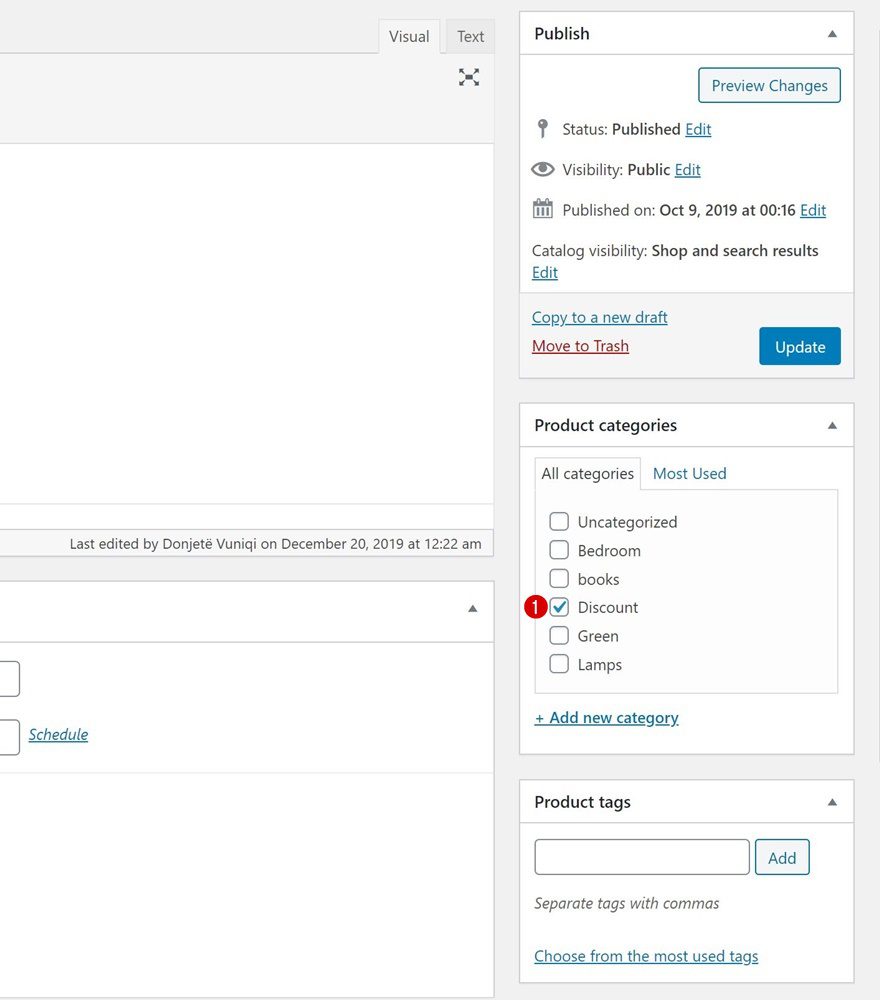
Assign Products to New Discount Category
And include them in the new discount product category.
3. Create WooCommerce Coupon Code
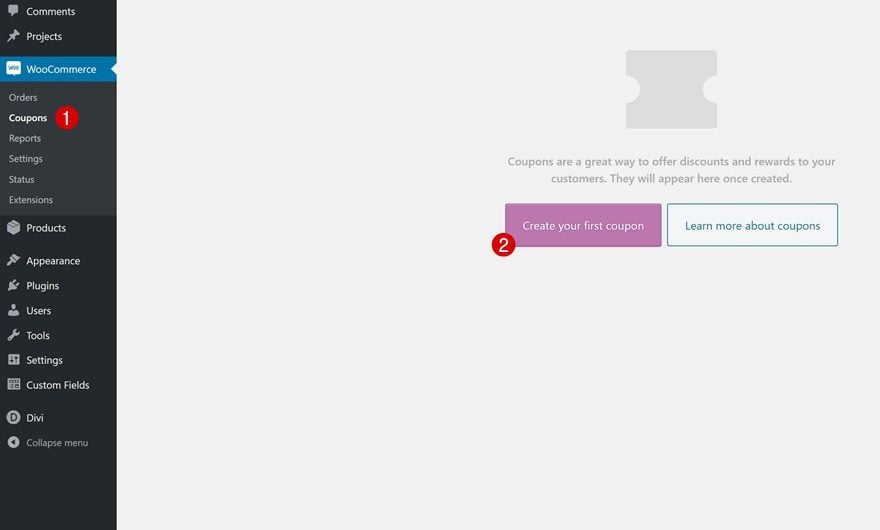
Go to Coupons & Add New Coupon
The next part of this tutorial handles creating a new coupon code. Go to your WordPress dashboard > Coupons > And click on ‘Create your first coupon’.
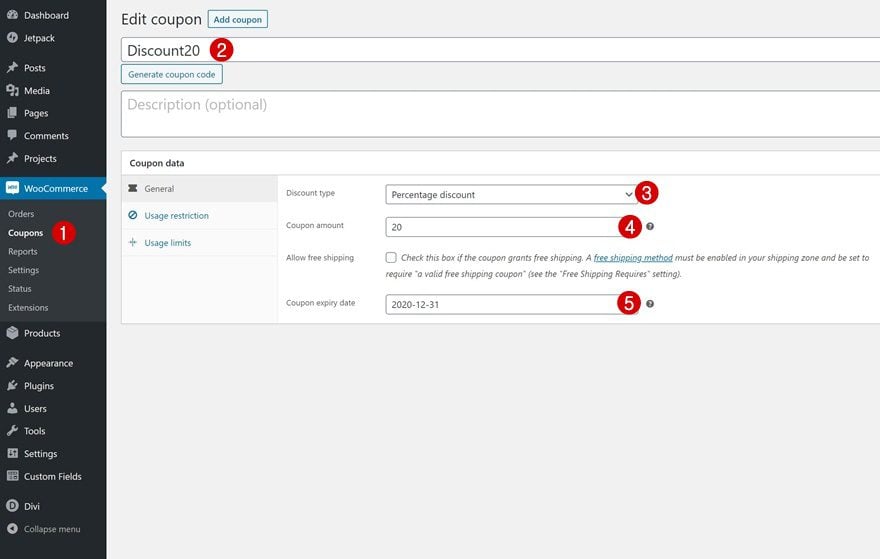
Add Coupon Code & Coupon Data
Add the coupon code at the top and select the general settings you want to apply to your coupon code.
- Discount code: Add discount code
- Discount type: Percentage discount
- Coupon amount: Add percentage
- Coupon expiry date: Select date
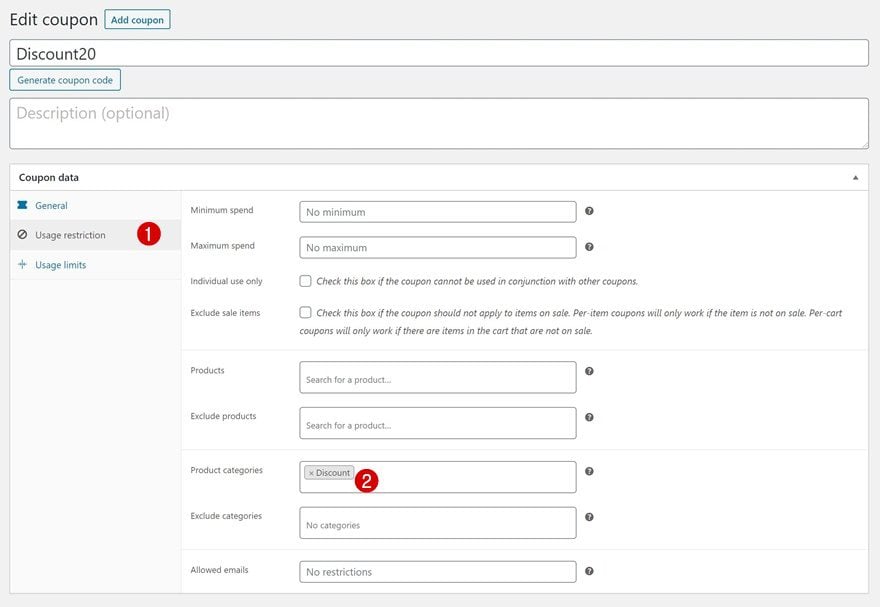
Add Usage Restriction
Then, move on to the usage restriction and make sure the coupon code works on products inside your discount product category only.
- Product categories: Discount
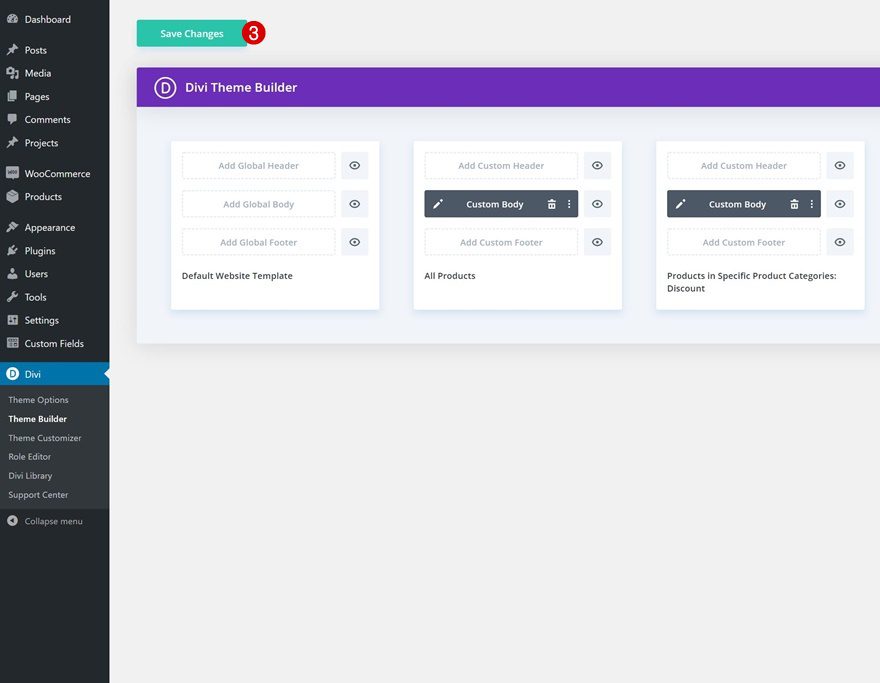
4. Add New Template for Discount Category
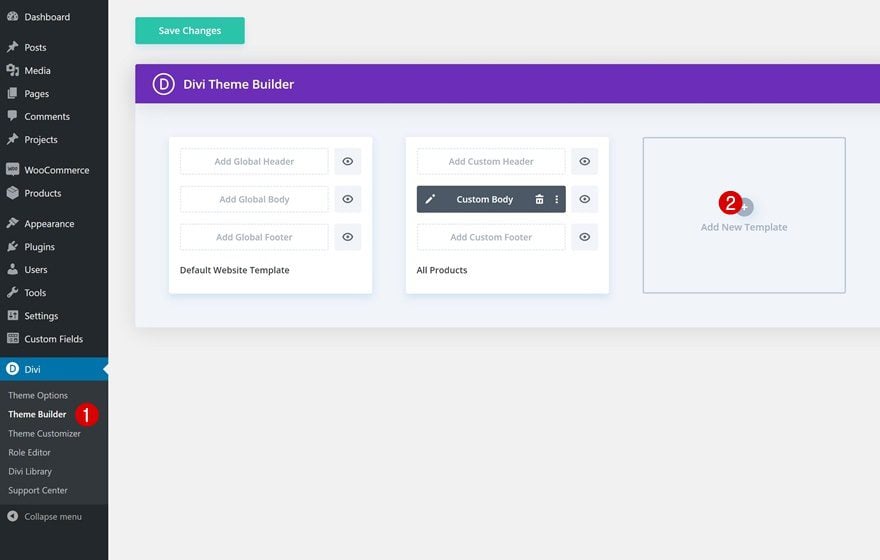
Add New Template
Once you’ve created the coupon code, it’s time to include it on the relevant product pages! To do that, go to the Divi Theme Builder and add a new template.
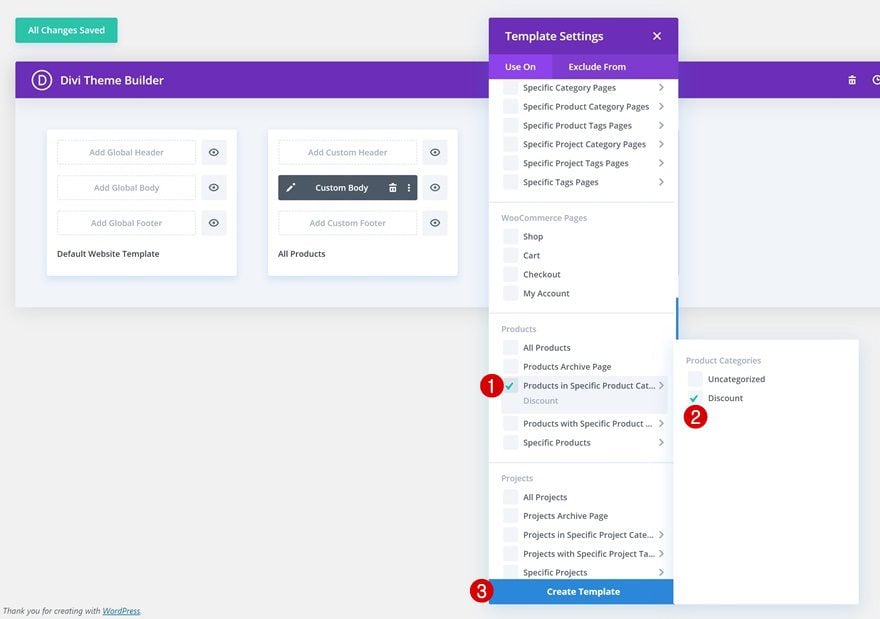
Use On
Use this new template on the discount product category.
- Use On: Product in Specific Product Category: Discount
5. Reuse Global Product Page Body for New Template
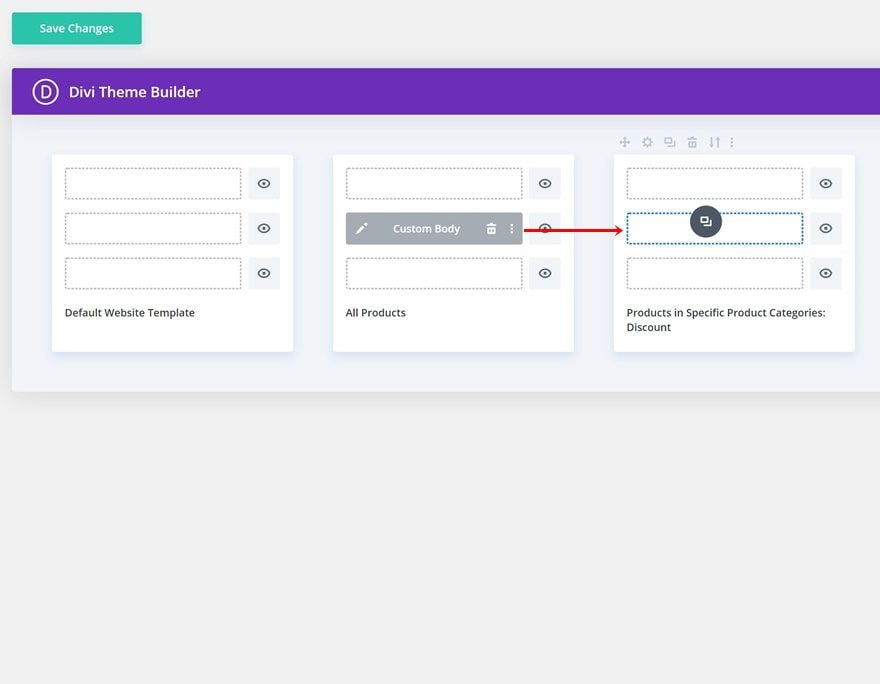
Drag Product Template Body to New Template’s Body
You can reuse your regular product page template body by just dragging it over to your new template. In this tutorial, we’re using the bold product page layout we’ve created in another tutorial. You can download the layout’s JSON file in the blog post.
6. Add Top Coupon Code Bar to New Template’s Body
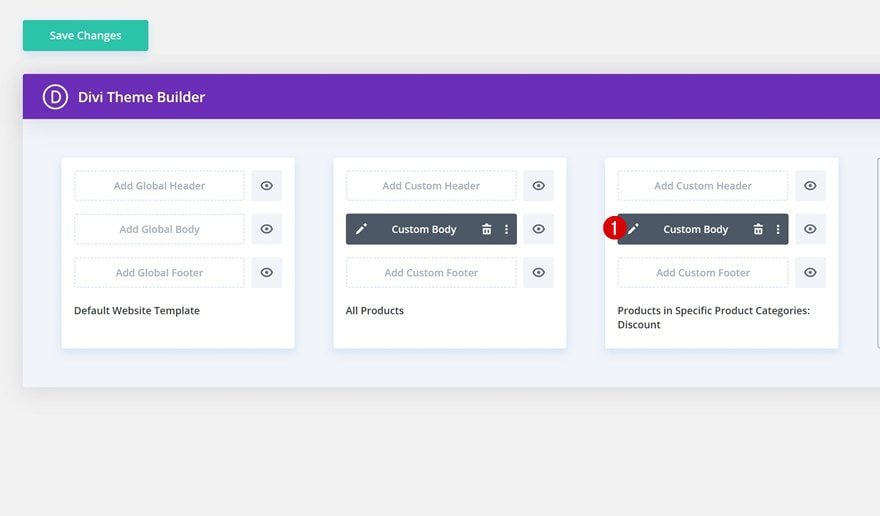
Enter Body Template Editor
Once you’ve added the product page body to your new template, you can start editing it. The changes you make to this template will only appear on the product pages that are part of the discount product category.
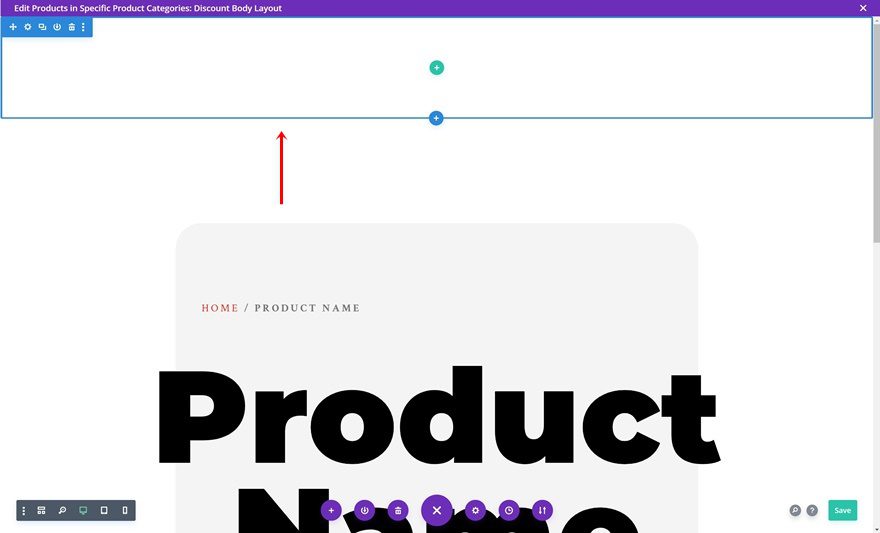
Add New Section to Top
Inside the template editor, the first thing we’ll do is add a new section to the top.
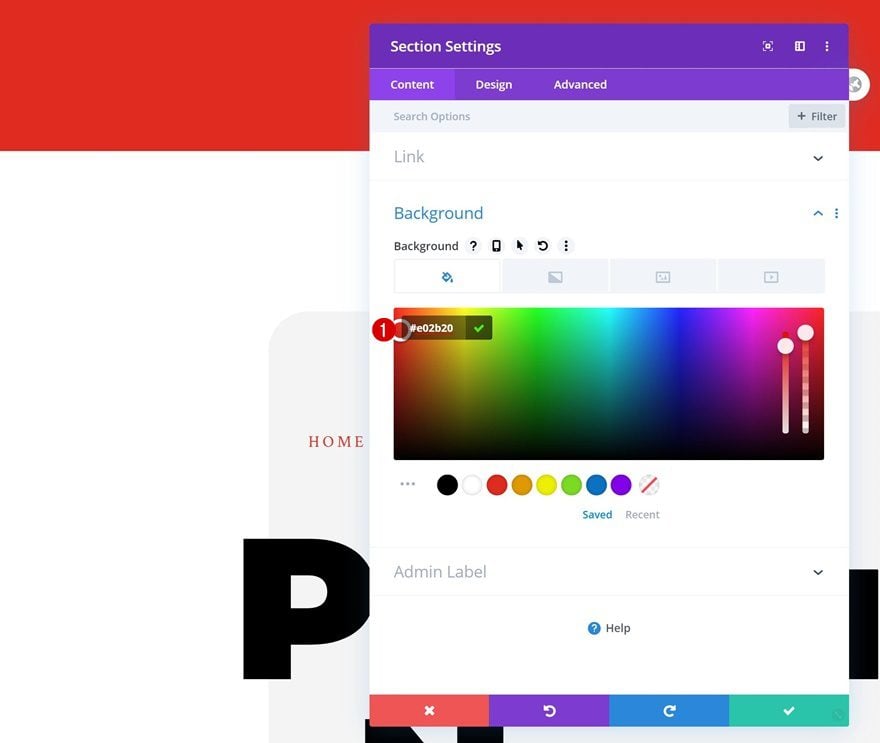
Background Color
Open the section settings and change the background color.
- Background Color: #e02b20
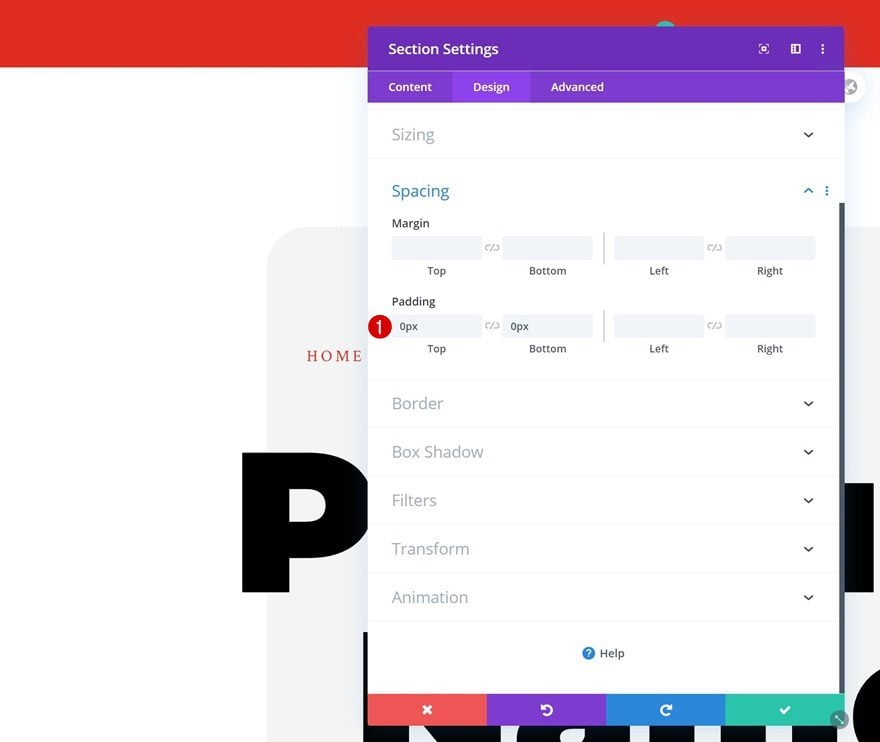
Spacing
Remove all default top and bottom padding next.
- Top Padding: 0px
- Bottom Padding: 0px
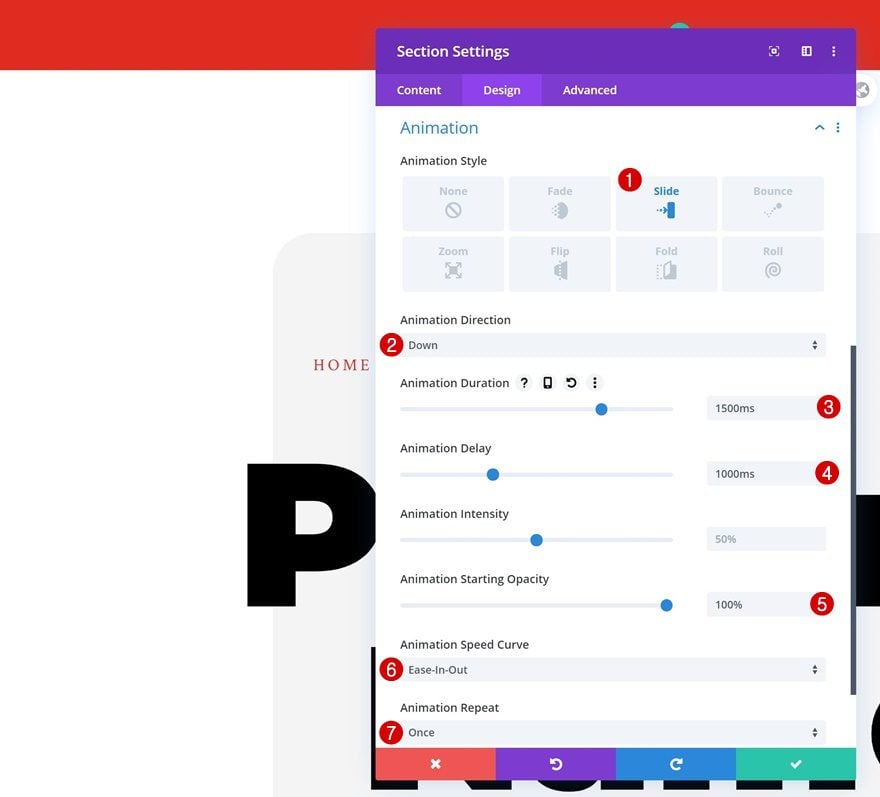
Animation
Complete the section settings by adding an animation.
- Animation Style: Slide
- Animation Direction: Down
- Animation Duration: 1500ms
- Animation Delay: 1000ms
- Animation Starting Opacity: 100%
- Animation Speed Curve: Ease-In-Out
- Animation Repeat: Once
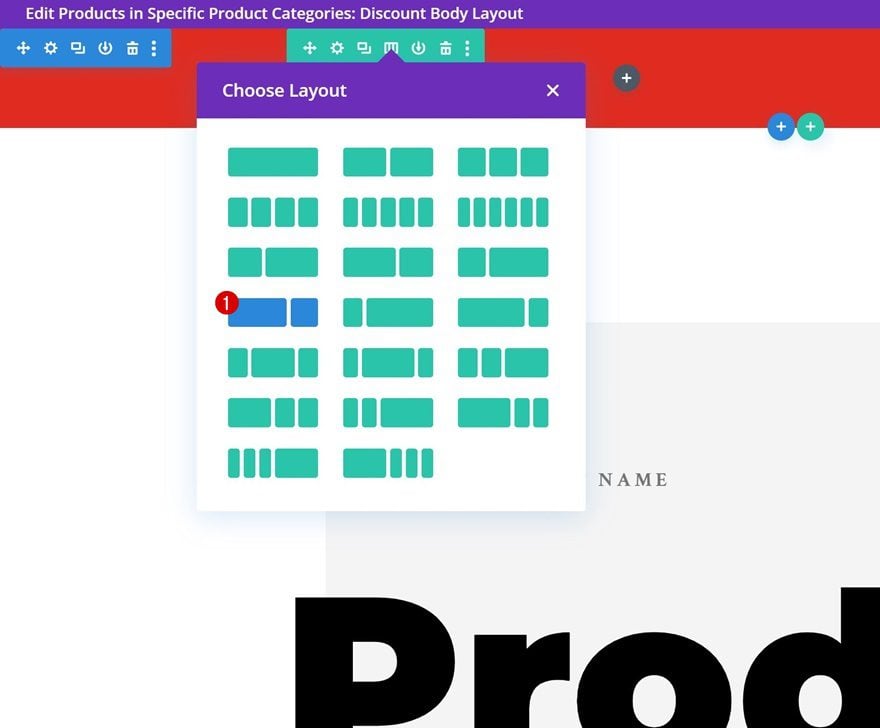
Add New Row
Column Structure
Continue by adding a new row to the section using the following column structure:
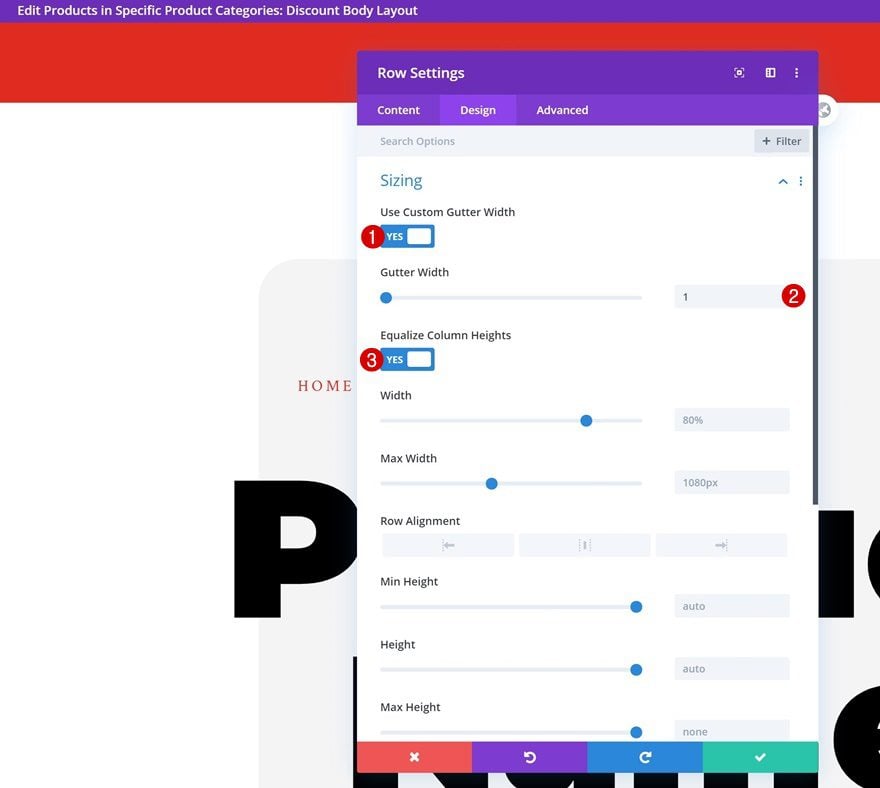
Sizing
Open the row settings and allow the row to take up the entire width of the section container.
- Use Custom Gutter Width: Yes
- Gutter Width: 1
- Equalize Column Heights: Yes
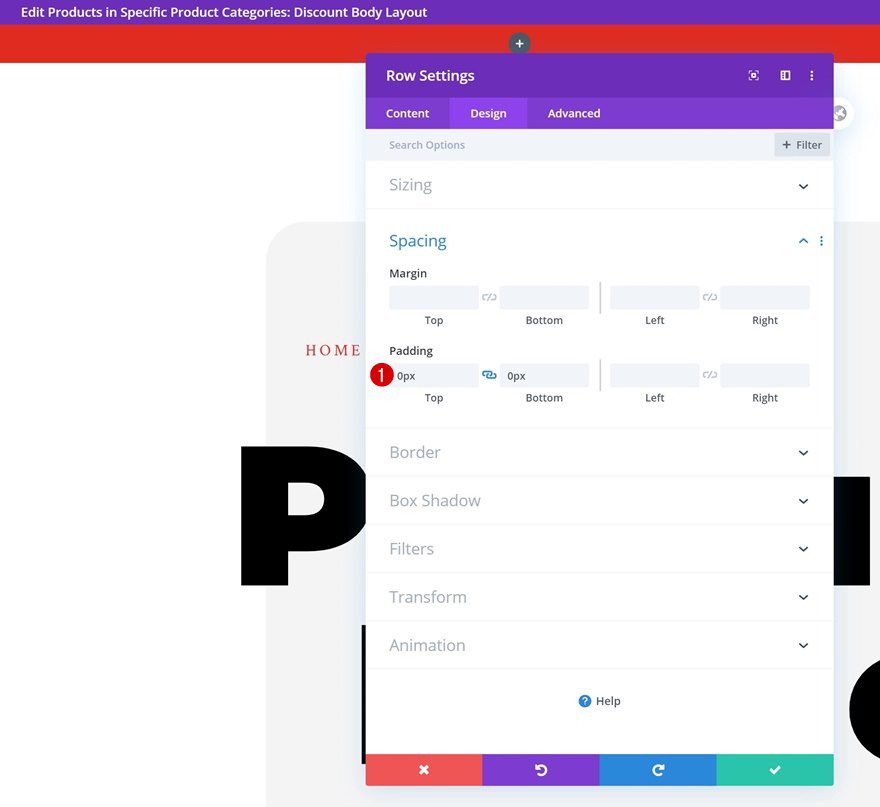
Spacing
Remove all default top and bottom padding next.
- Top Padding: 0px
- Bottom Padding: 0px
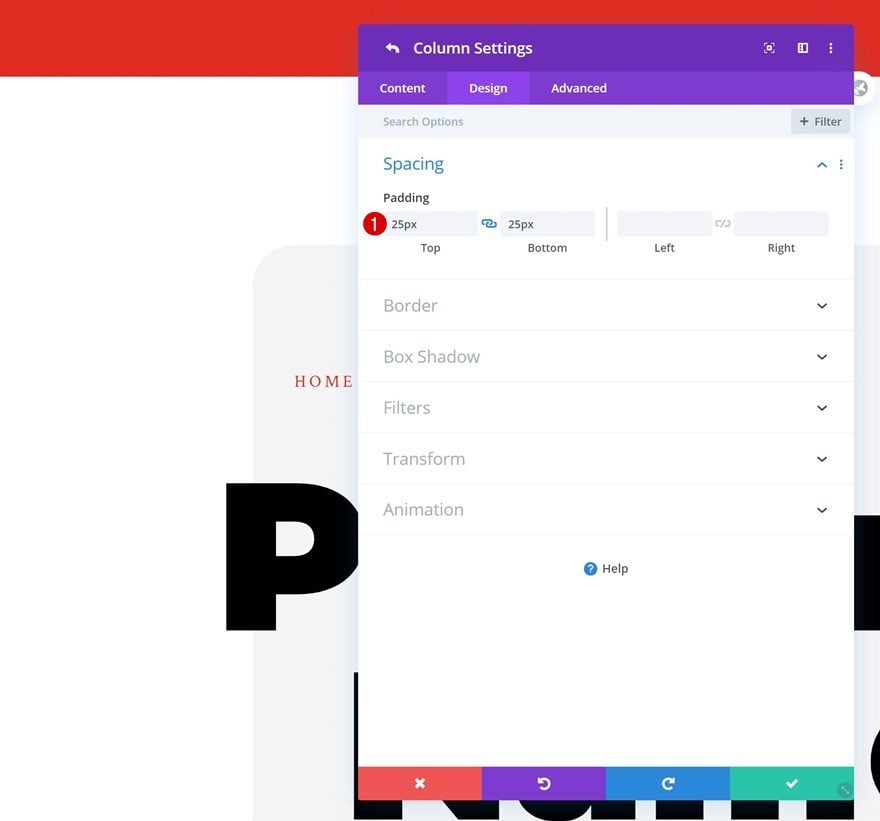
Column 1
Spacing
Then, open the column 1 settings and add some top and bottom padding.
- Top Padding: 25px
- Bottom Padding: 25px
Column 2
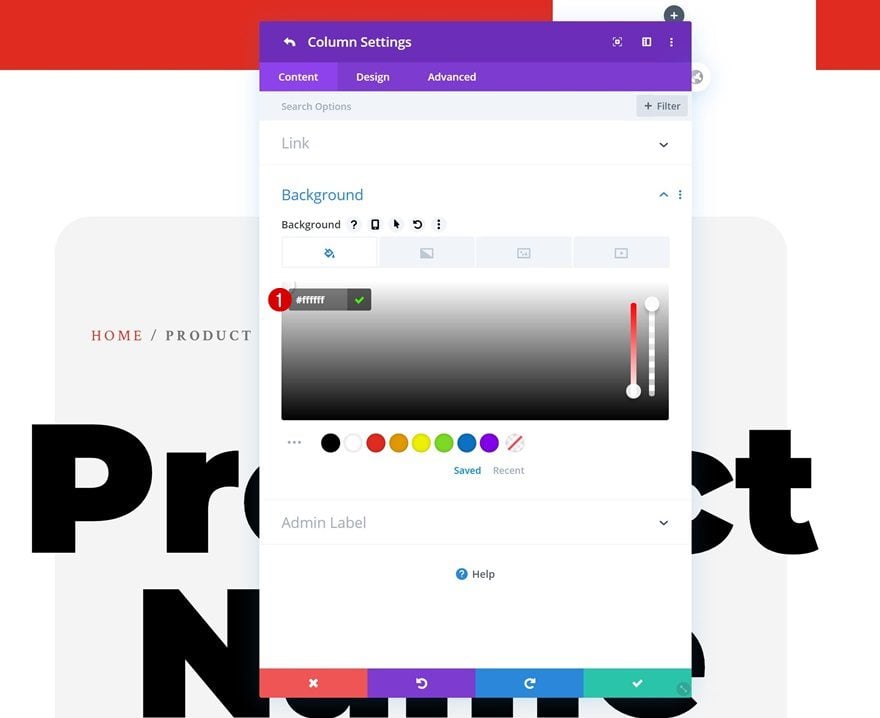
Background Color
Open the column 2 settings too and add a white background color.
- Background Color: #ffffff
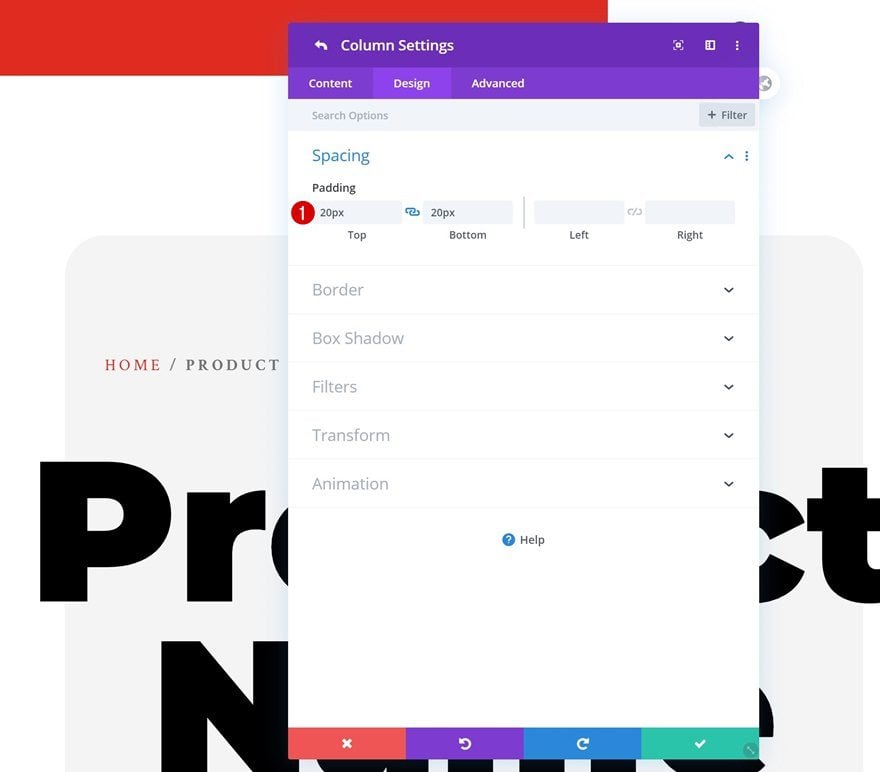
Spacing
Add some custom top and bottom padding to this column as well.
- Top Padding: 20px
- Bottom Padding: 20px
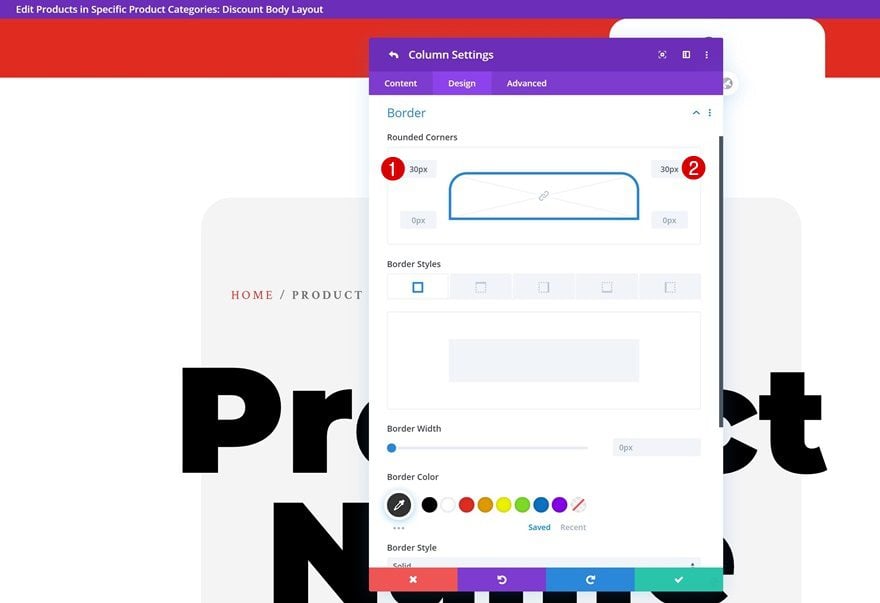
Border
And include some top left and right border radius.
- Top Left + Top Right: 30px
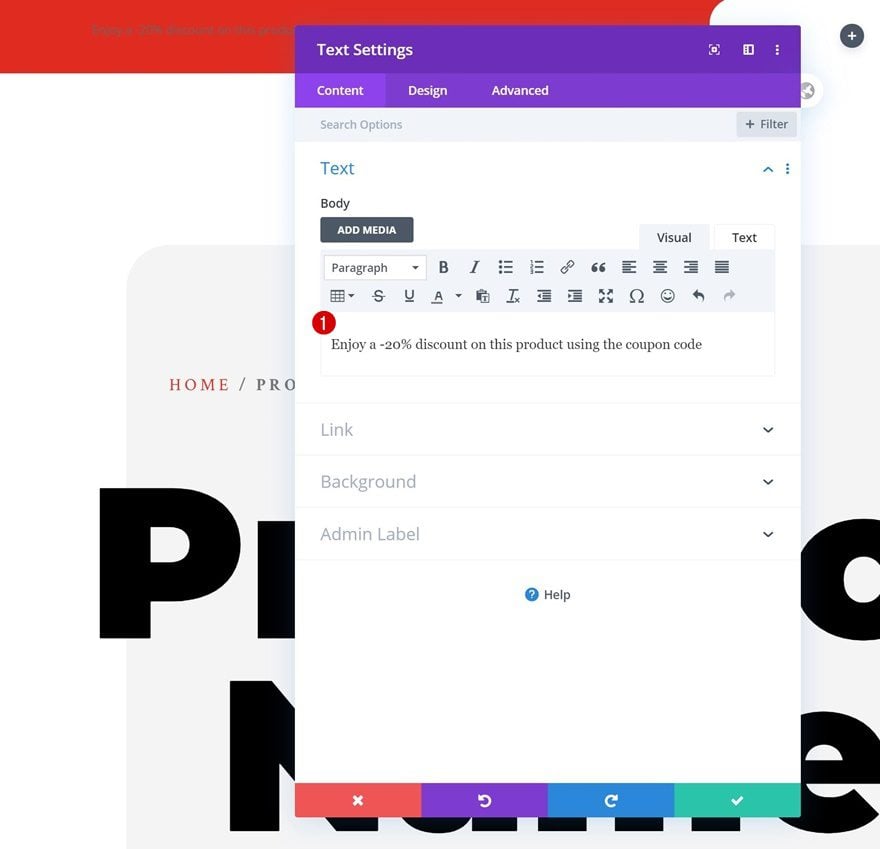
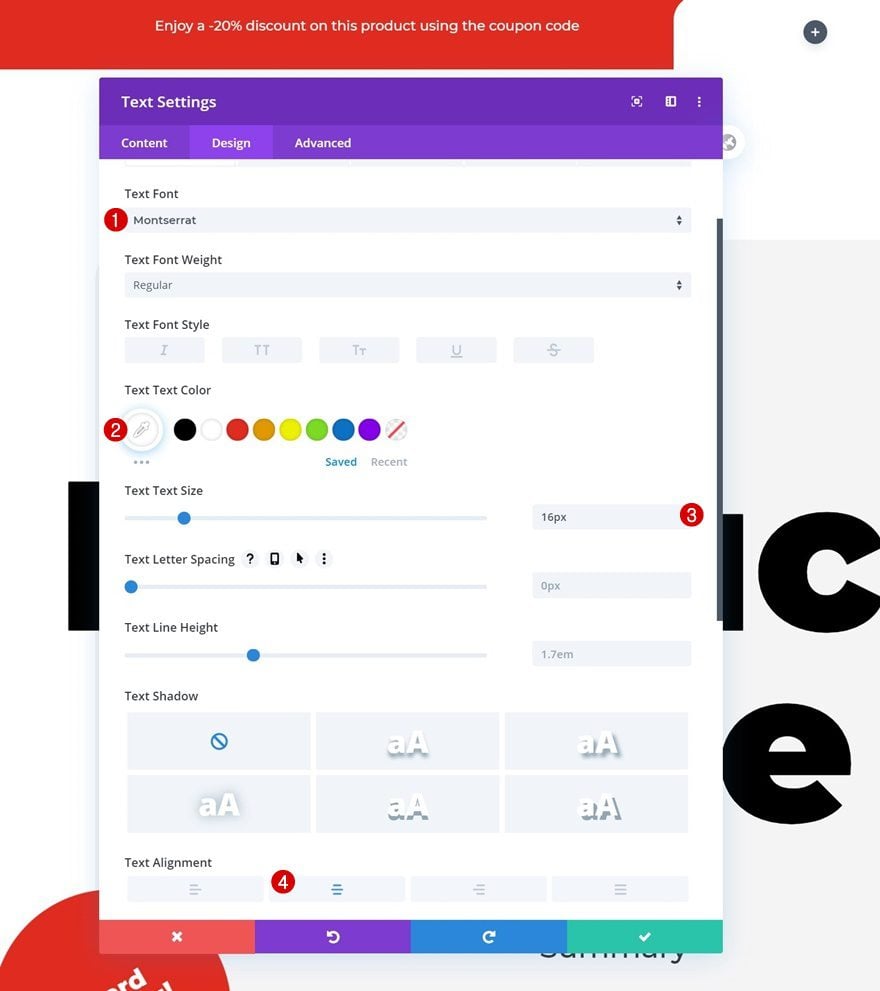
Add Text Module to Column 1
Add Content
The first and only module we need in column 1 is a Text Module. Enter some copy of your choice.
Text Settings
Move on to the module’s design tab and change the text settings accordingly:
- Text Font: Montserrat
- Text Color: #ffffff
- Text Size: 16px
- Text Alignment: Center
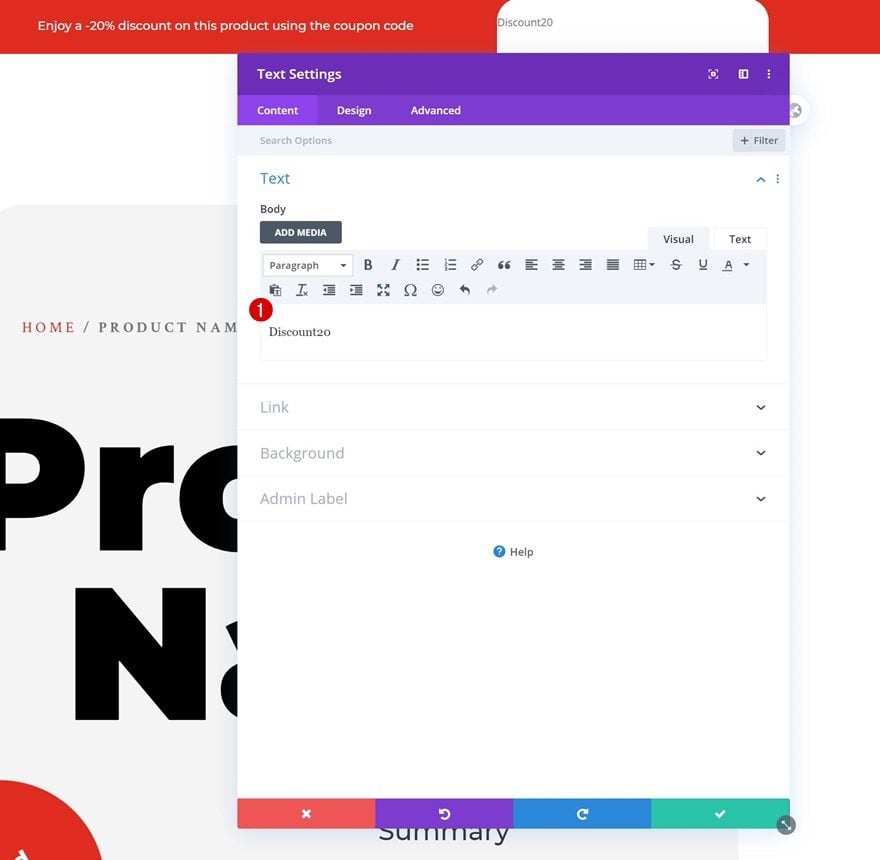
Add Text Module to Column 2
Add Coupon Code to Content Box
In the second column, add another Text Module with the discount code you’ve added in the first part of the tutorial.
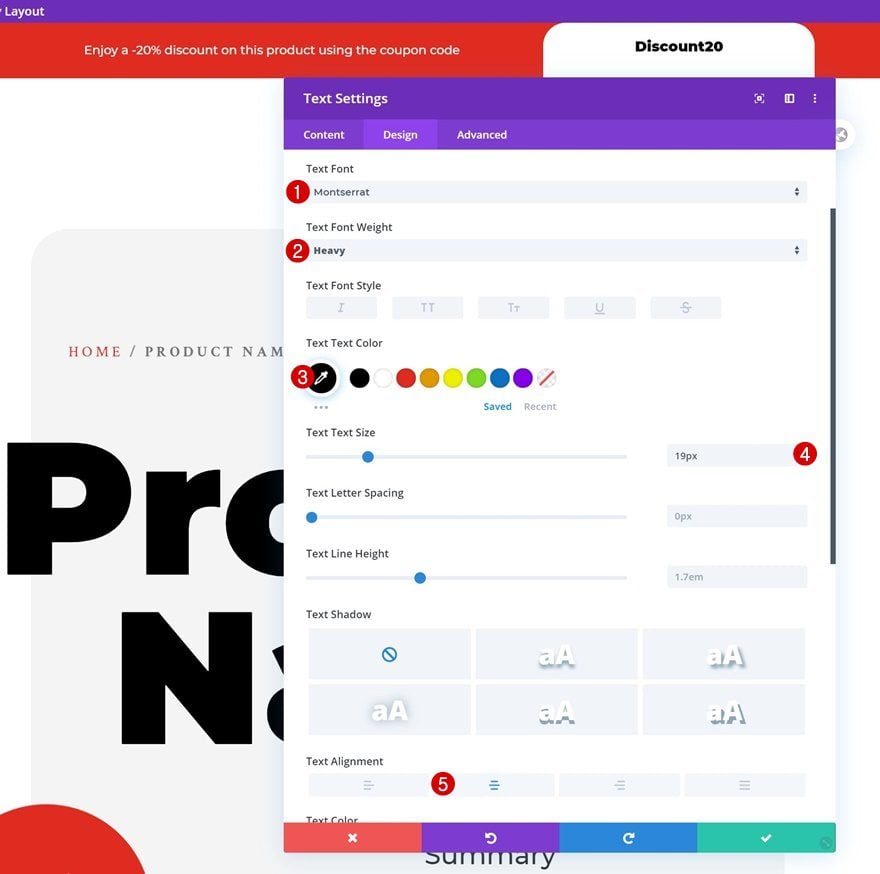
Text Settings
Change the module’s text settings as follows:
- Text Font: Montserrat
- Text Font Weight: Heavy
- Text Color: #000000
- Text Size: 19px
- Text Alignment: Center
Sizing
Then, modify the sizing settings.
- Width: 50%
- Module Alignment: Center

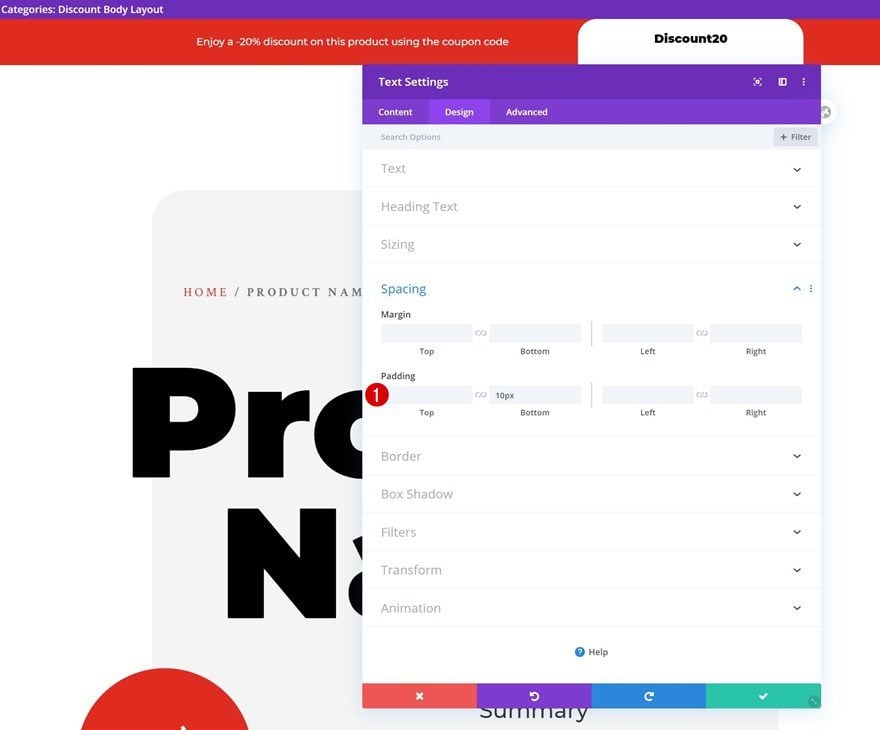
Spacing
Add some bottom padding too.
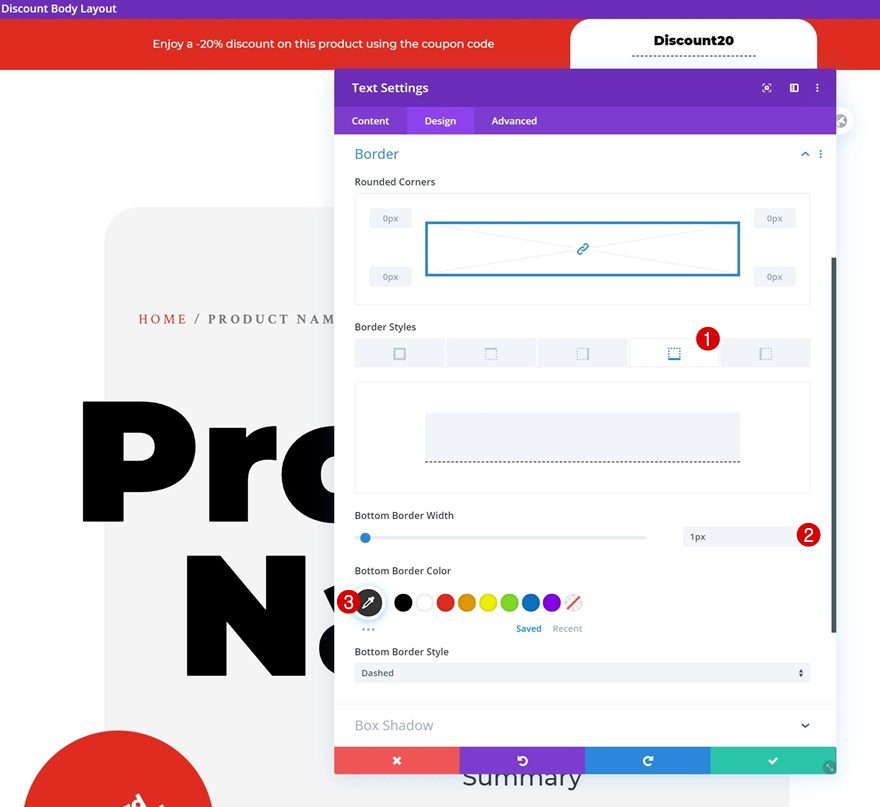
Border
And complete the module’s settings by adding a bottom border.
- Bottom Border Width: 1px
- Bottom Border Color: #333333
7. Save Theme Builder Changes & View Result
Once you’ve completed the modified product page, you can save the template changes, exit the Theme Builder and view the outcome on the discount product pages!
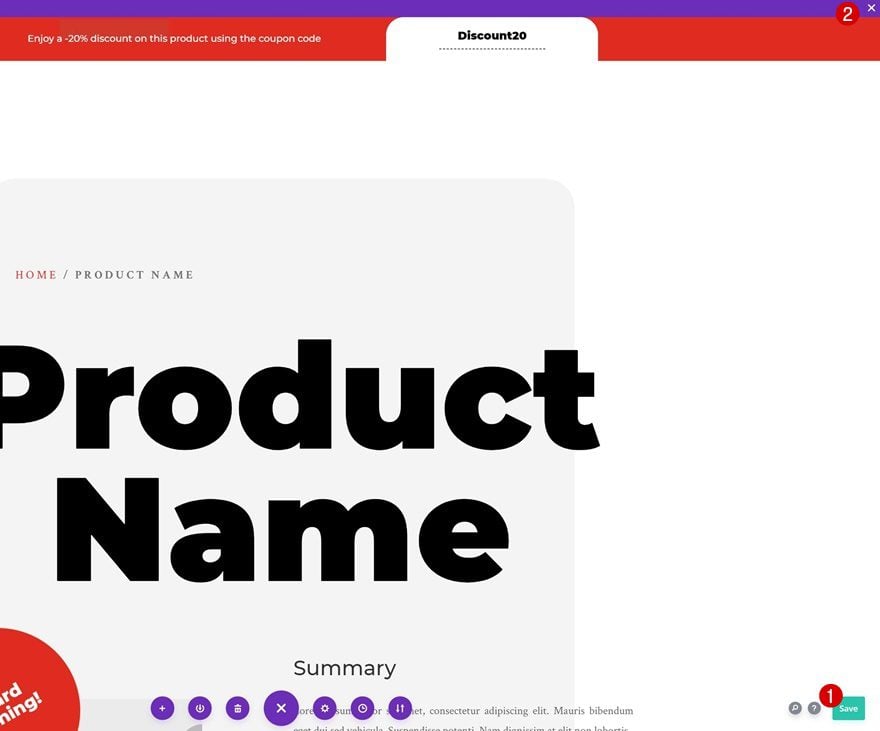
Preview
Now that we’ve gone through all the steps, let’s take a final look at the outcome across different screen sizes.
Desktop
Mobile
Final Thoughts
In this post, we’ve shown you how to create a coupon code bar and allow it to automatically show up on product pages that are eligible for the coupon code in question. This is a great way to give extra incentive to visitors to buy your products. You were able to download the template JSON file for free as well! If you have any questions, make sure you leave a comment in the comment section below.
If you’re eager to learn more about Divi and get more Divi freebies, make sure you subscribe to our email newsletter and YouTube channel so you’ll always be one of the first people to know and get benefits from this free content.