[ad_1]
There are many ways to resize an object in Photoshop, but you don’t have to be a pro to get the effect you want. In this article, we are going to look at very simple ways to scale, transform, and resize an object using the Transform function.
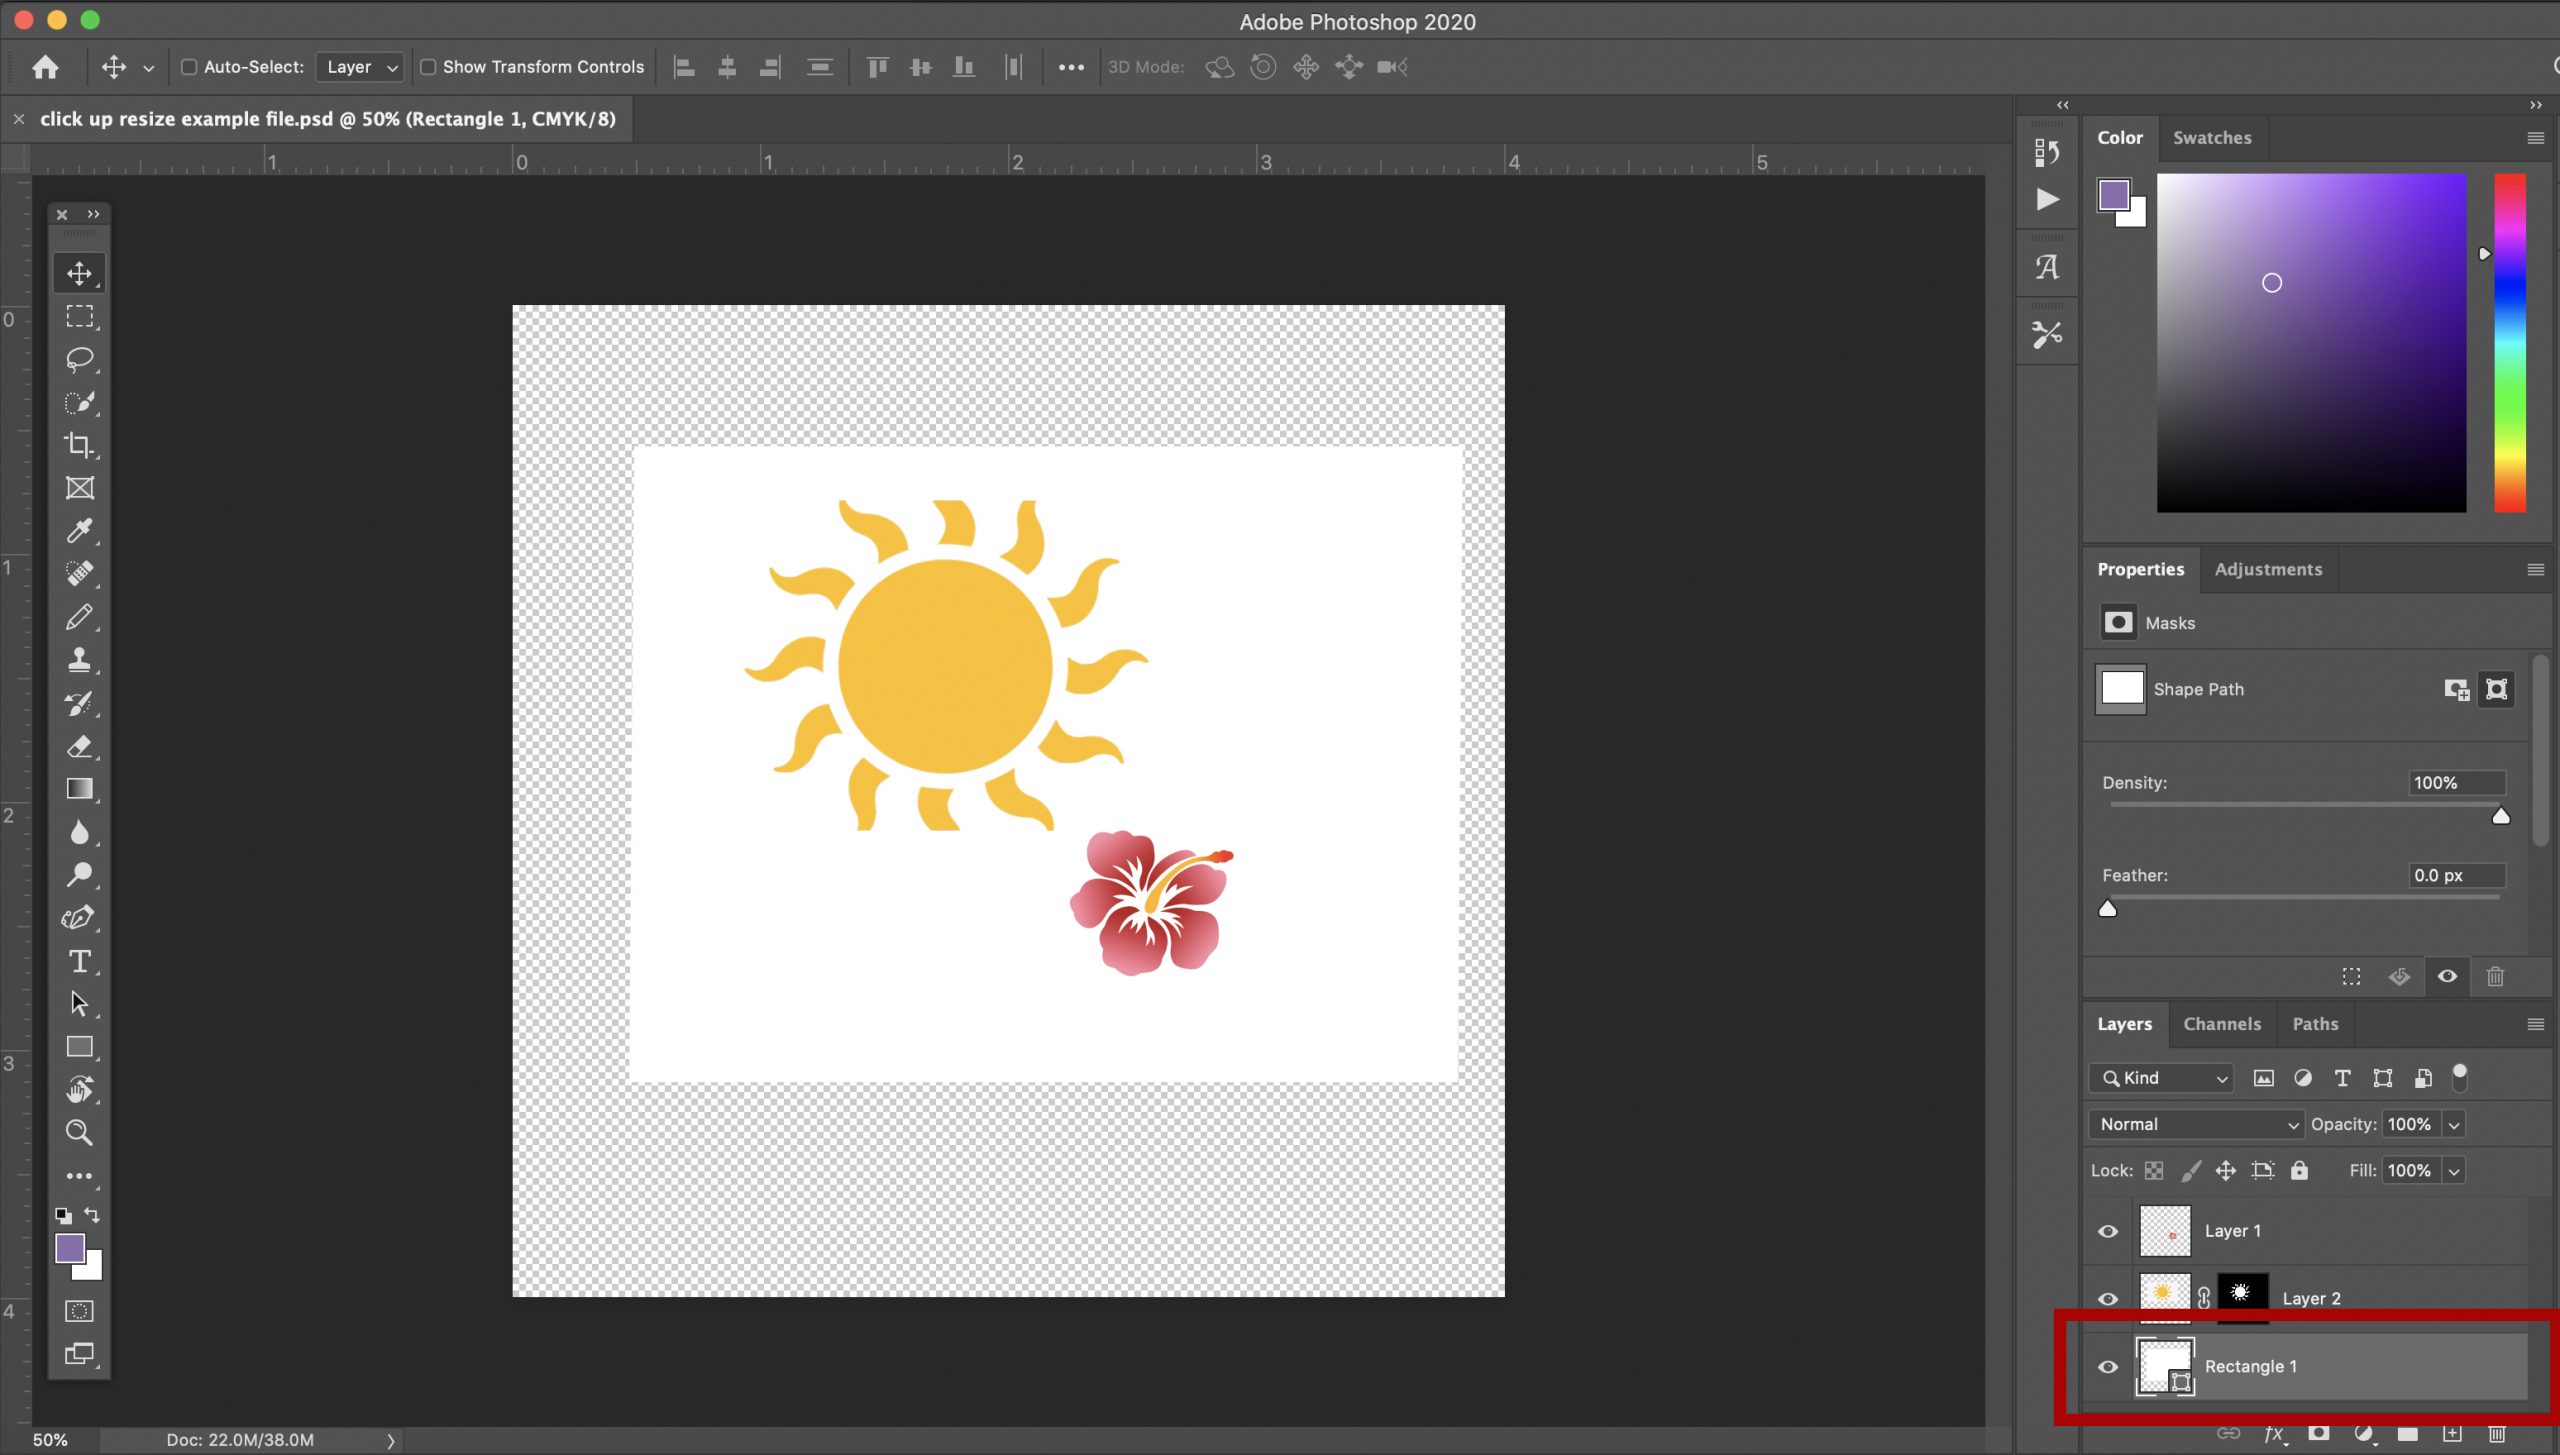
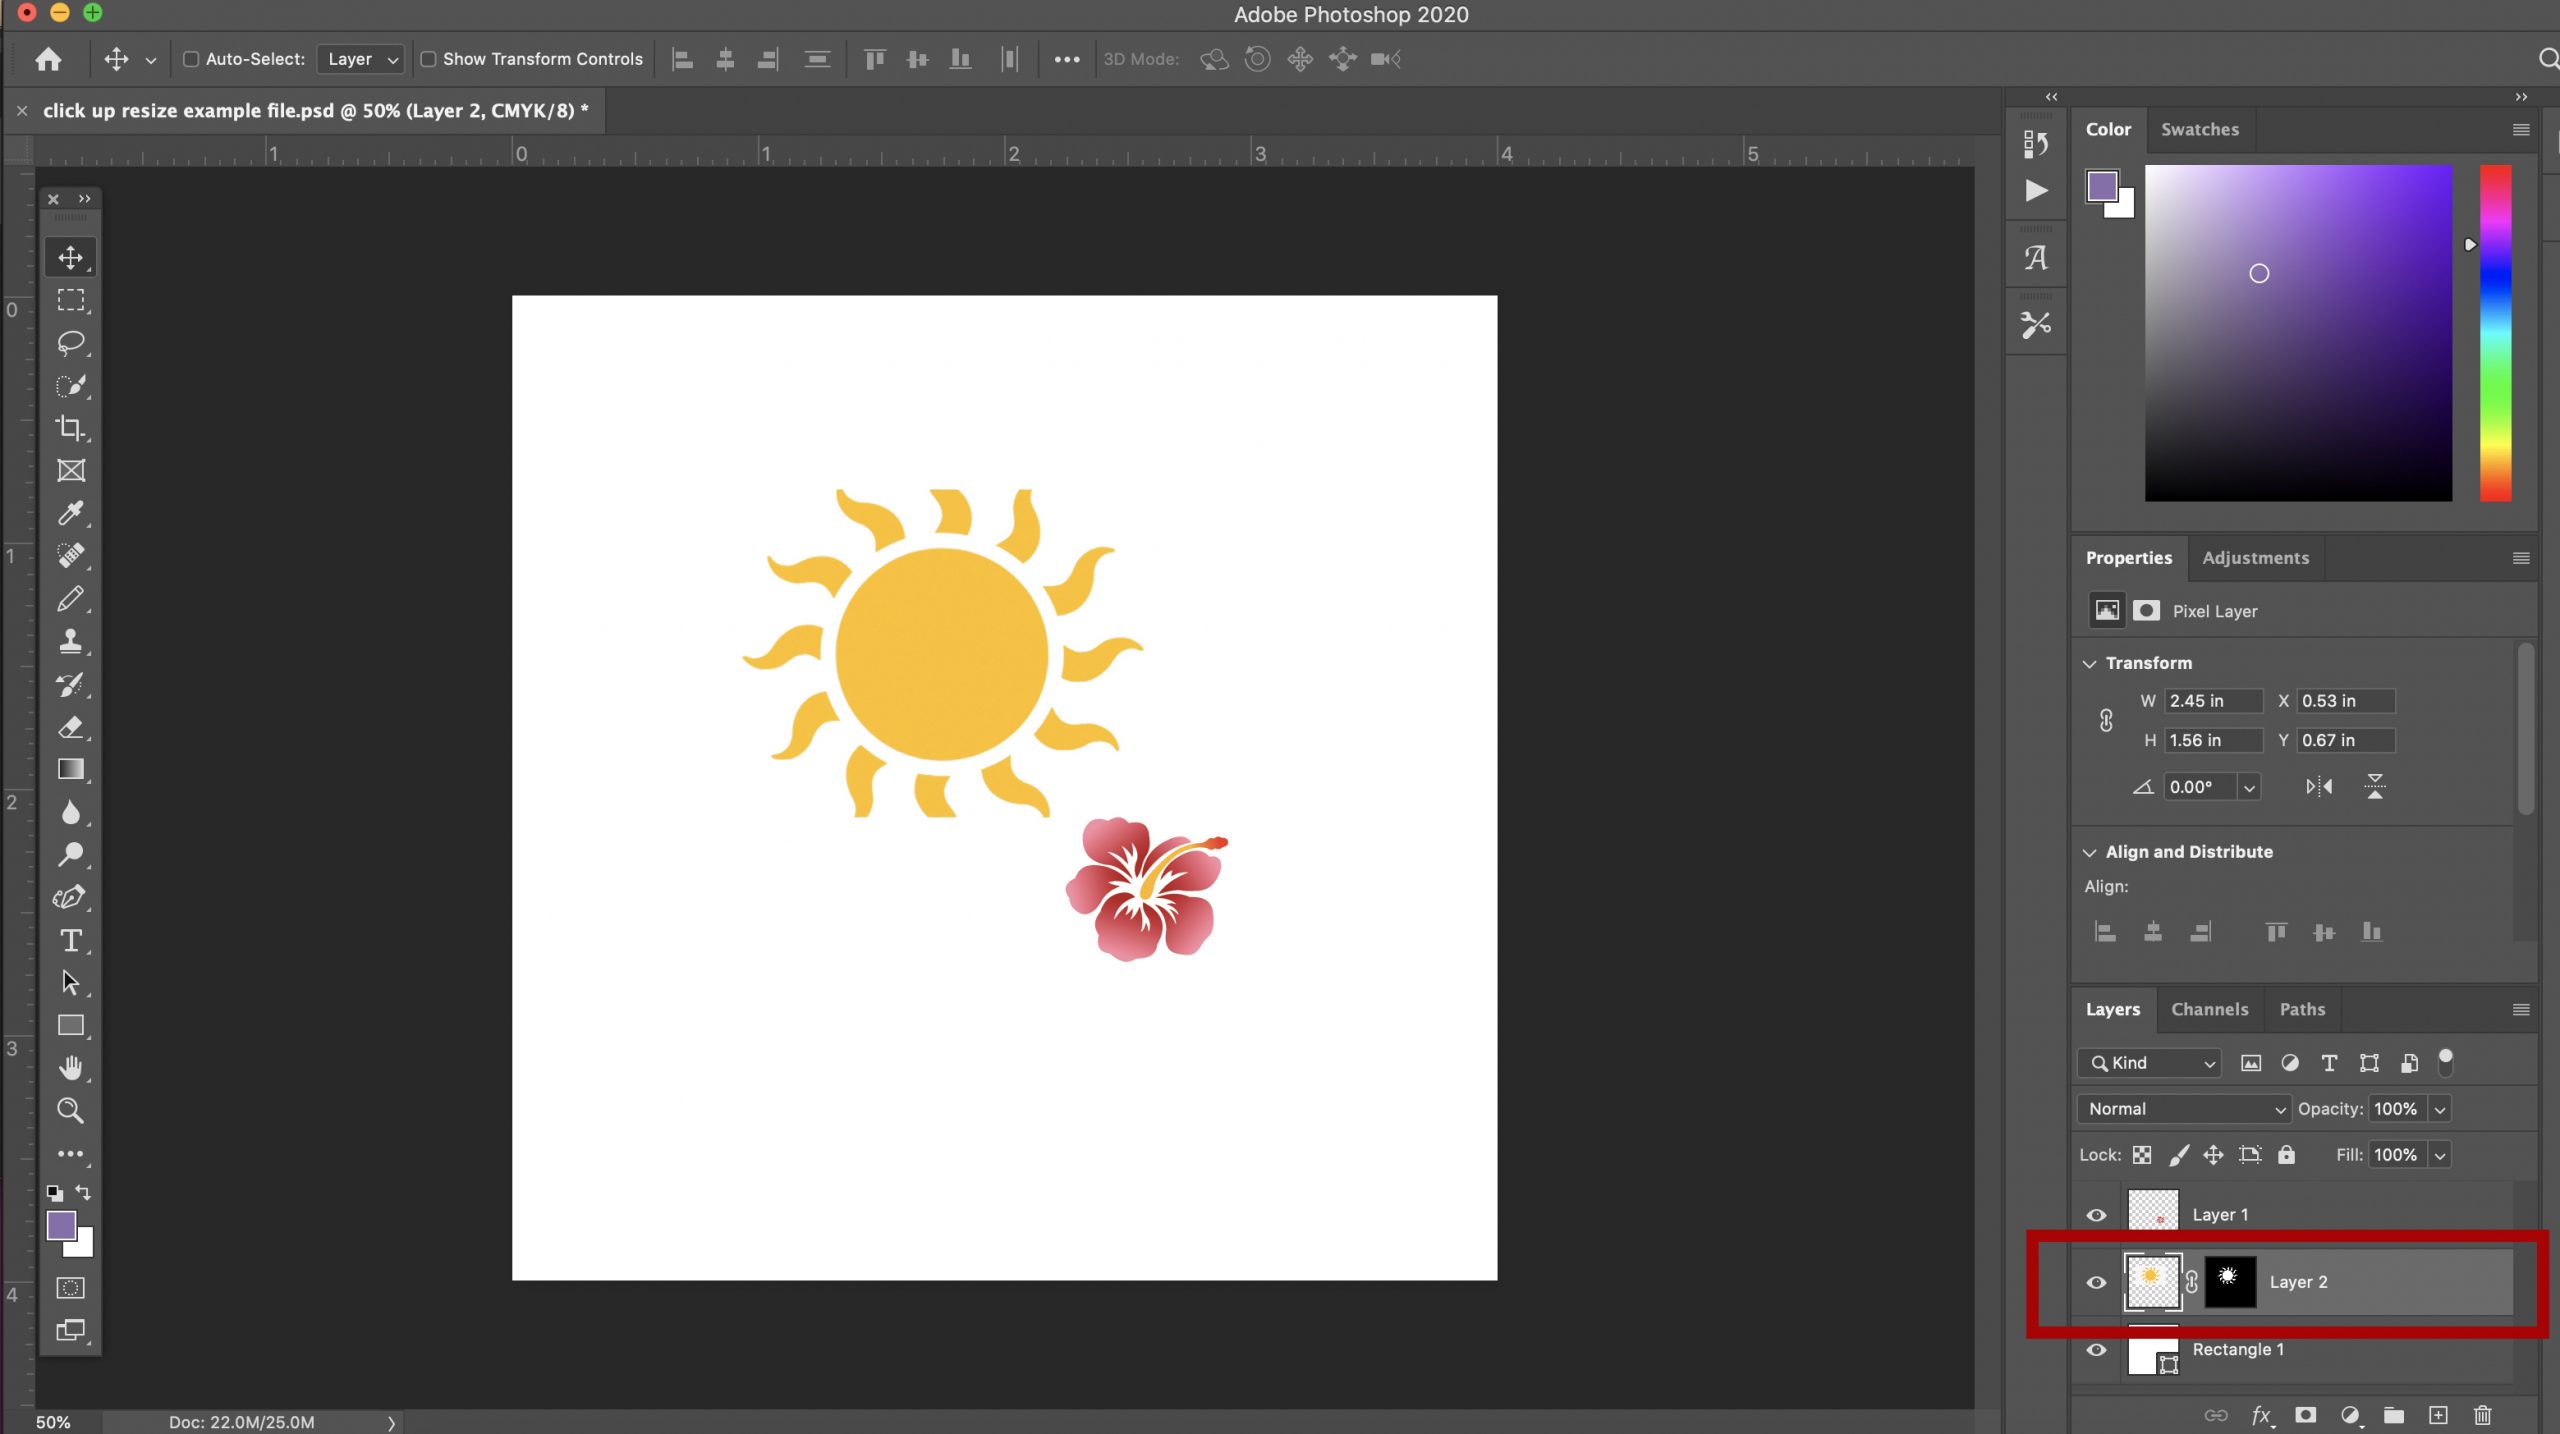
In the example I’m using here, I have three layers. The bottom layer is a white layer in the background that I want to resize to fill the canvas. The middle layer is a sun graphic that I want to center and match to the size of the white layer. The third layer is a hibiscus flower that I want to fit into the circle center of the sun.
We’ll use different options for resizing to explore how each one works.
Resizing an Object Using the Scale Function
First I’m going to select the layer with the white square from the bottom-right corner of the screen. The selected layer has a light gray background.
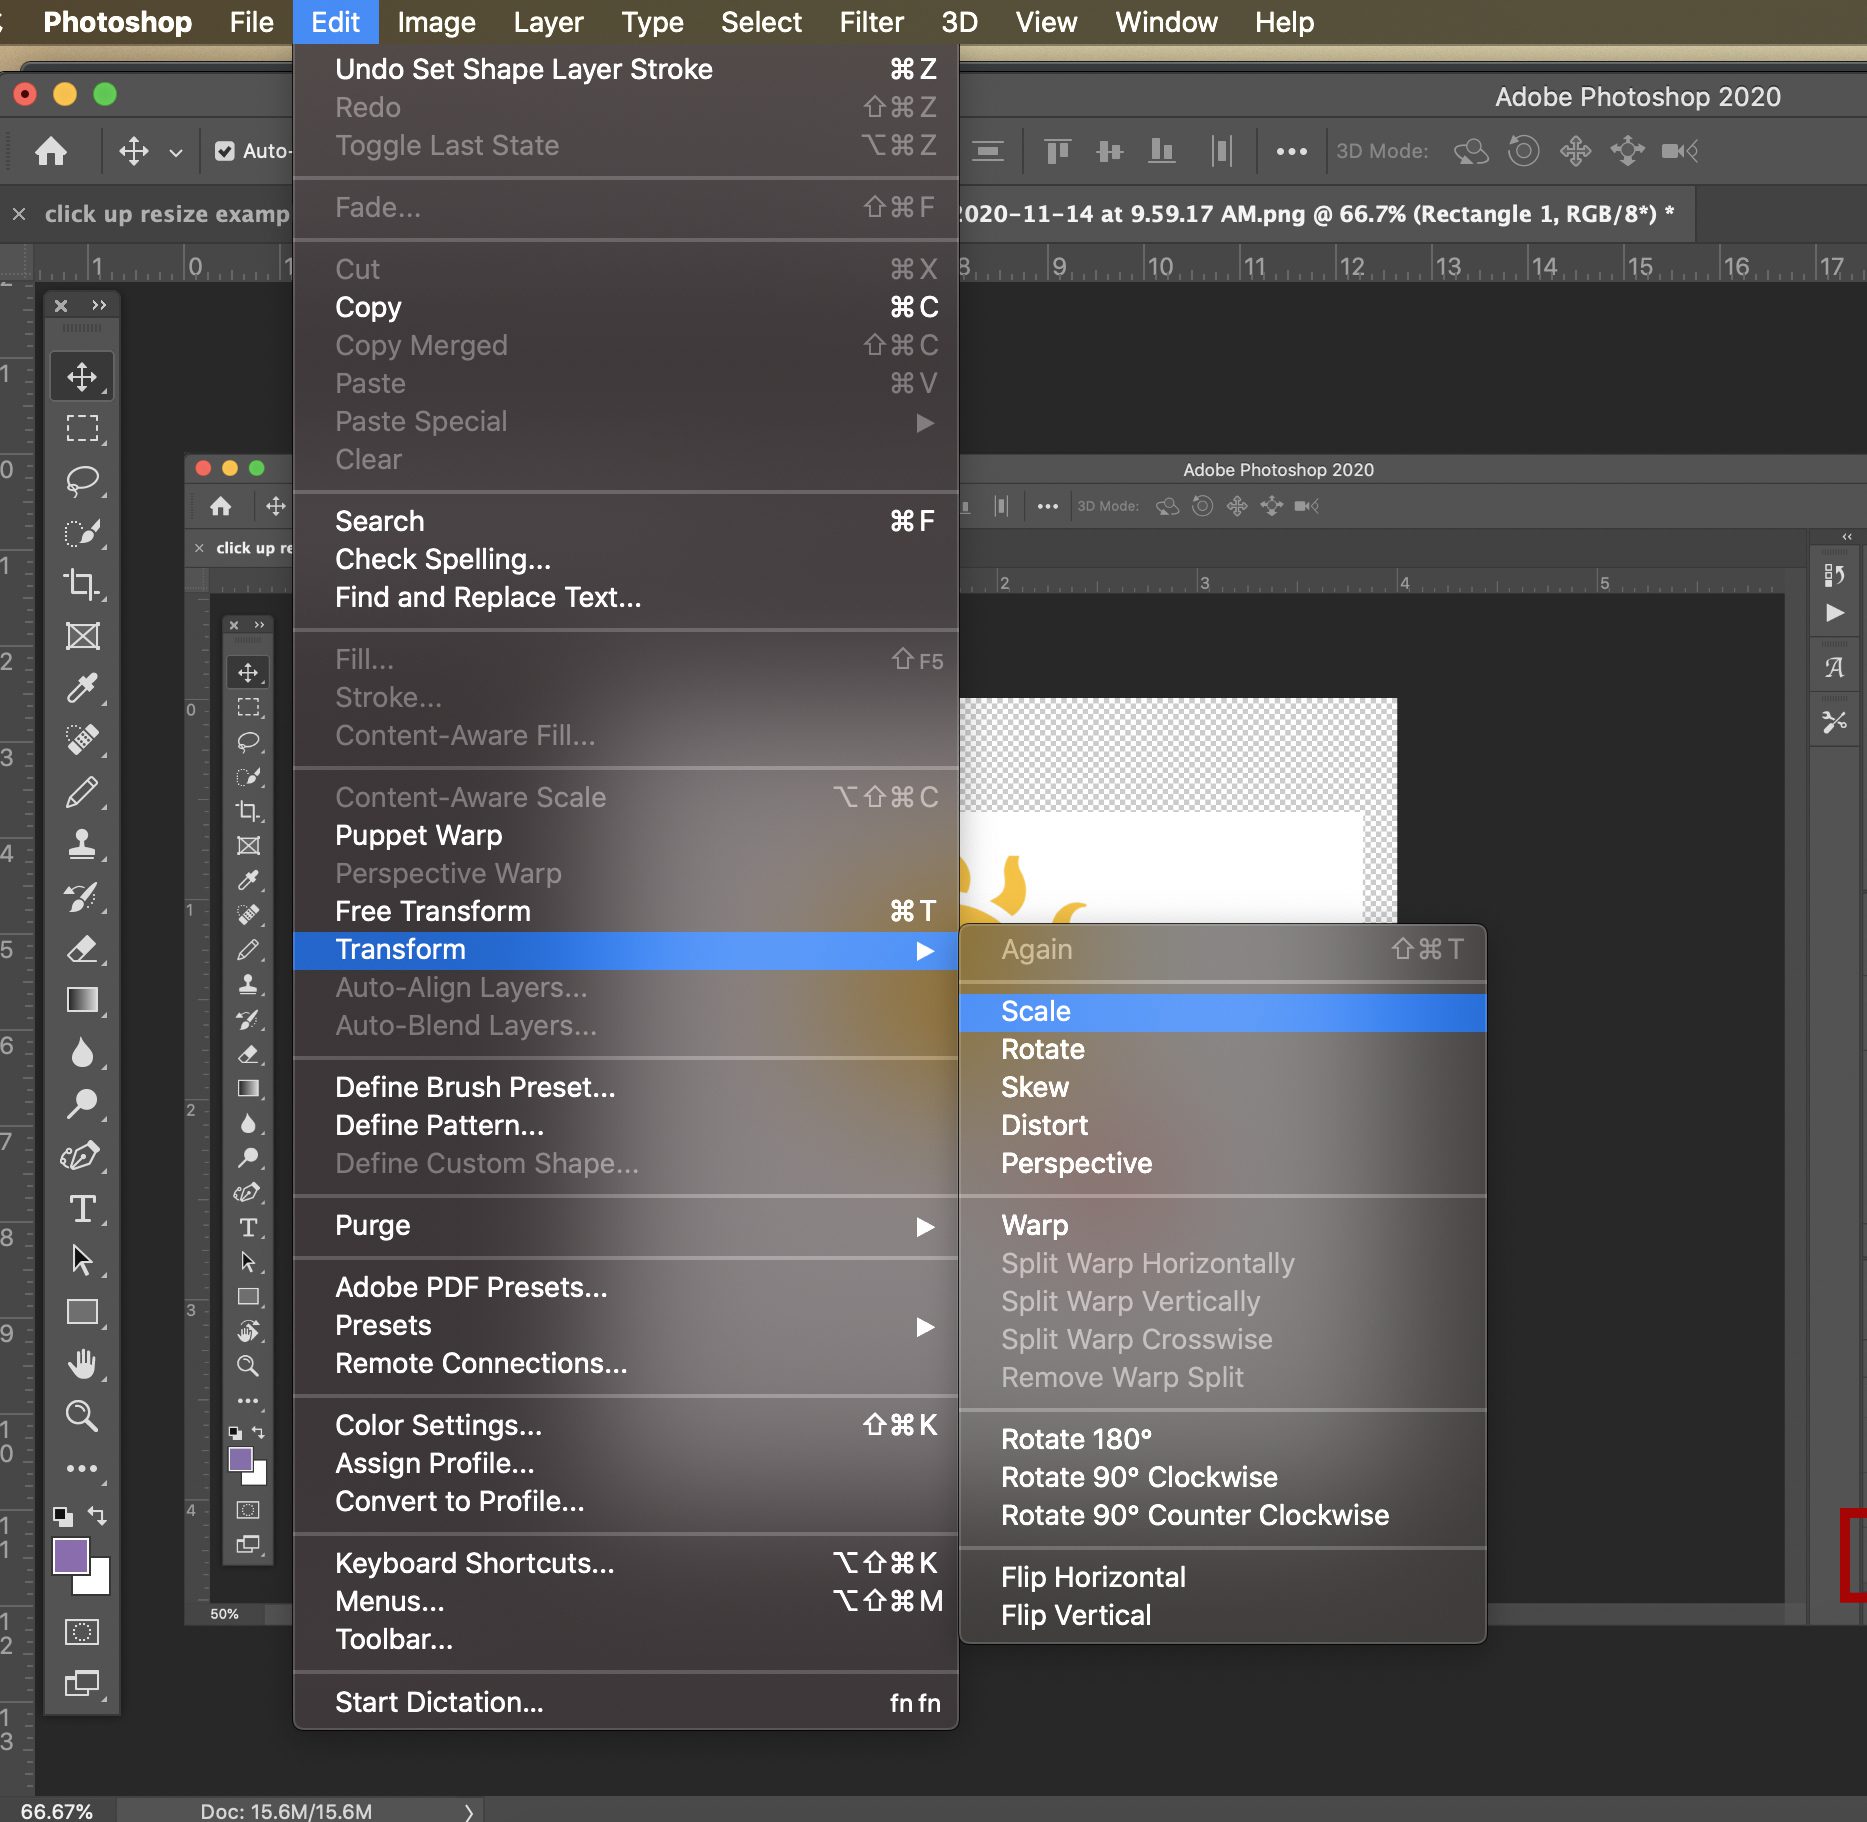
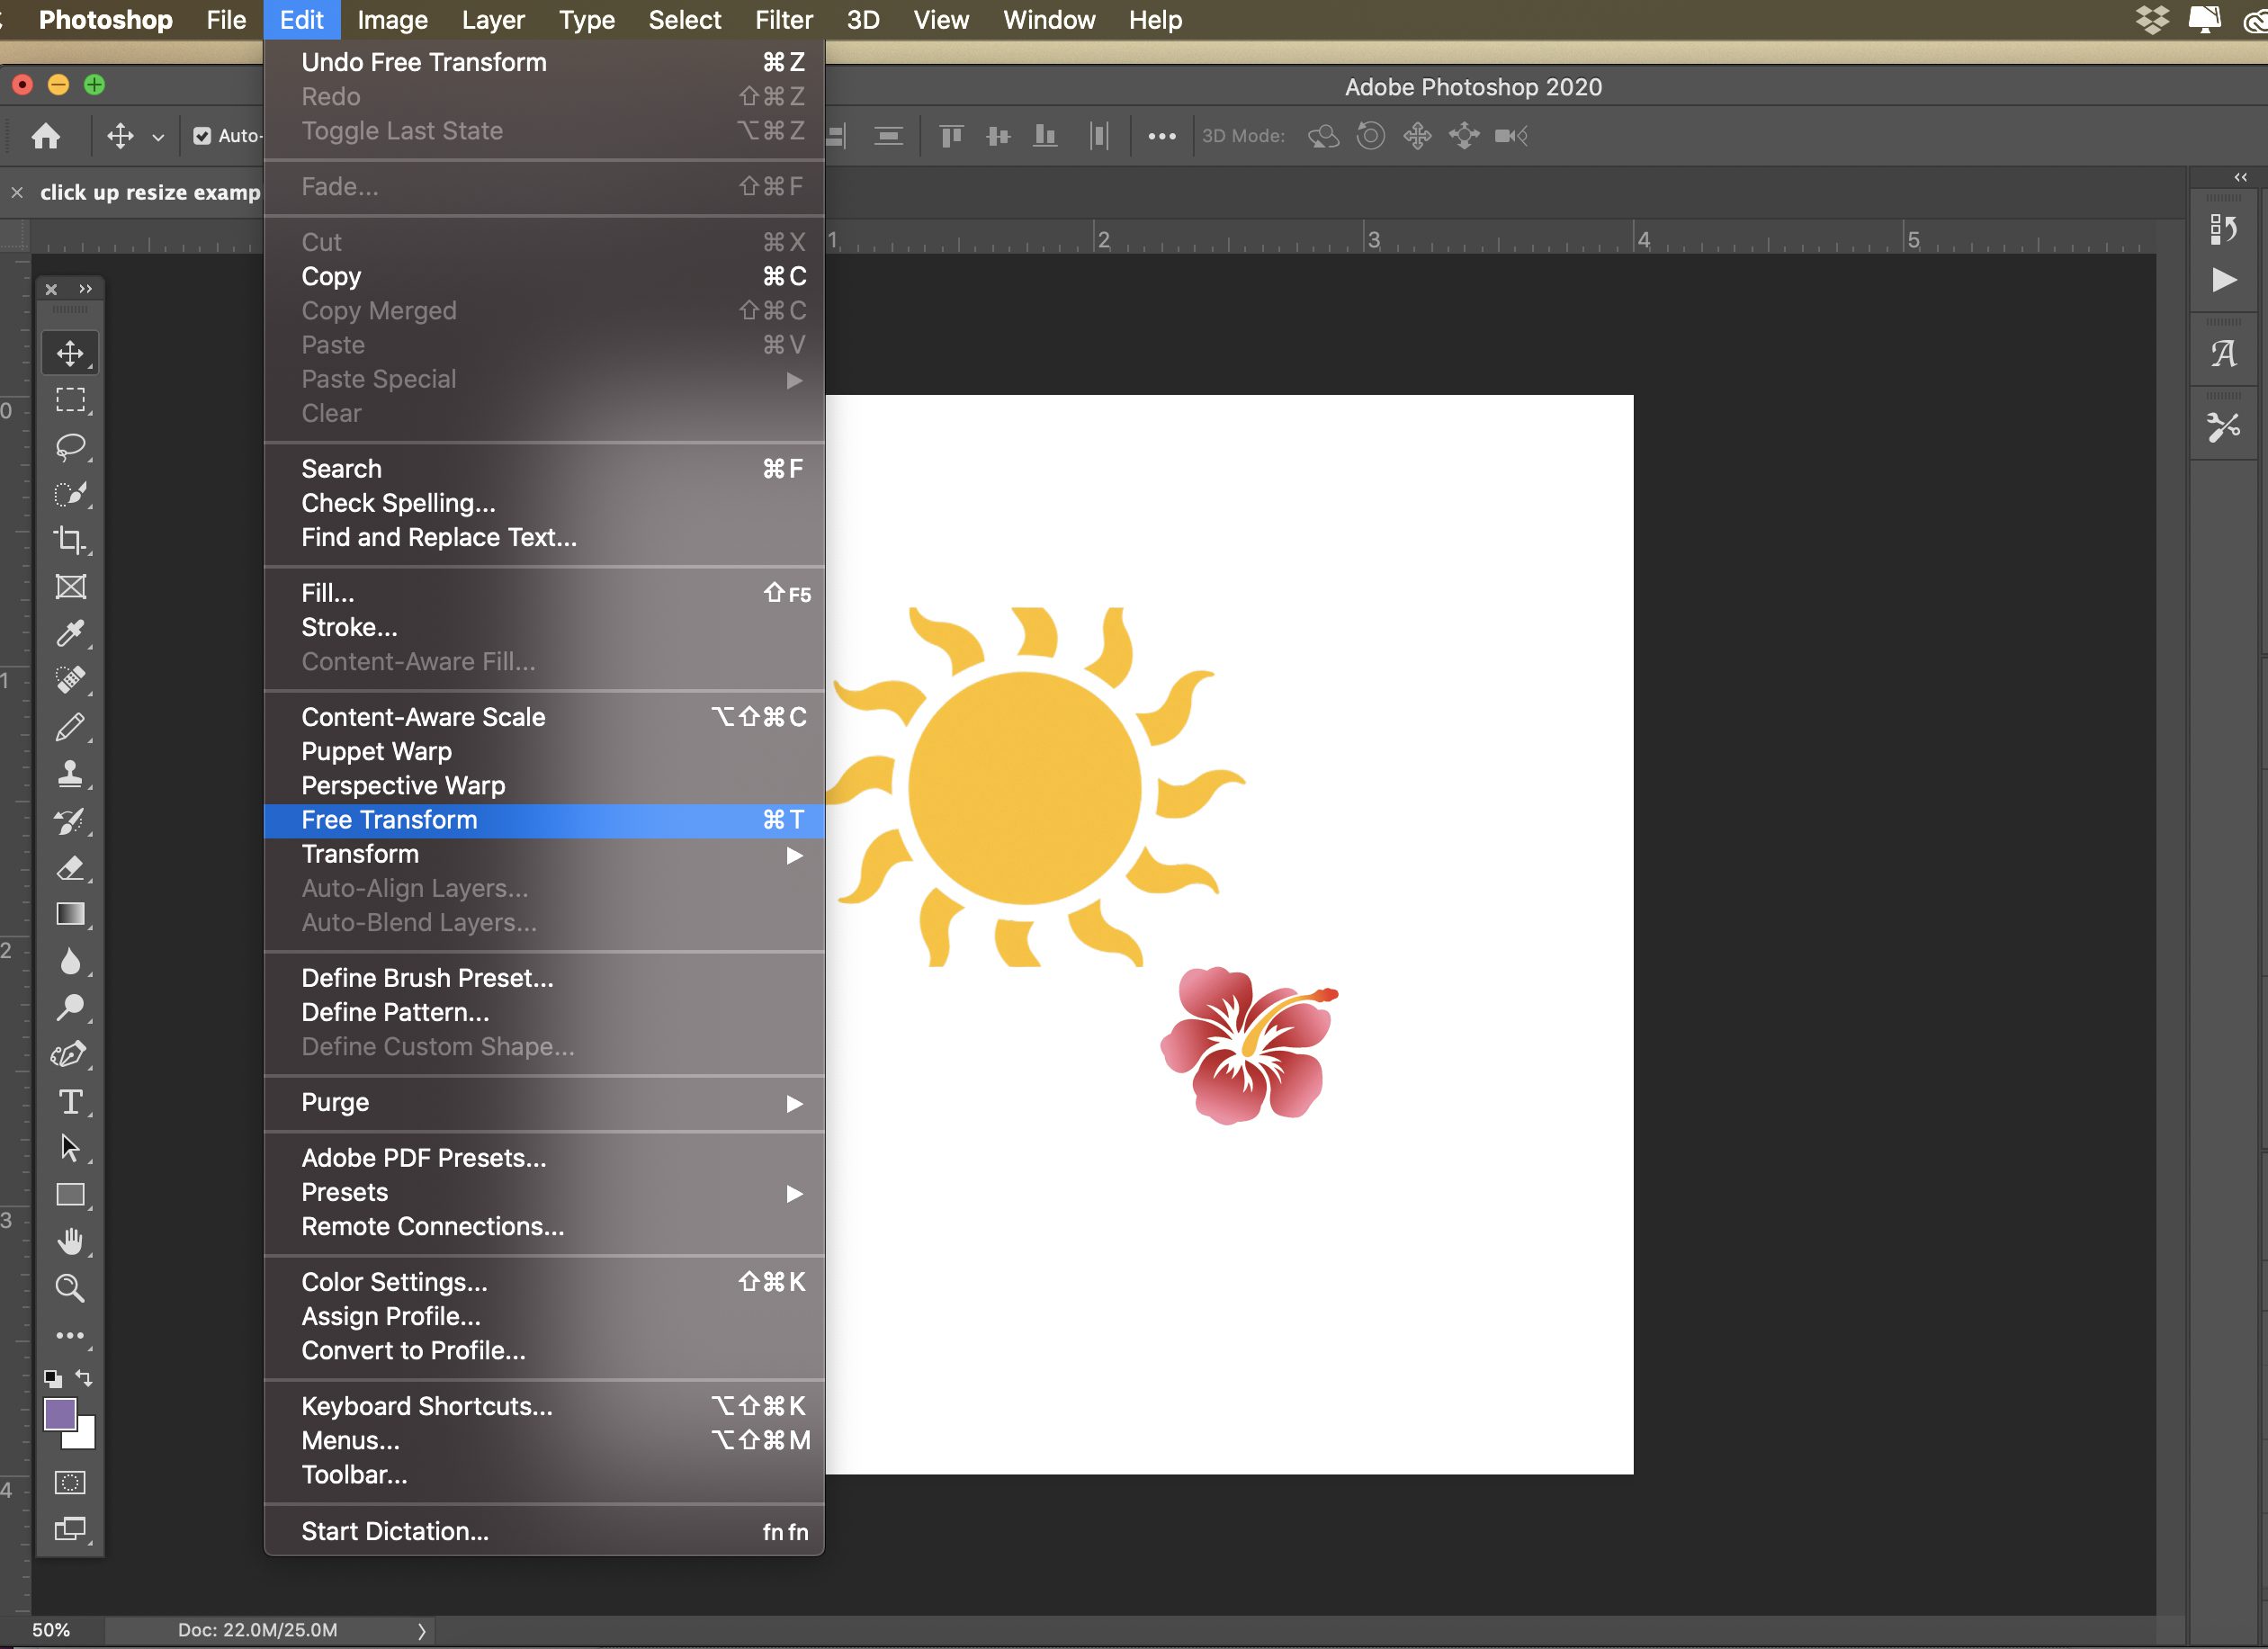
With the white square layer selected, click on the Edit menu, and select Transform>Scale.
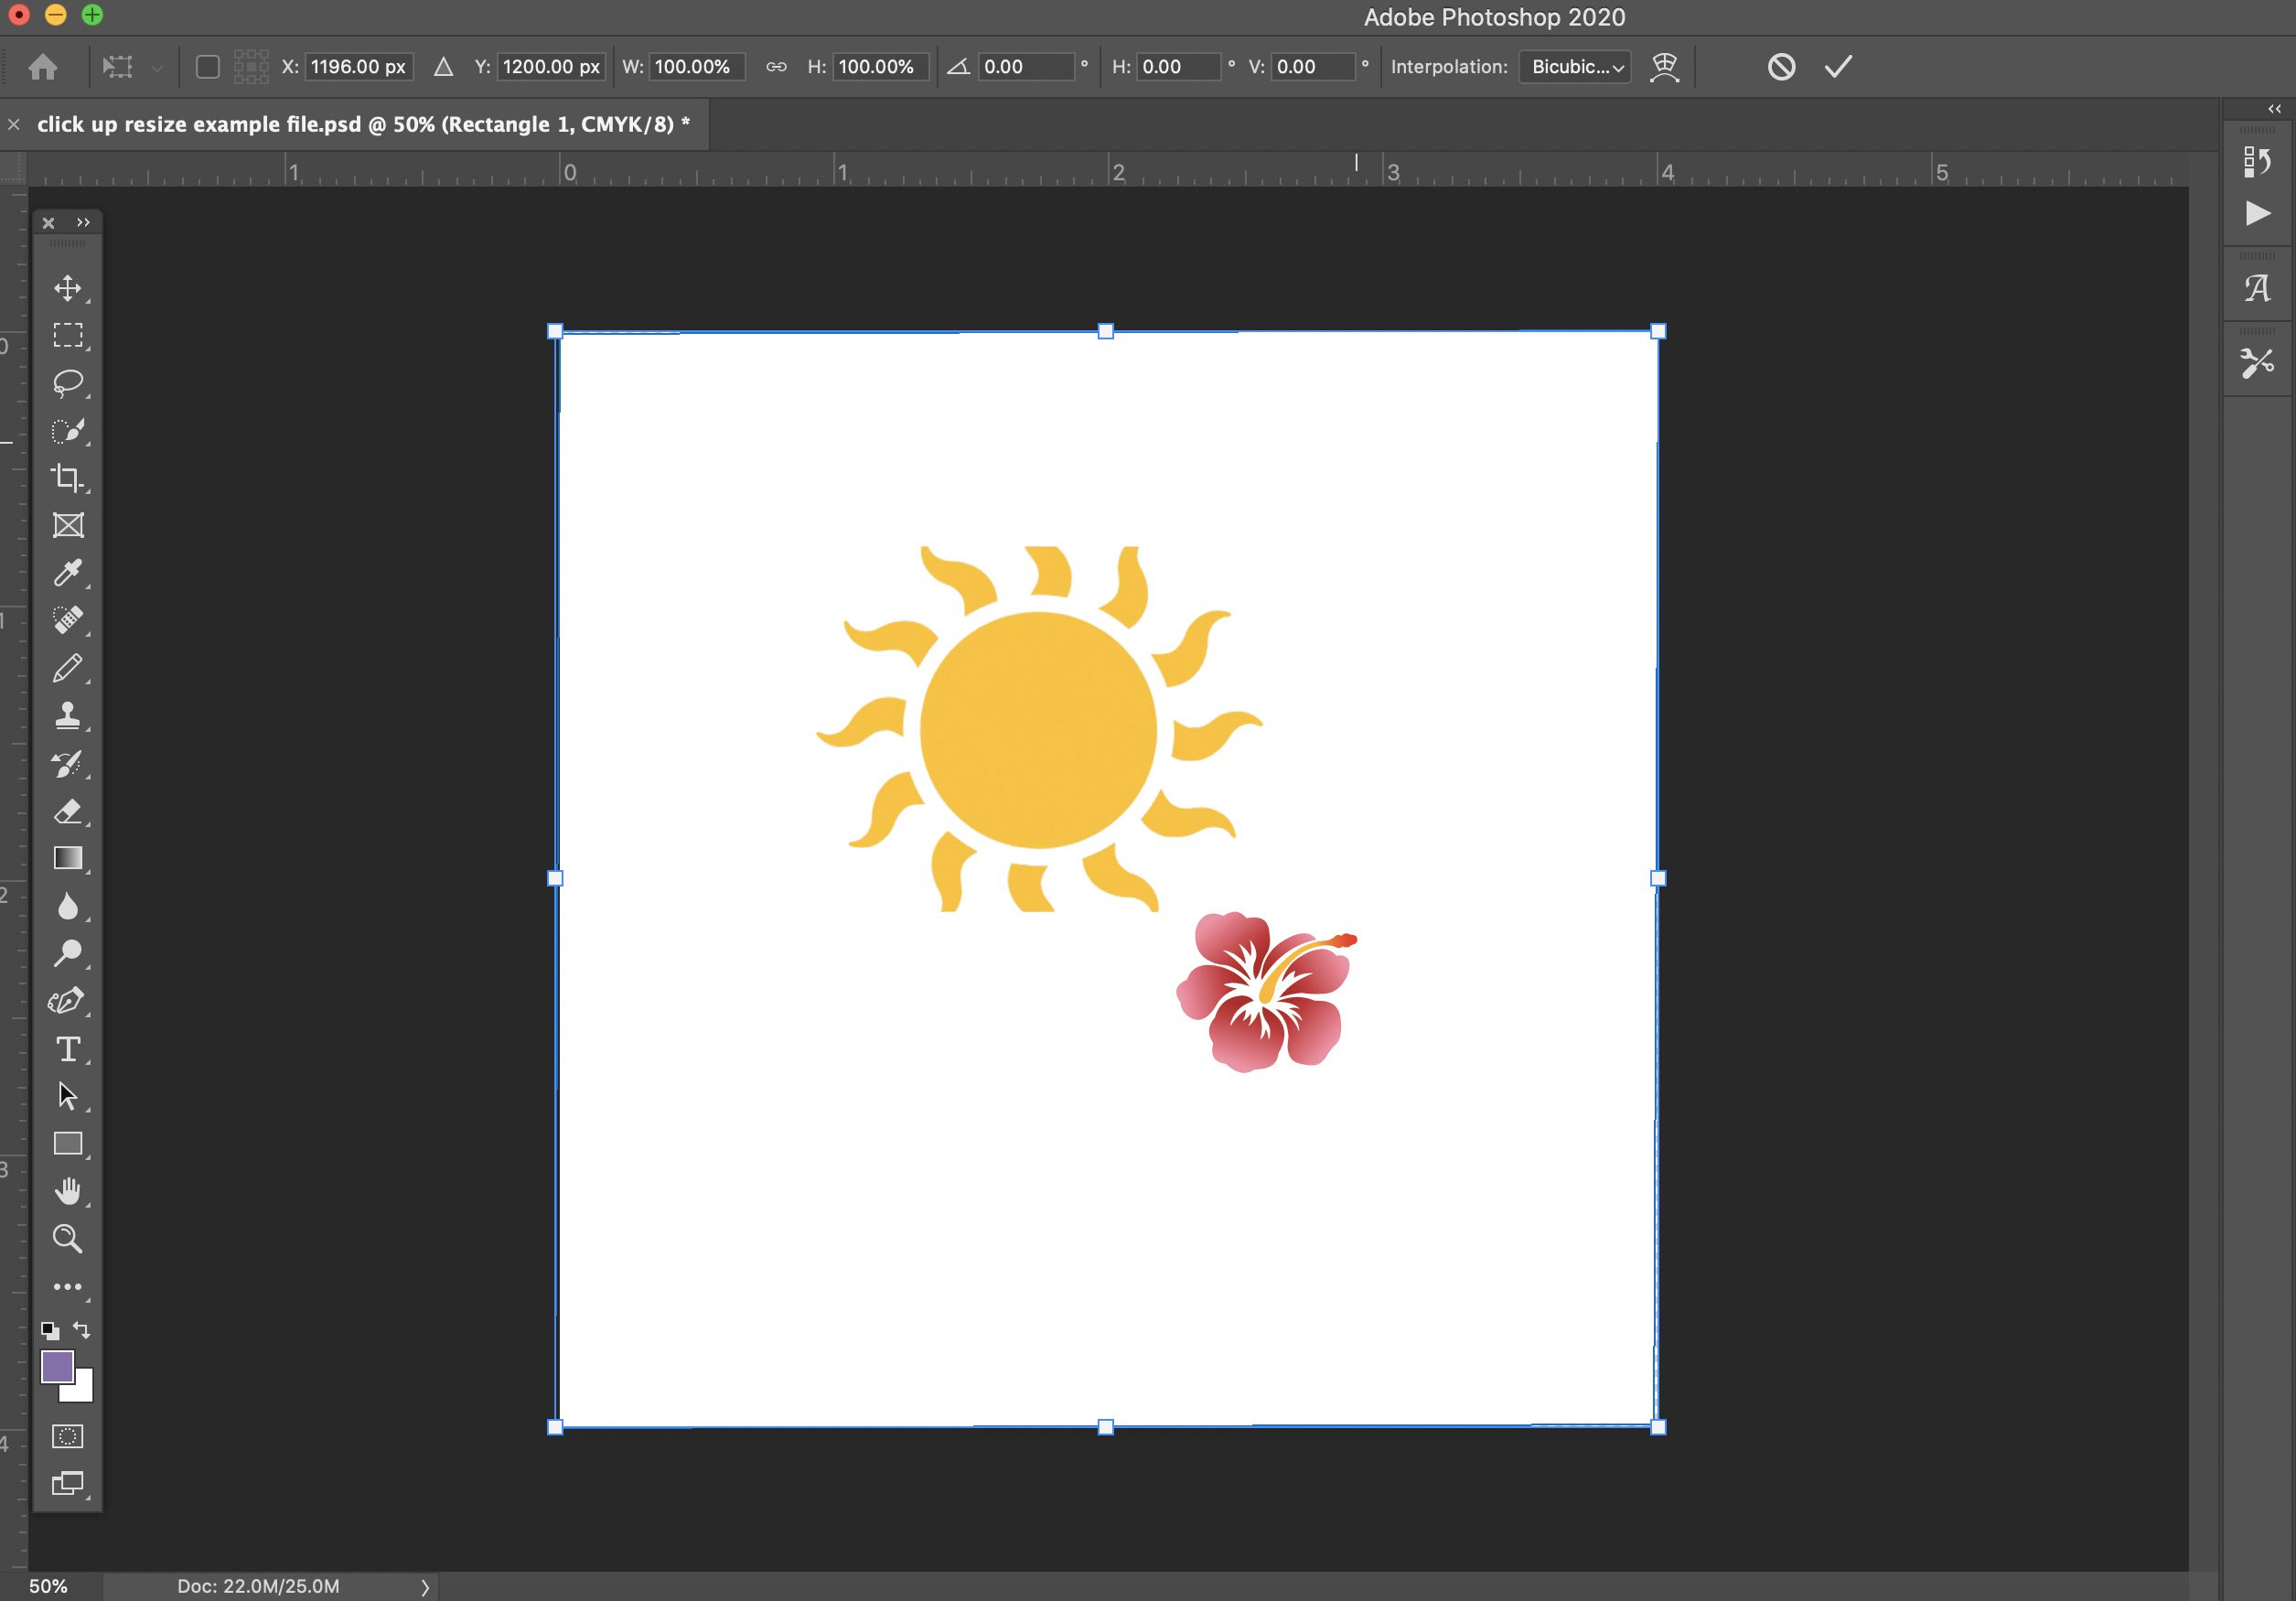
A bounding box with corner and side handles will appear around the white box.

To quickly scale the box, click and drag any handle and the size of the box will change proportionally. This means the height and width will change in the same ratio as the original.

When I do this, you can see that the box doesn’t quite fit the canvas. I need to customize the size so that it will fit.
To do this, I can look at the Options Bar at the top of the screen, and unclick the Maintain Aspect Ratio button (link icon) that sets the proportionality of the object.
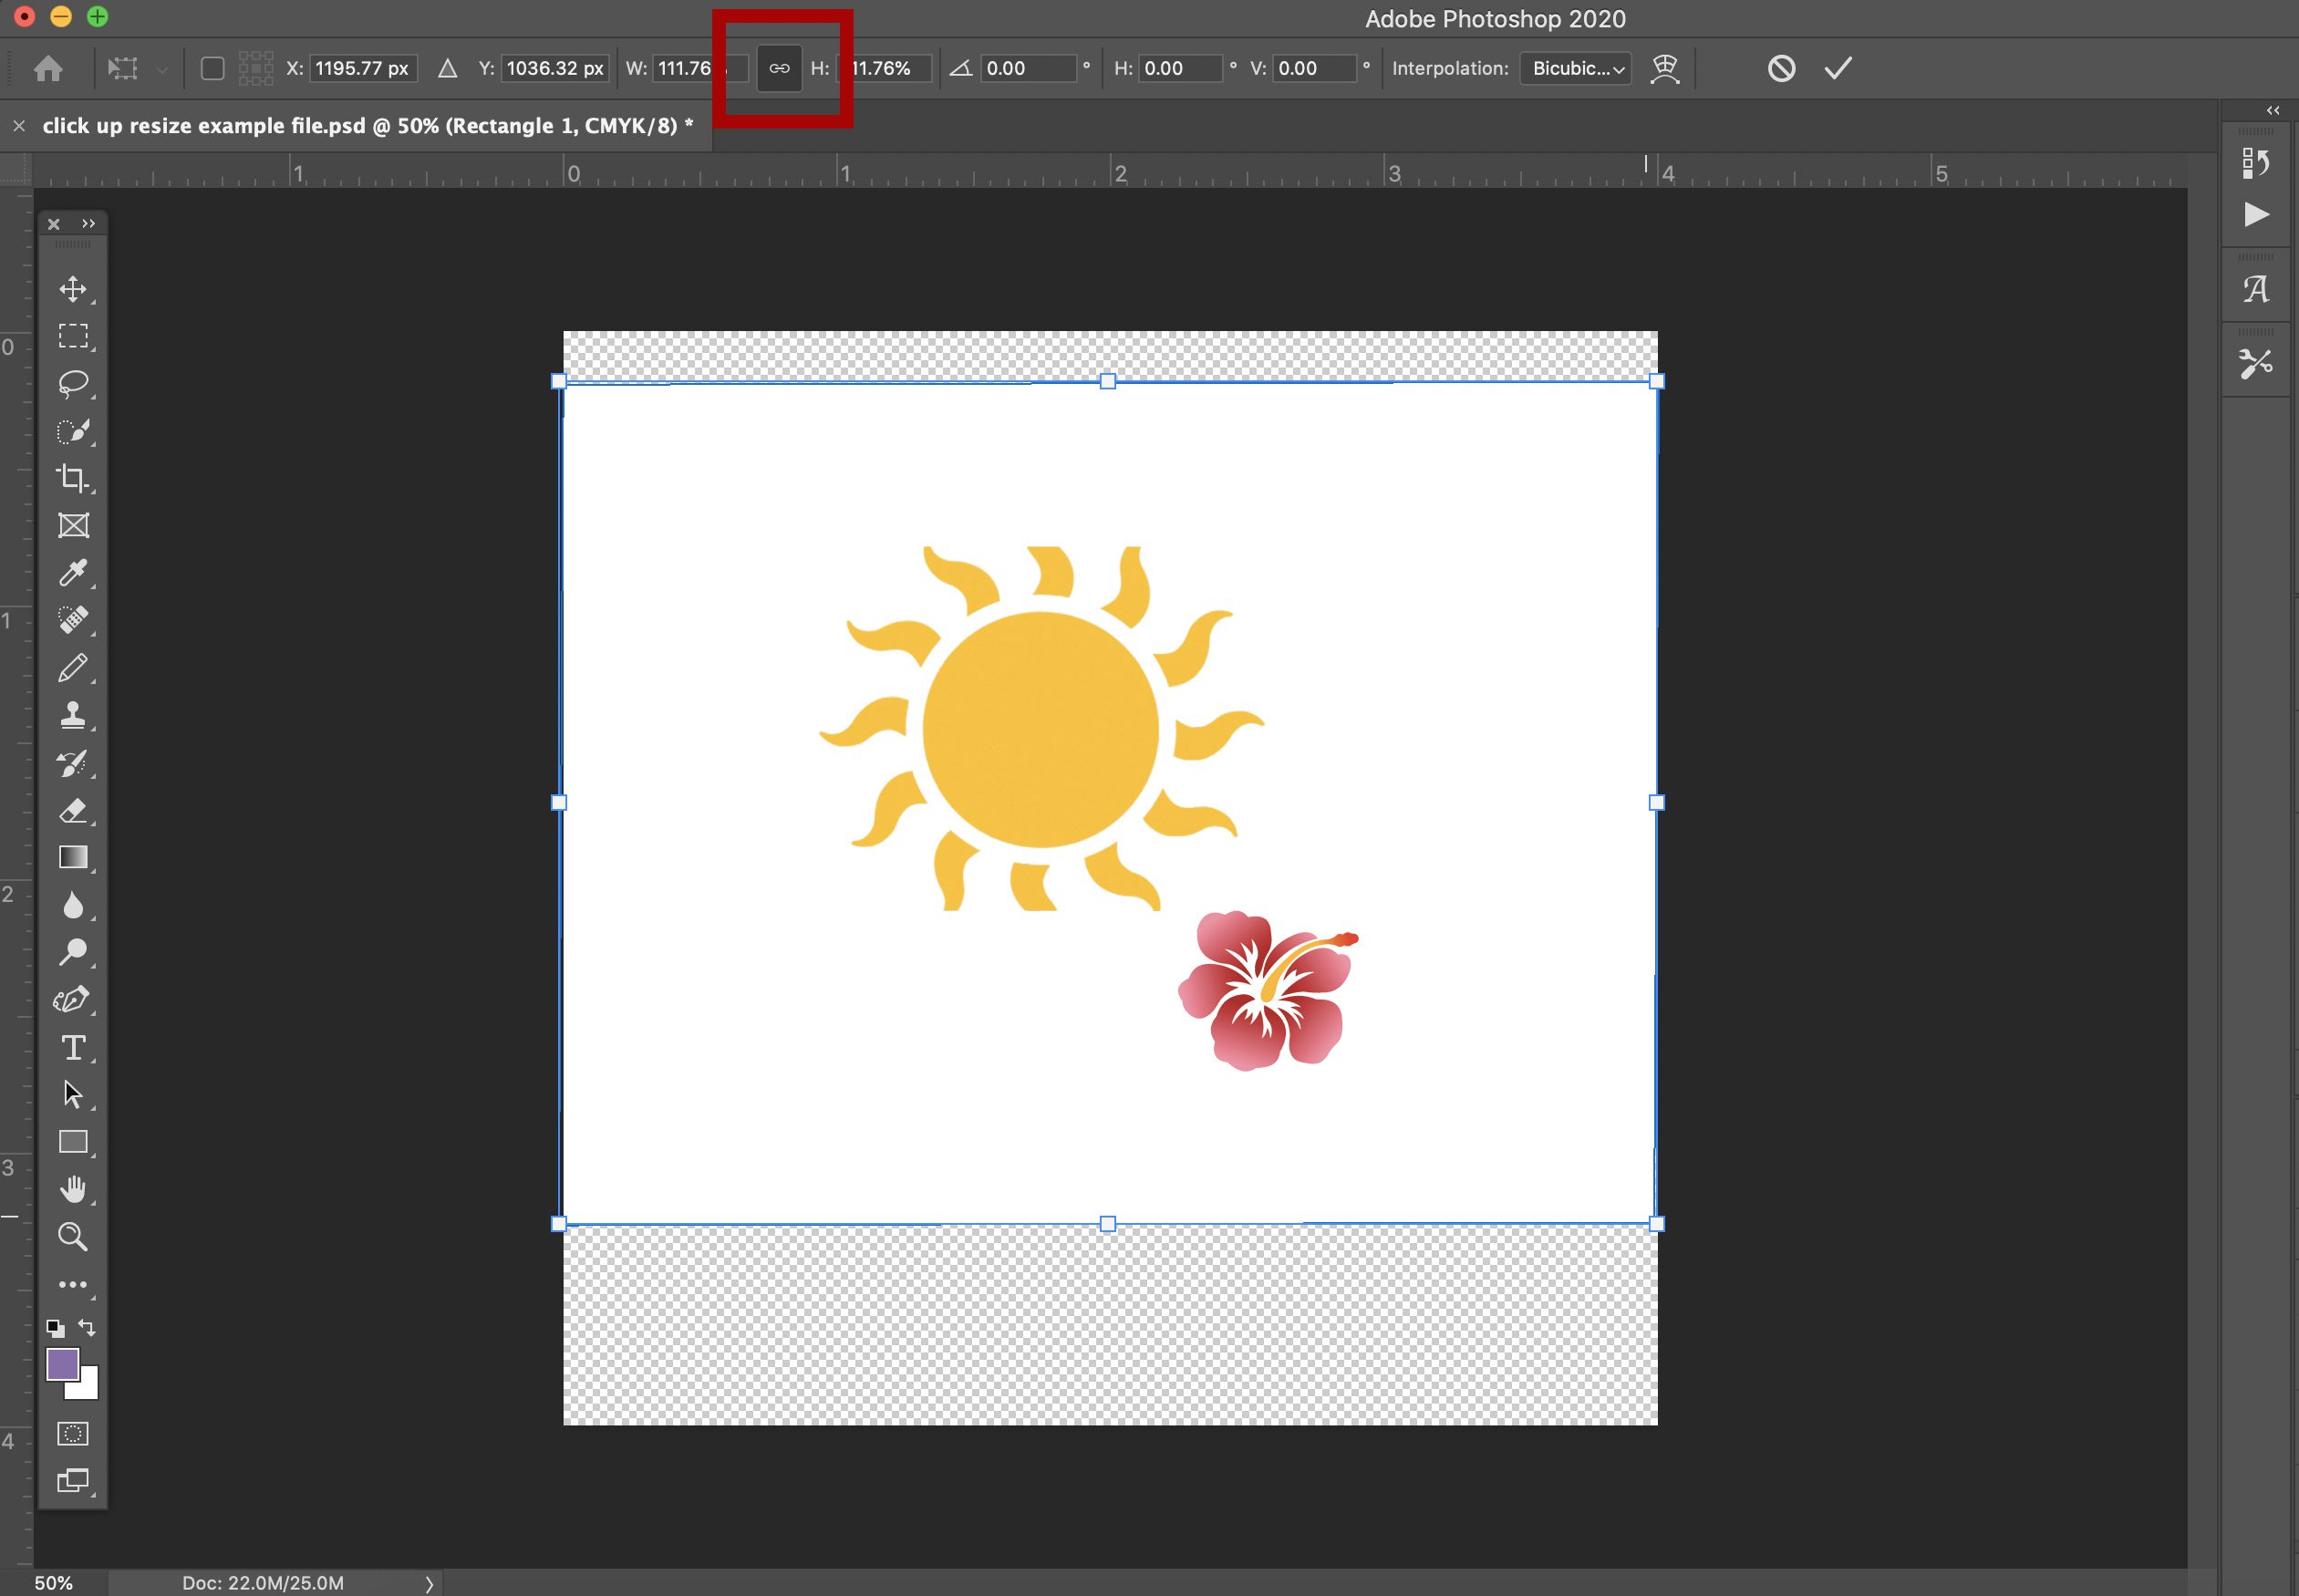
With that deselected, I can grab a side handle and drag it without changing the other sides.
Now the white box fills the whole canvas so I’m finished resizing that layer.
Resizing an Object Using Free Transform
To show another way to resize an object in Photoshop, we will use the Transform function, which works just like scaling.
For this example, I’ve selected the layer with the sun graphic in the lower-right corner.
From the Edit menu, select Free Transform.
The sun now has a bounding box with handles that I can use to resize just as I did for the white square.
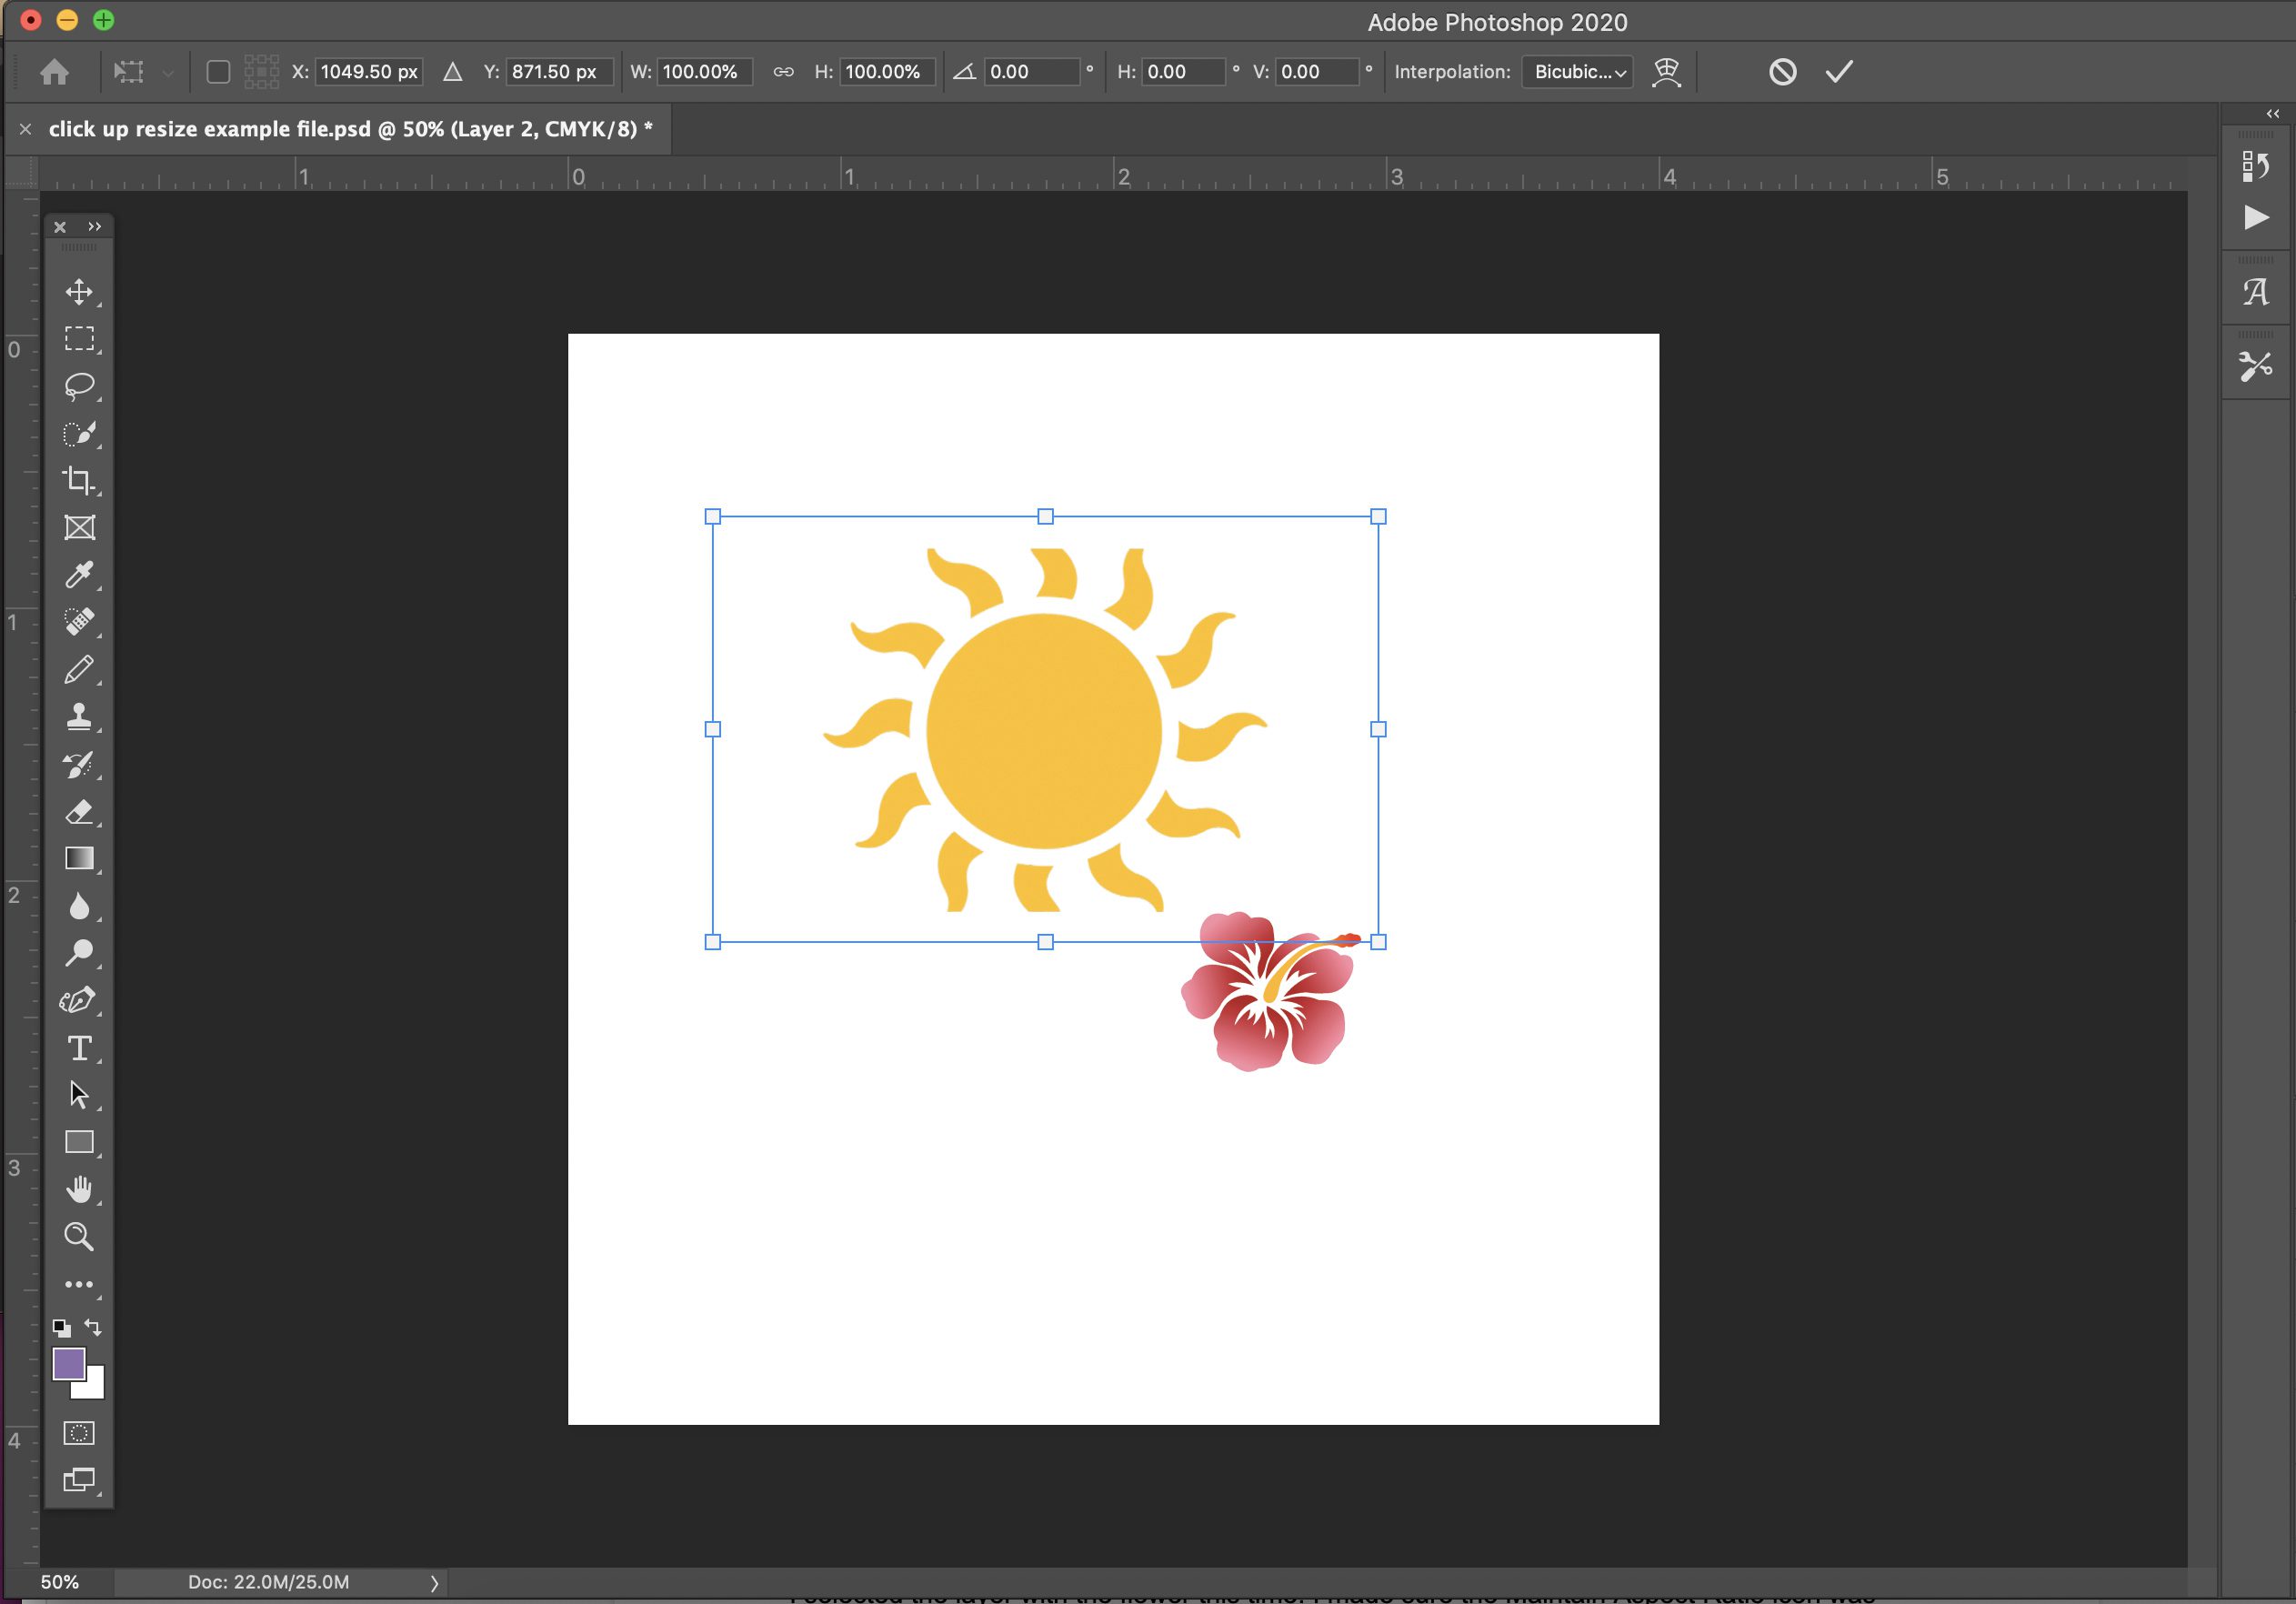
I want to keep this one in proportion to start so I will click the Maintain Aspect Ratio button (link icon) in the Options Bar again, then use the handles to resize the sun so that it fills the white square.
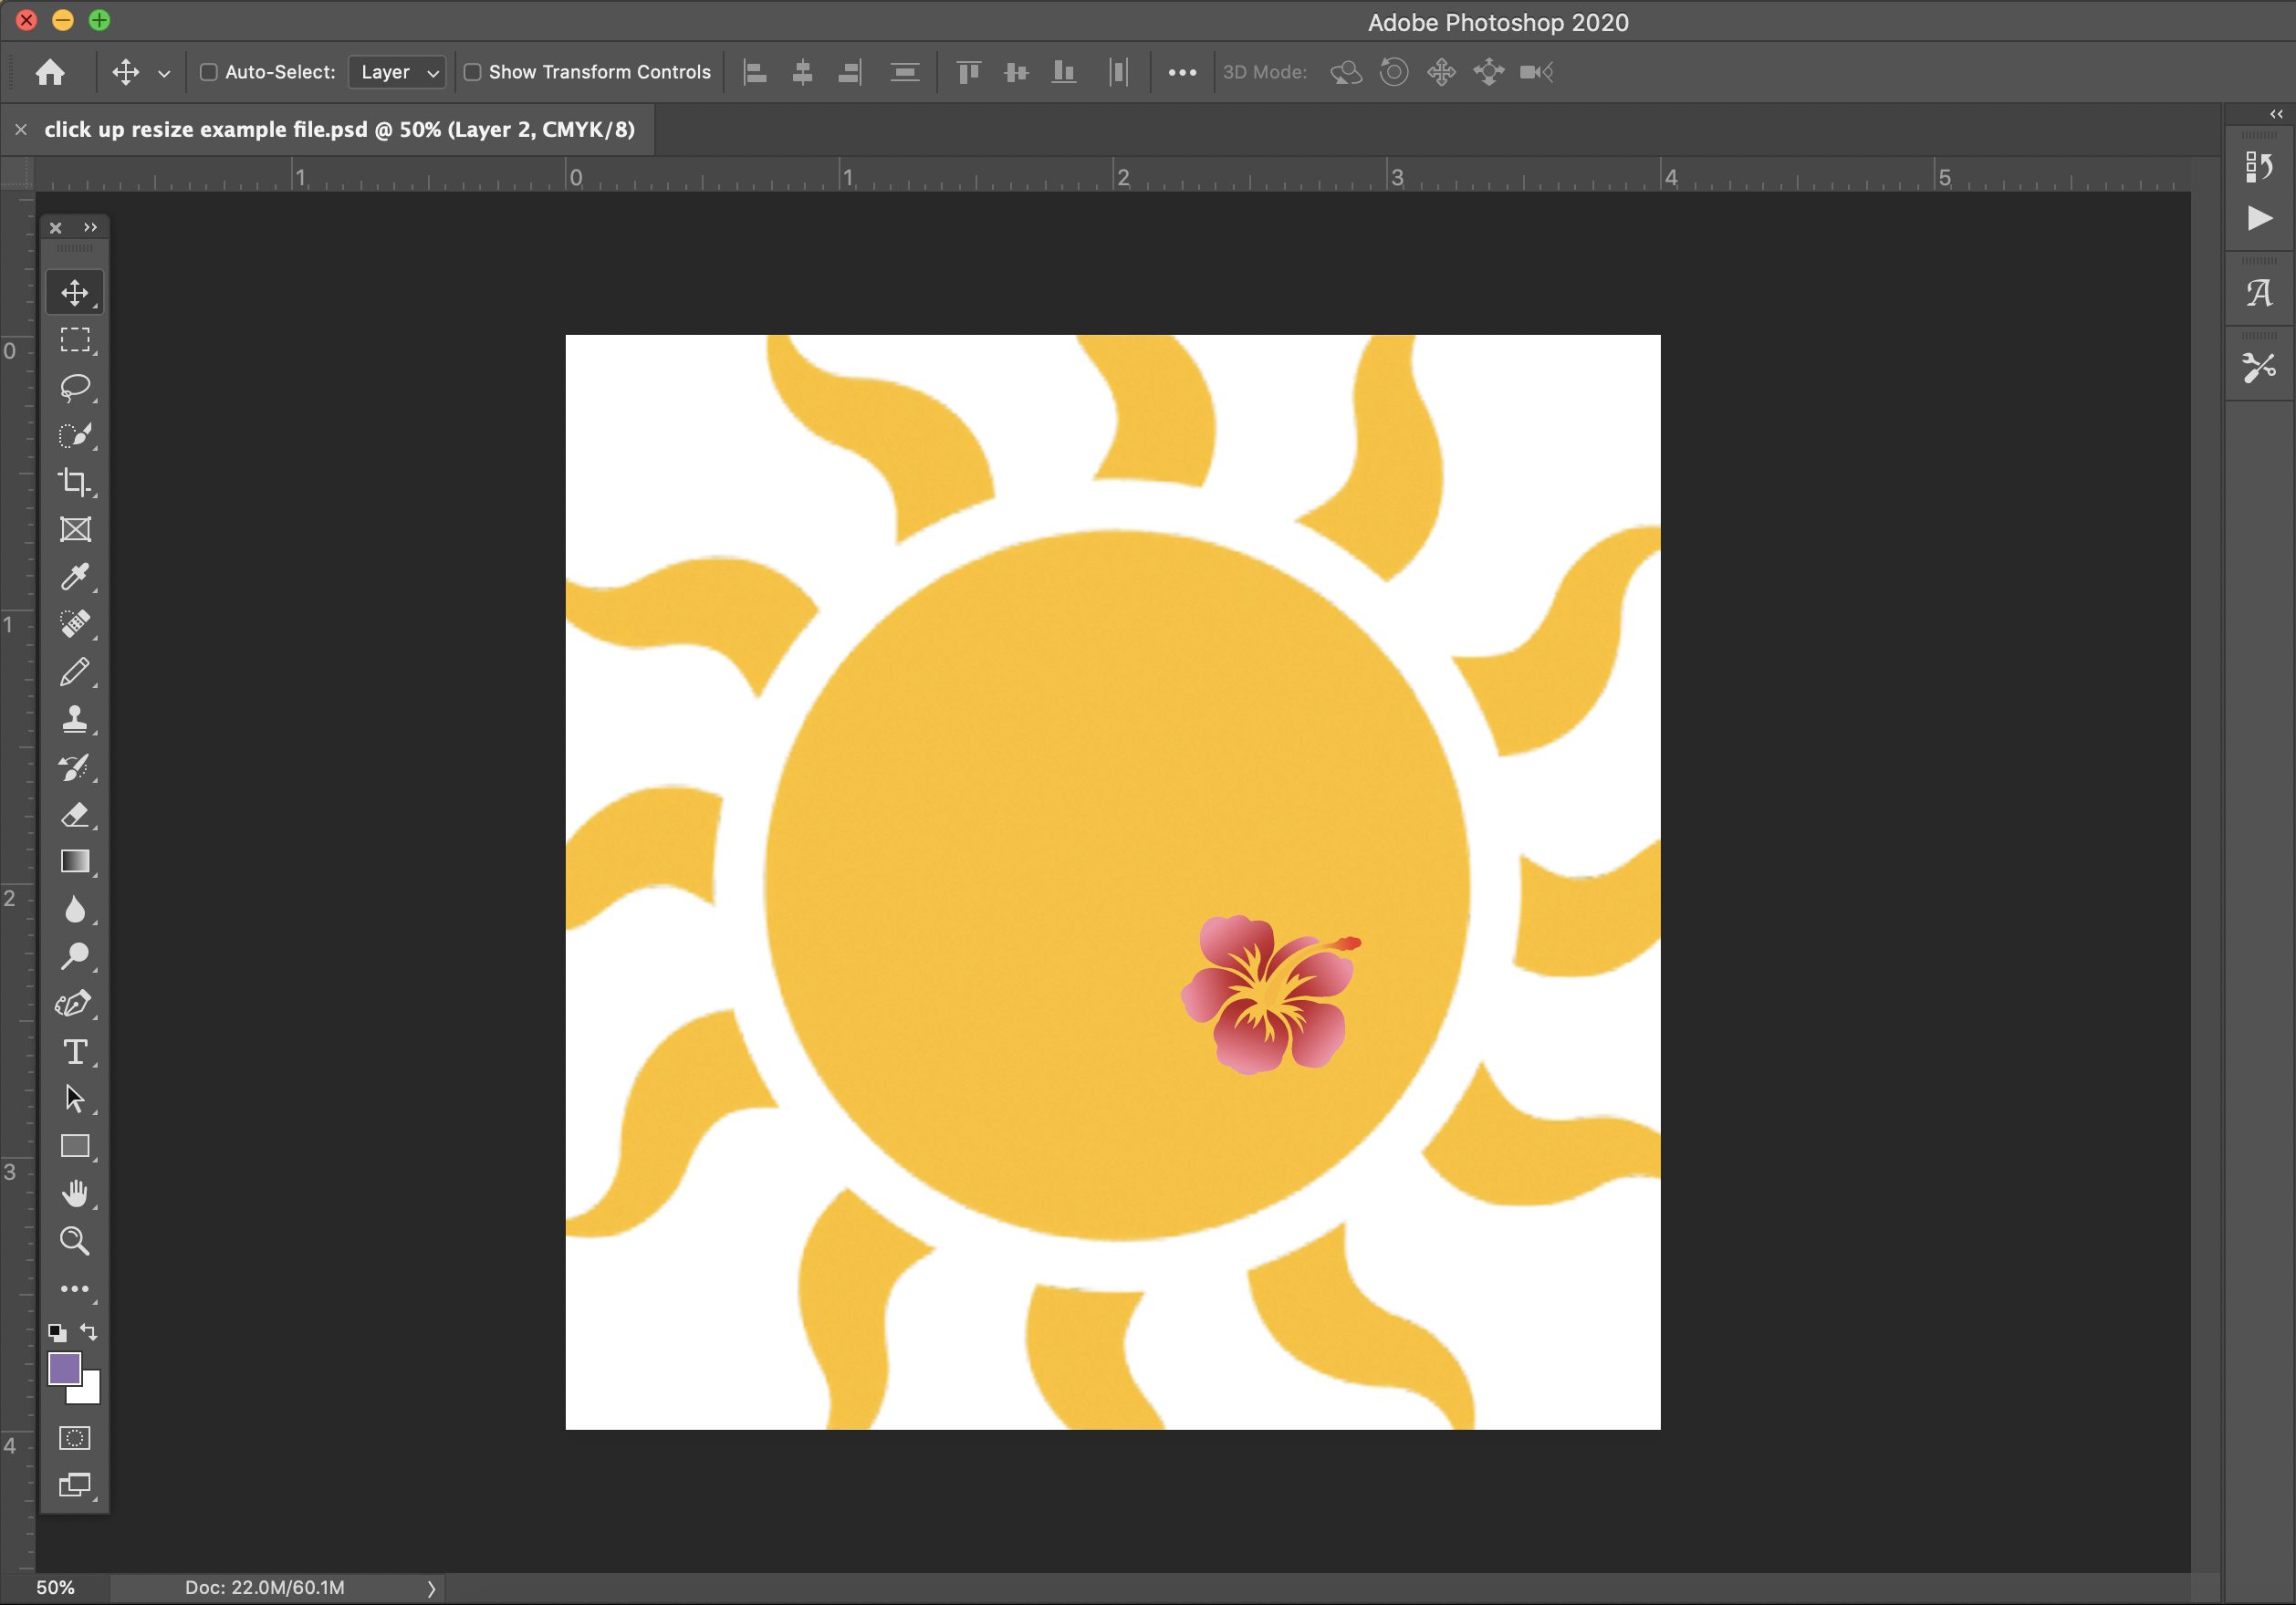
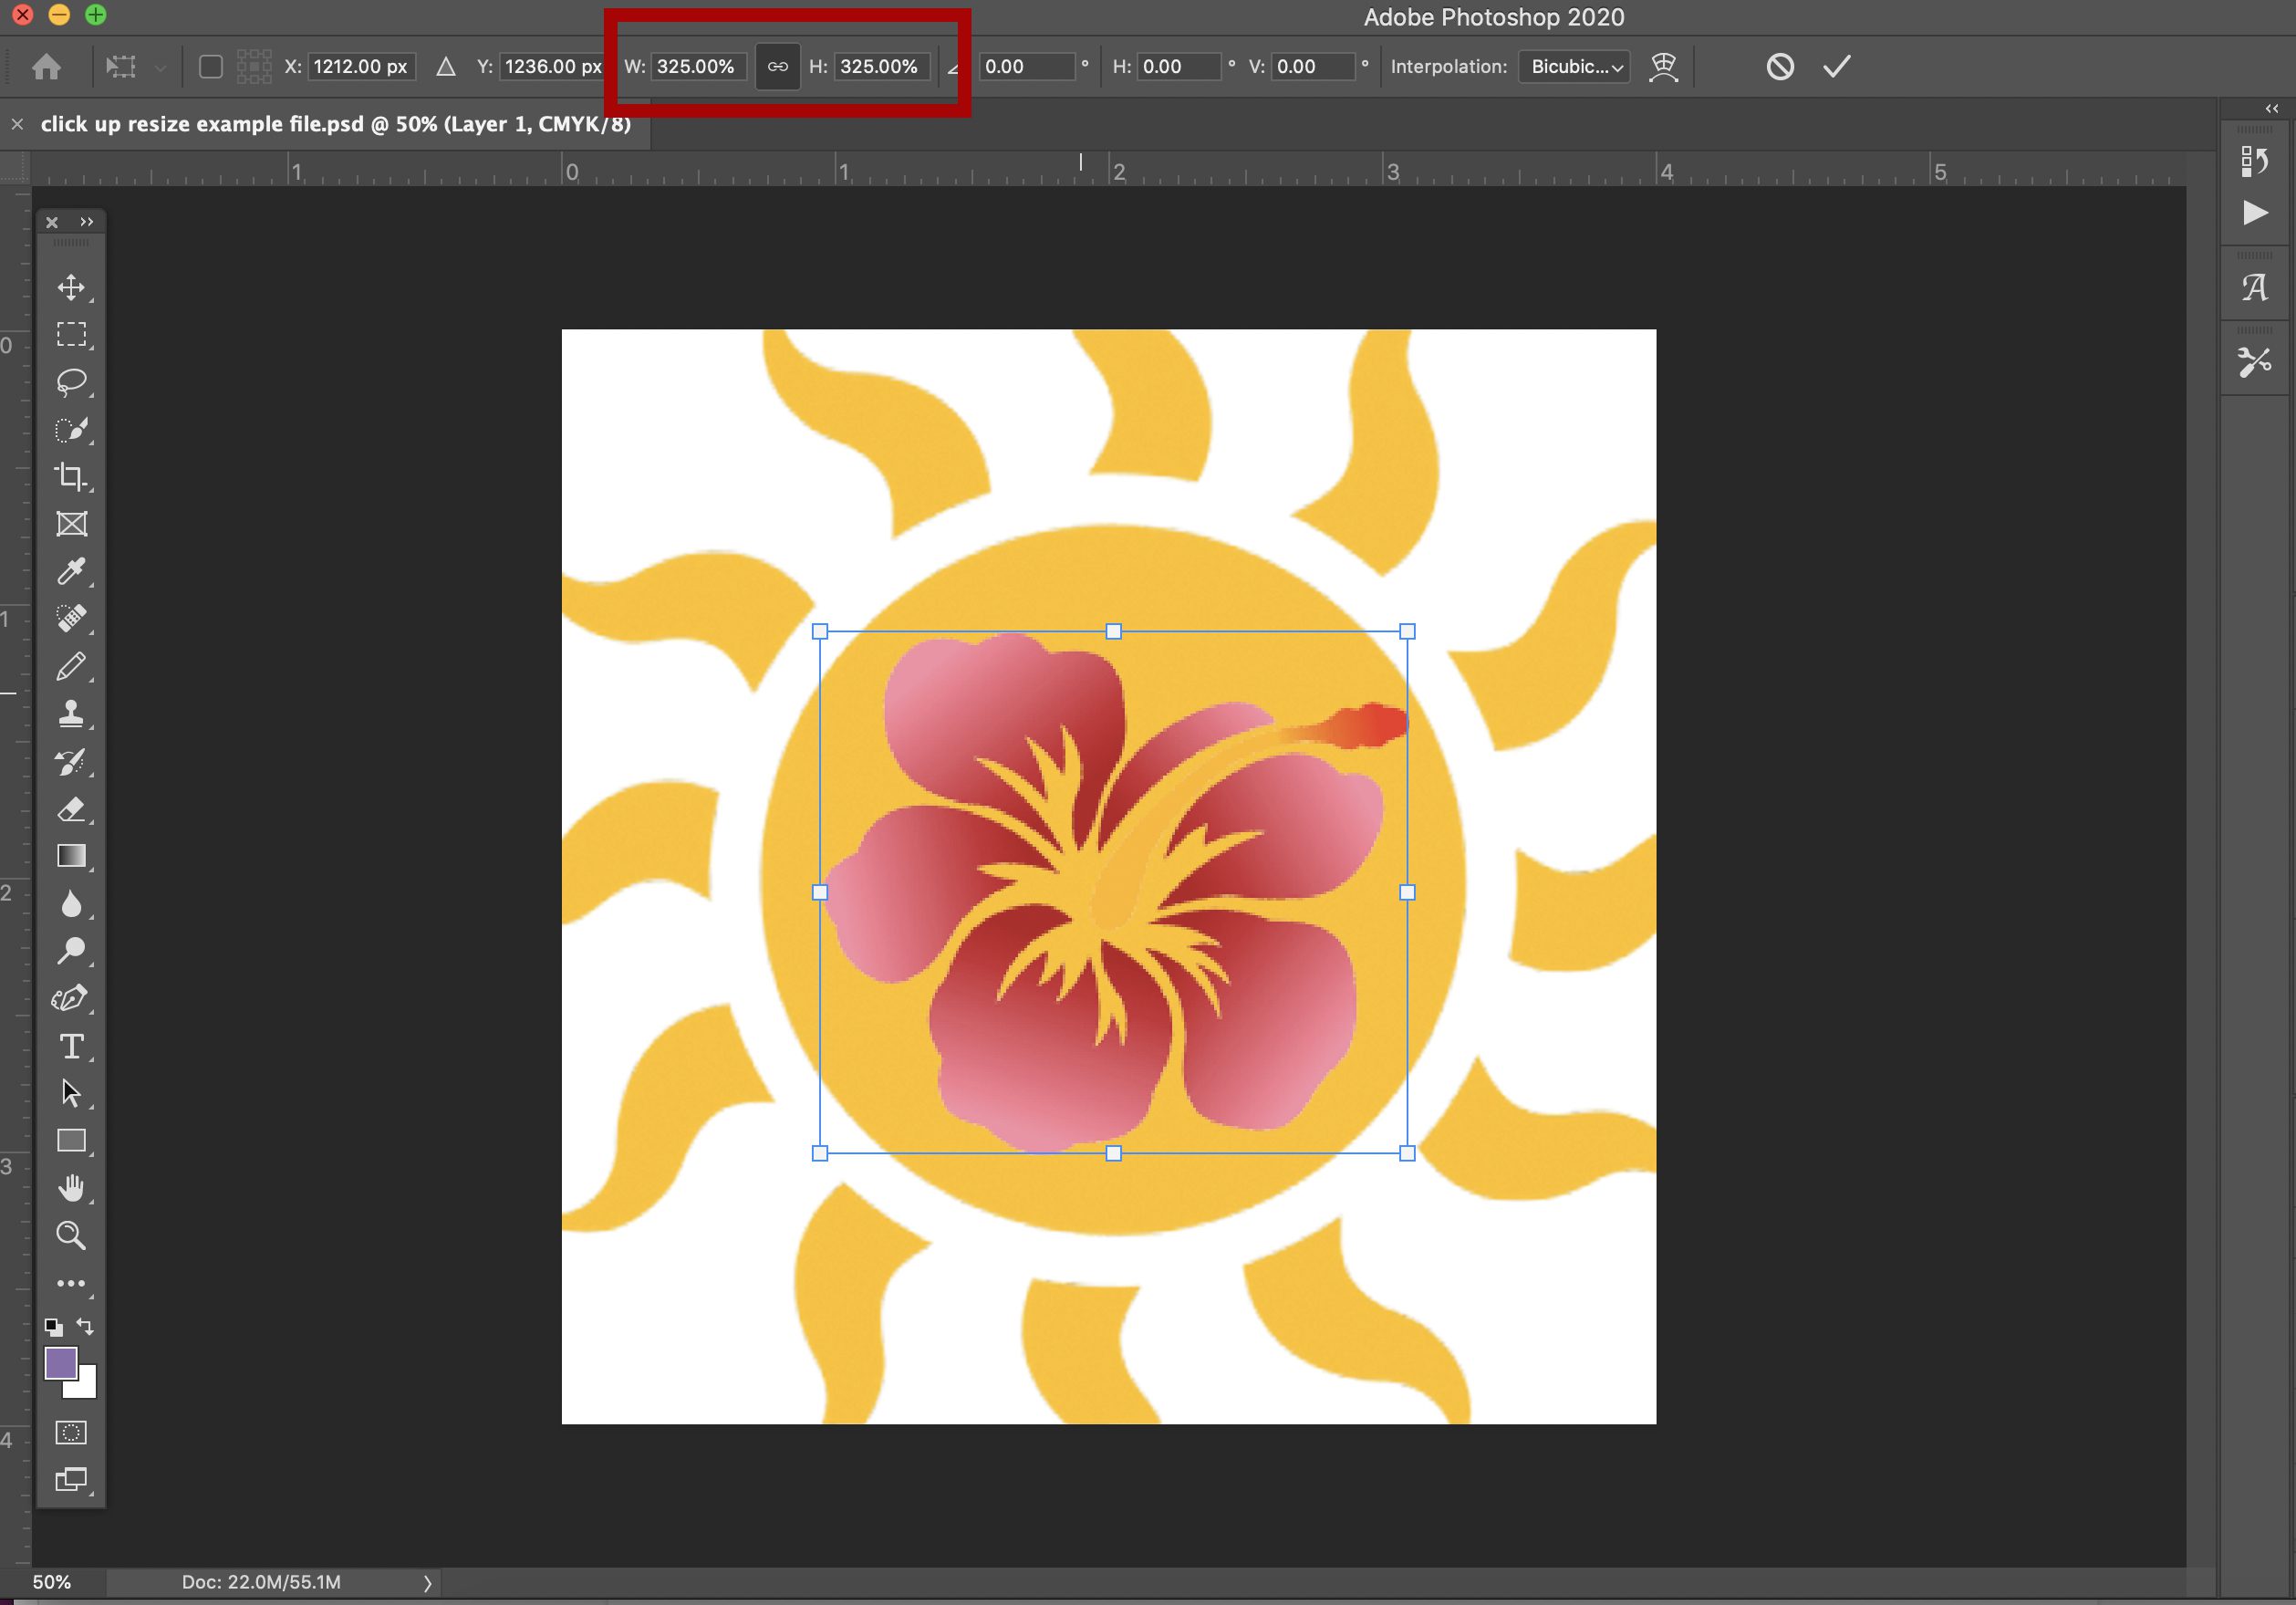
There’s one other option for sizing here. Whether you choose Scale or Free Transform, you can use the handles on the bounding box as described above, or you can set the (H) height and (W) width percentages manually in the Options bar.
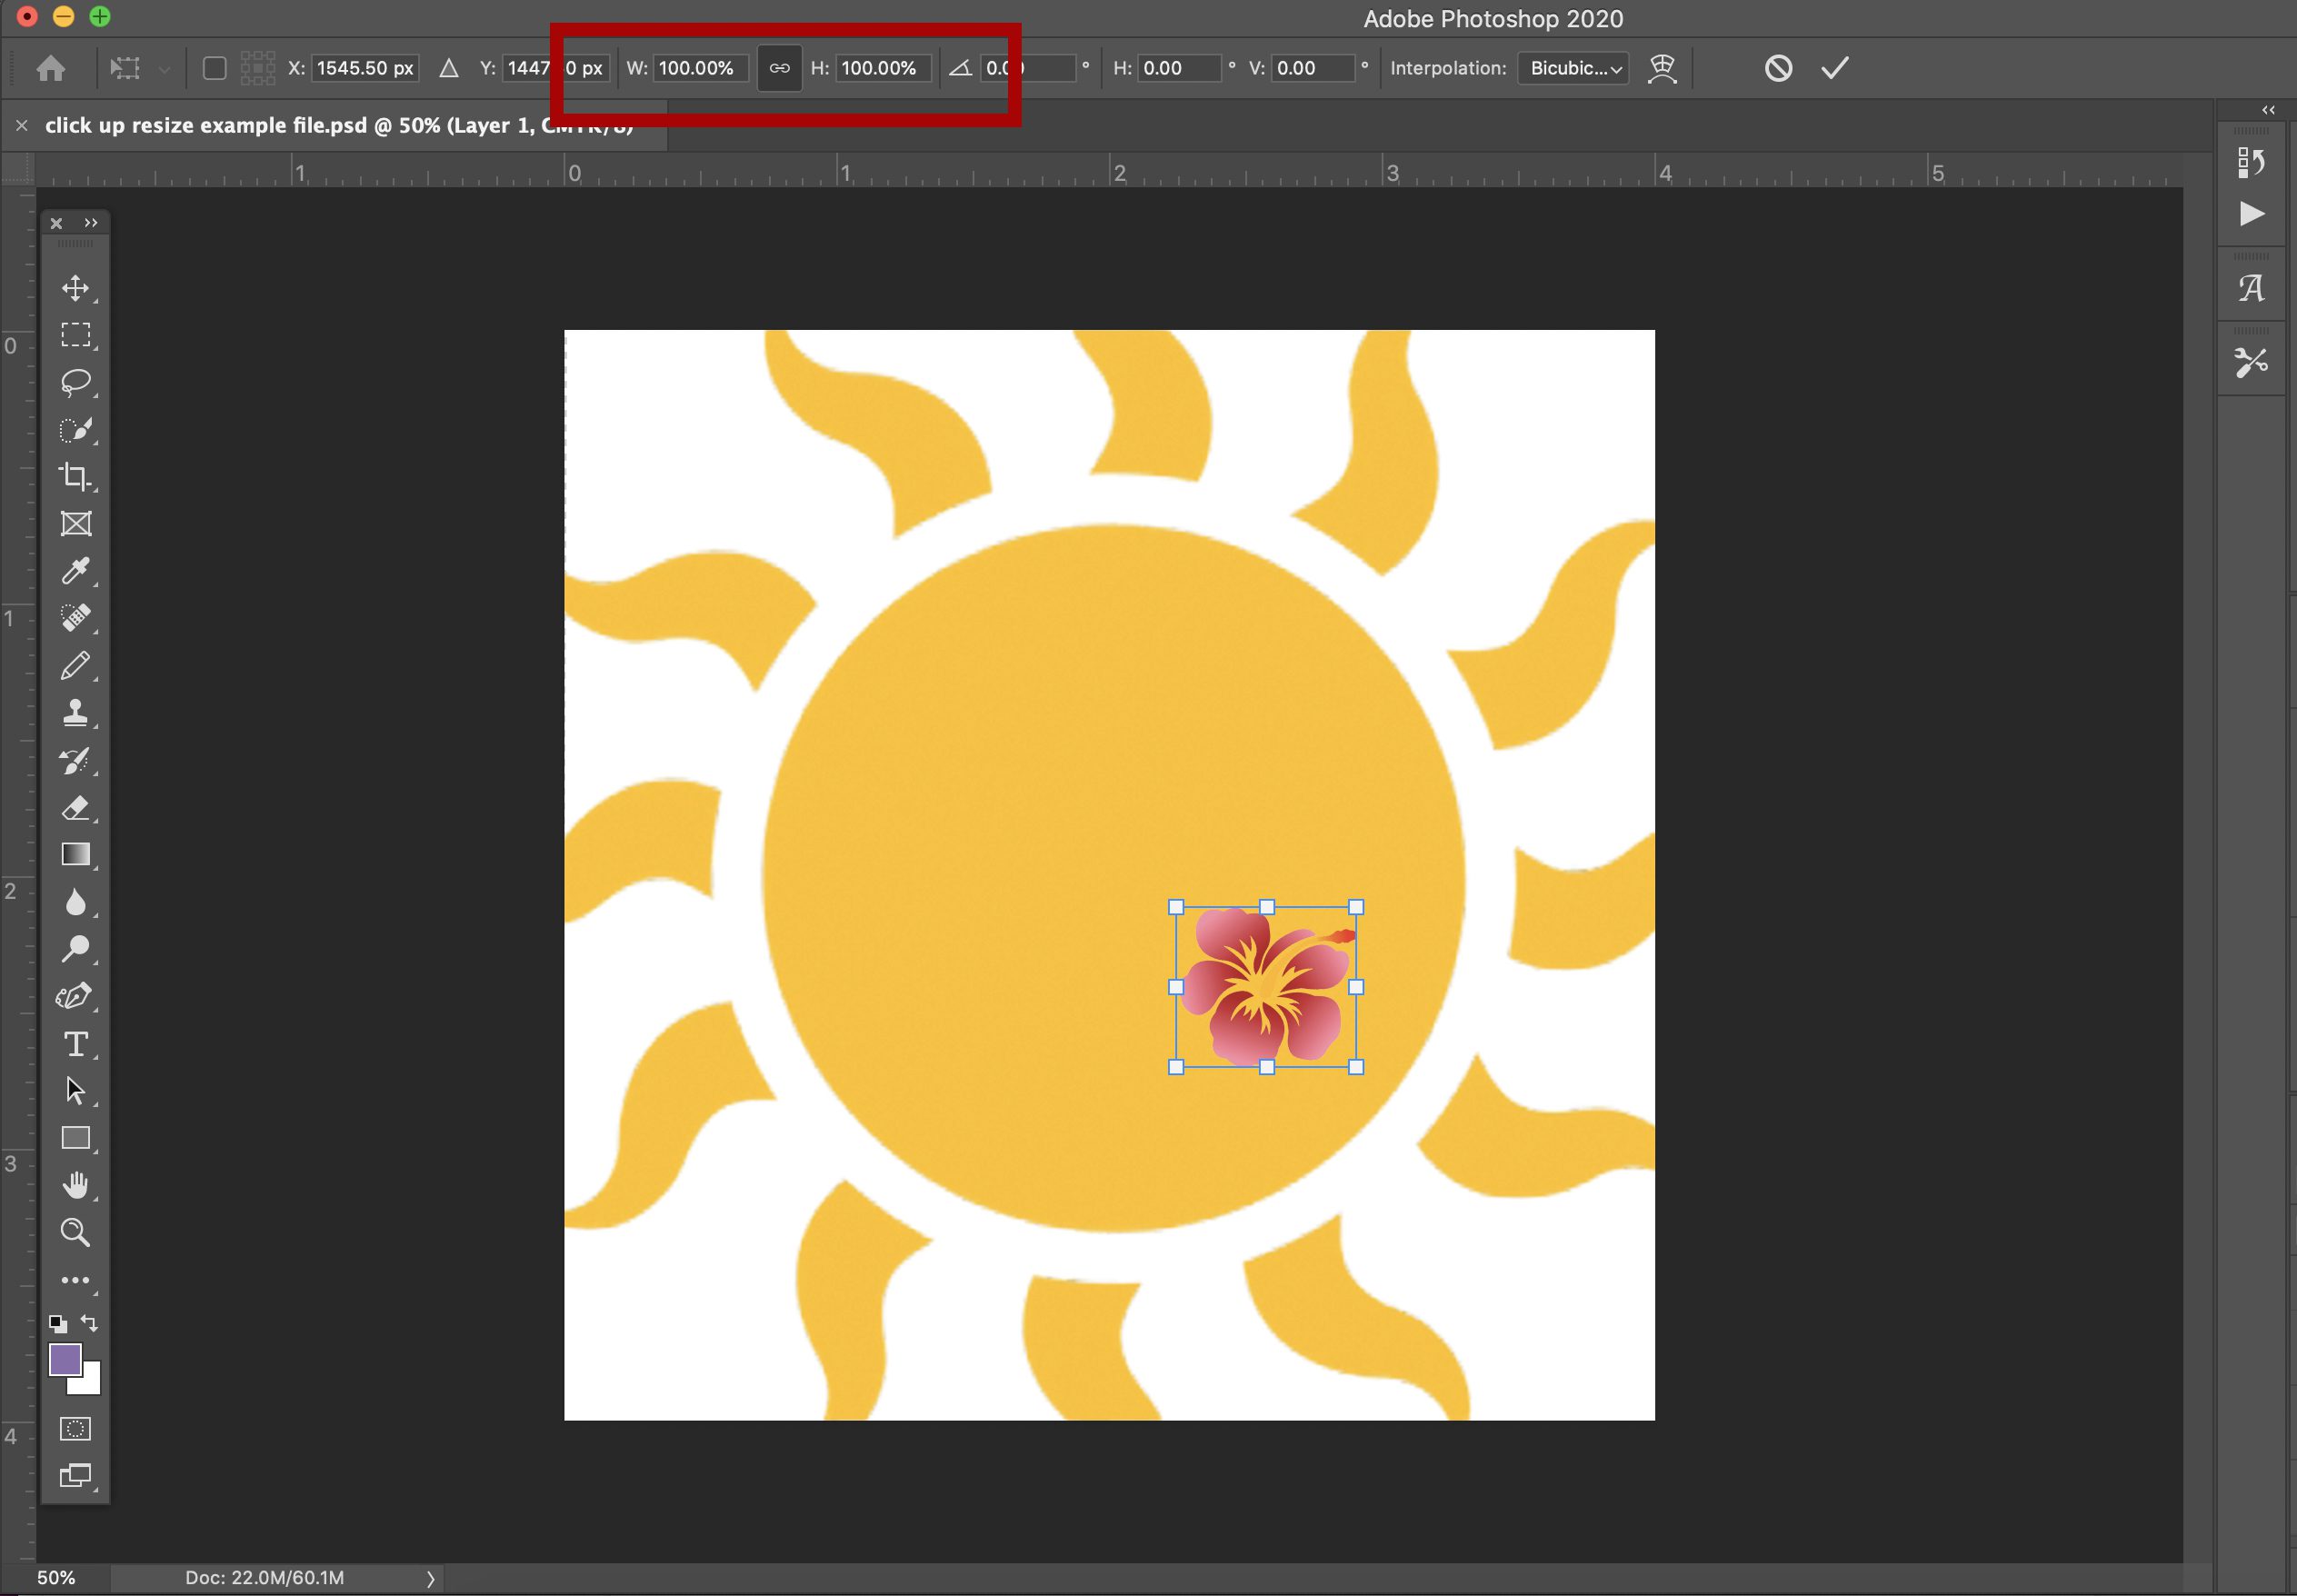
I selected the layer with the flower this time. I made sure the Maintain Aspect Ratio icon was selected and increased the height percentage to 325%. The width automatically adjusted to the same percentage because the link was activated.
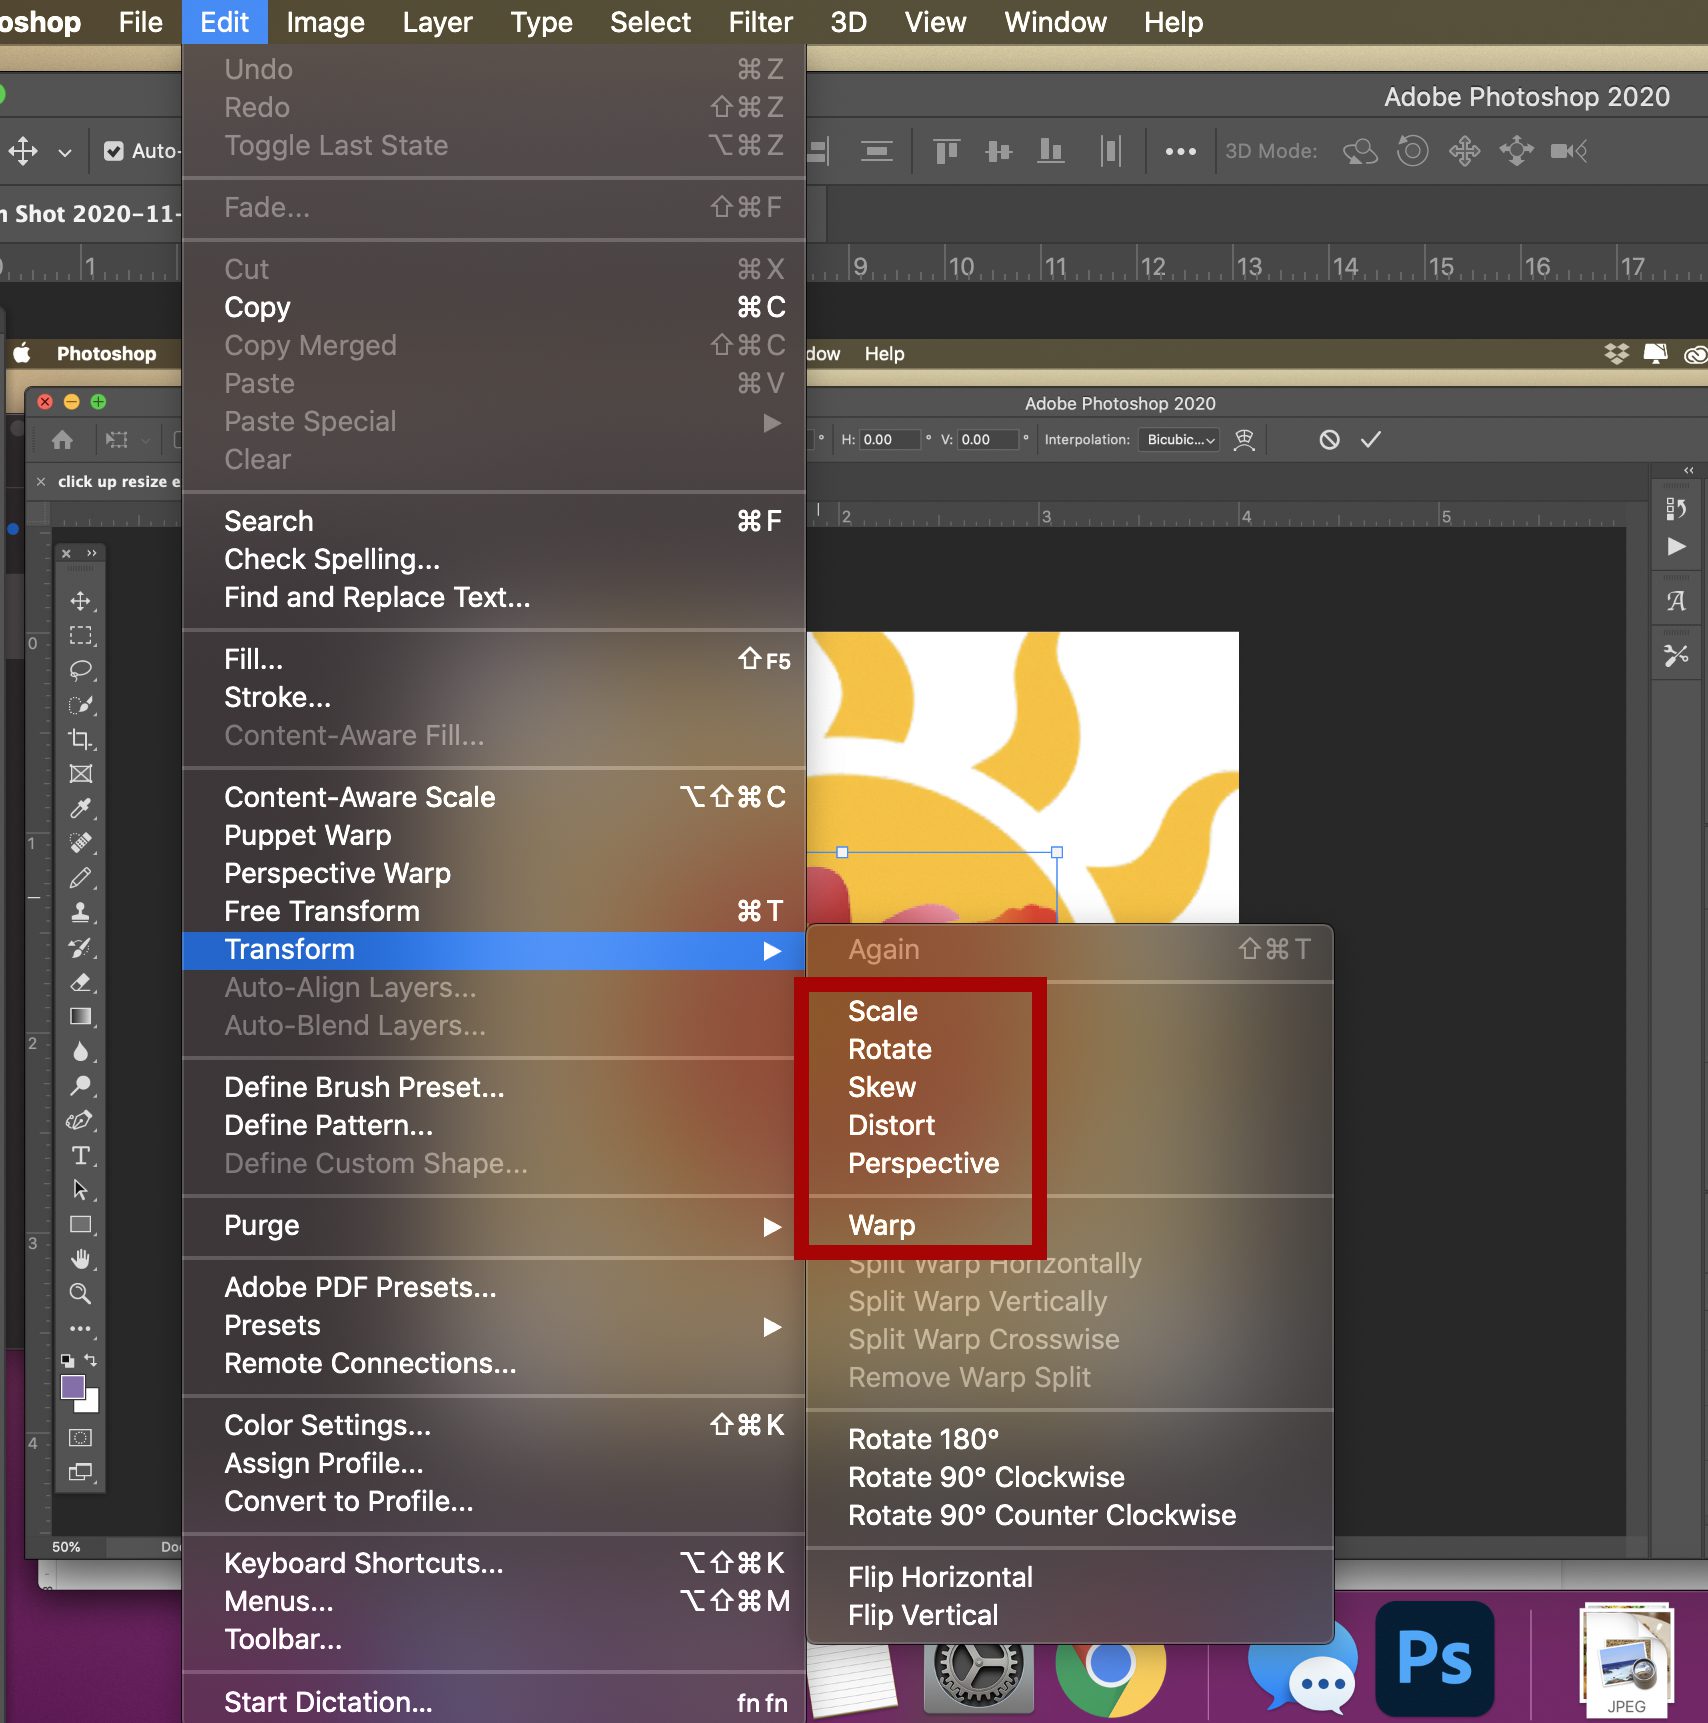
Resizing an Object Using Transform Sub-options
The Transform command has several other options like rotate, skew, distort, perspective, and warp.
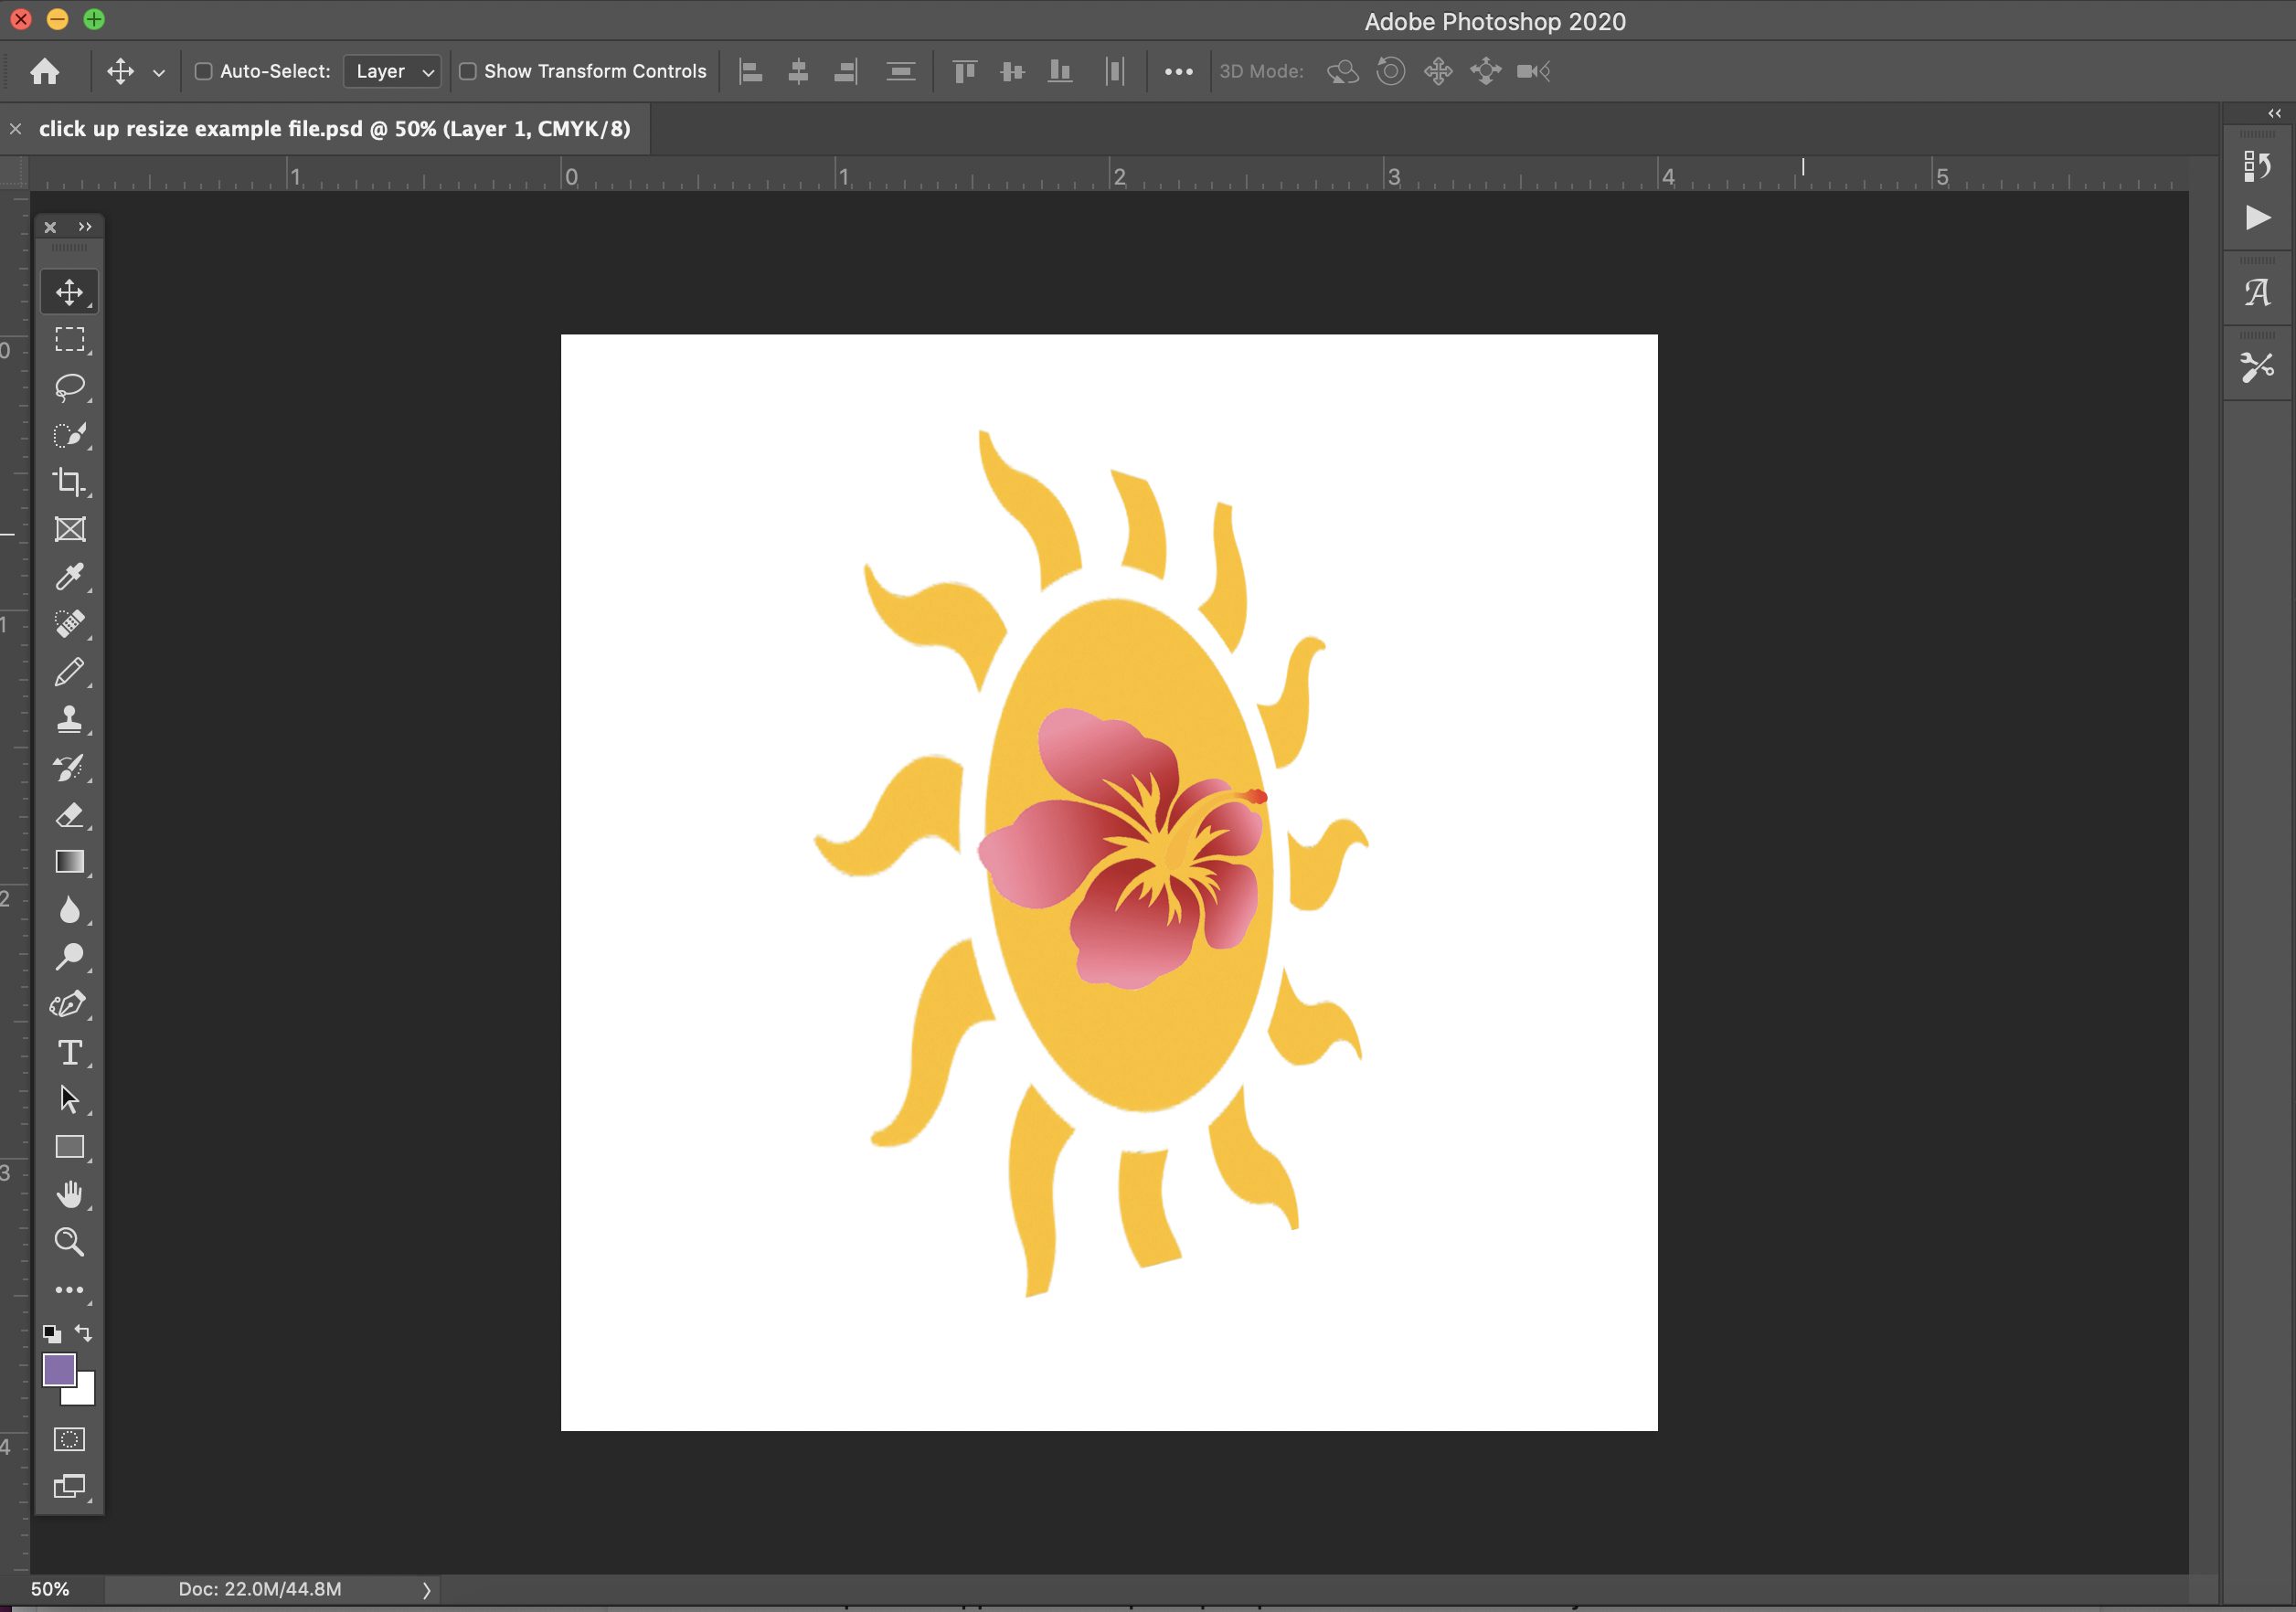
These are other ways to resize an object in Photoshop to create different effects. In the example below, I used the perspective option to make the sun and flower look as if they are receding in space. This is done by adjusting the bounding box handles until you get the effect you want. I also used Free Transform on the flower to reduce its size.
Here’s a quick description of what each of the subfunctions will do. For a more detailed discussion, view this article.
- Rotate will rotate the image around a fixed reference point. If you move your pointer outside the bounding border it becomes a curved, two-sided arrow. You can then drag the pointer to rotate the image. Press Shift to move the rotation in 15° increments.
- Skew will slant your object vertically and horizontally. Just drag a side handle to slant the bounding box.
- Distort allows you to stretch your object in all directions. Use the corner handles to distort the shape.
- Perspective applies a one-point perspective to the chosen object. Grab a corner handle and drag to apply the perspective you want.
- Warp allows detailed manipulation of the shape of an object. When activated, a “mesh” graph appears over the image. Drag the control points, a line, or an area within the mesh to change the shape of the mesh and the shape of the object will follow.
Keyboard Shortcuts
Because it can be more efficient to keep your hands on the keyboard, here are some keyboard shortcuts you can use for resizing.
- Use Ctrl + T for Windows or Command+T for Mac to activate Free Transform. This will place a bounding box around the selected layer/object.
- Hold down your Alt key for Windows or Option key for Mac as you’re dragging the handle to reshape the area from its center.
- When dragging a handle on a bounding box in Free Transform, hold down your Shift key, which will constrain the aspect ratio as an alternative to clicking the Maintain Aspect Ratio button.
- Holding down Shift + Alt (Windows) or Shift + Option (Mac) while clicking and dragging a handle will resize an object proportionally from its center if you click a corner handle, or will adjust opposite sides equally if you are using a side handle.
- When a bounding box is visible around an object, right-click for Windows or Control + click (Mac) will display the Transform options sub-menu containing the rotate, skew, distort, etc. If you select any of these sub-options, you can hold Alt (Windows) or Option (Mac) while clicking and dragging to perform the function.
- Further, with Free Transform active, you can temporarily switch to the Skew, Distort, or Perspective modes directly from the keyboard without having to select them from any menu.
- For Skew or Distort mode, just hold down your Ctrl (Windows) or Command (Mac) key as you drag a side or corner handle.
- For Perspective mode, hold down Shift+Ctrl+Alt (Windows) or Shift+Command+Option (Mac) and drag a corner handle.
- Releasing the keys switches you back to the standard Free Transform mode.
- Pressing enter exits the Free Transform function.
Conclusion
Transform and Free Transform are the simplest ways I’ve found to resize objects in Photoshop. Once you’ve used them a couple of times, they really become second nature. You can use multiple transformations too to get just the right effect for your object.
This is a good place to start if you’re just learning how to transform objects. If you’re ready to move on, or just want more detailed and comprehensive instructions, check out this article on Adobe’s Help page.
If you try these techniques or others, leave us a comment, and tell us how it went!
Featured Image via Ivan Lukyanshuk / shutterstock.com
[ad_2]
Source link