[ad_1]
It can be difficult to find a video editing app that has everything you need in one place. If you want to apply effects, filters and stickers, you may have to do it in one app, then use another to trim your video and add music. What about if you want to stitch together multiple videos with blank canvases and photos? You’re already at three separate apps, which could mean three premium subscriptions to avoid ads and watermarks. The InShot app solves that.
InShot is a mobile photo and video editing app for iOS and Android that’s feature-rich and lets you drill down into all sorts of editing and enhancement options. Just about everything you’d want to do to a video can be done within this one app, and there are all different payment options so you can invest as much or as little as you want.
One drawback of the InShot app is that there isn’t a lot of advice on how to use it. In this article, we’ll go through each feature and option for both photo and video editing – there’s a lot of crossover, and since you can add photos to your videos, both aspects of the app need to be covered. At the end, we’ll also quickly cover the collage feature.
Note that the screenshots in this article are from an iPhone.
Getting Started with the InShot App
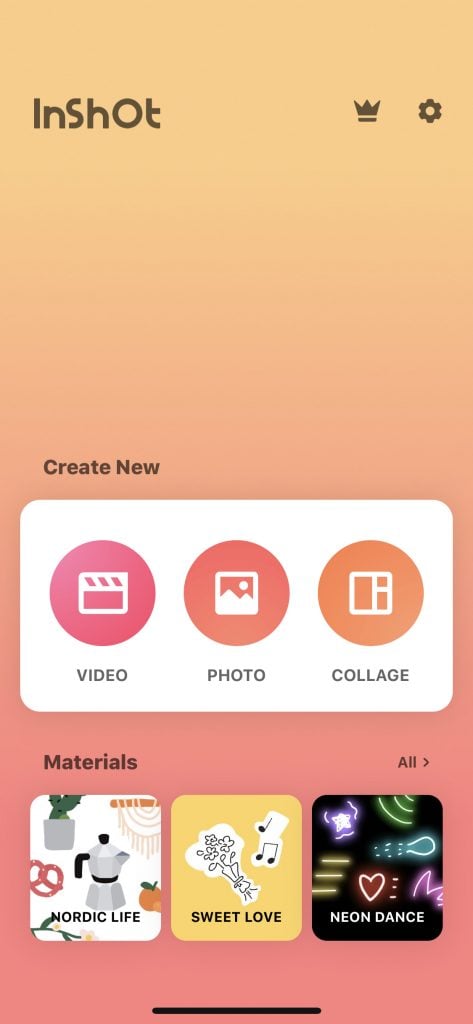
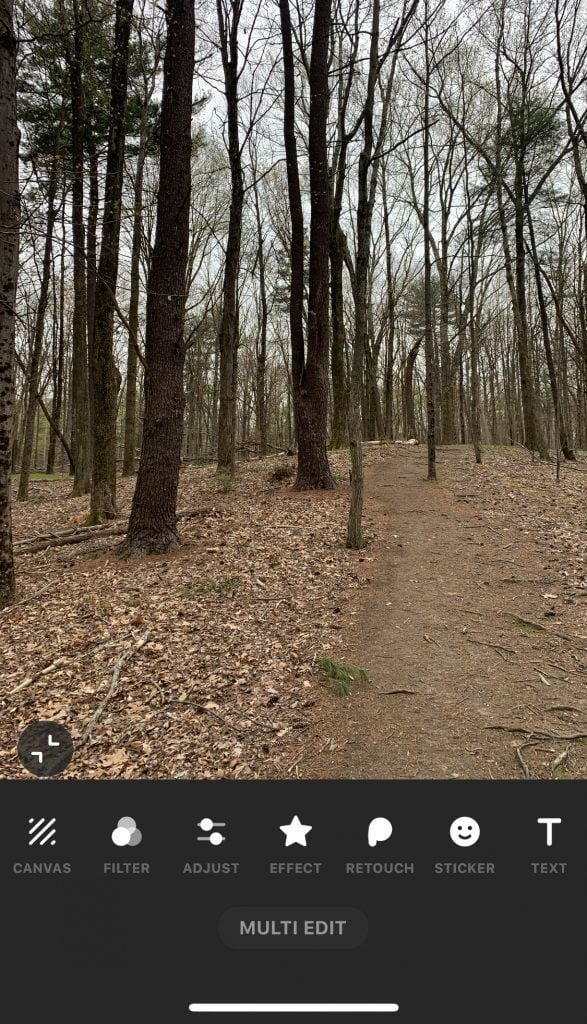
The InShot app interface is minimalist when starting out, and the options are obvious.
Adding a Photo
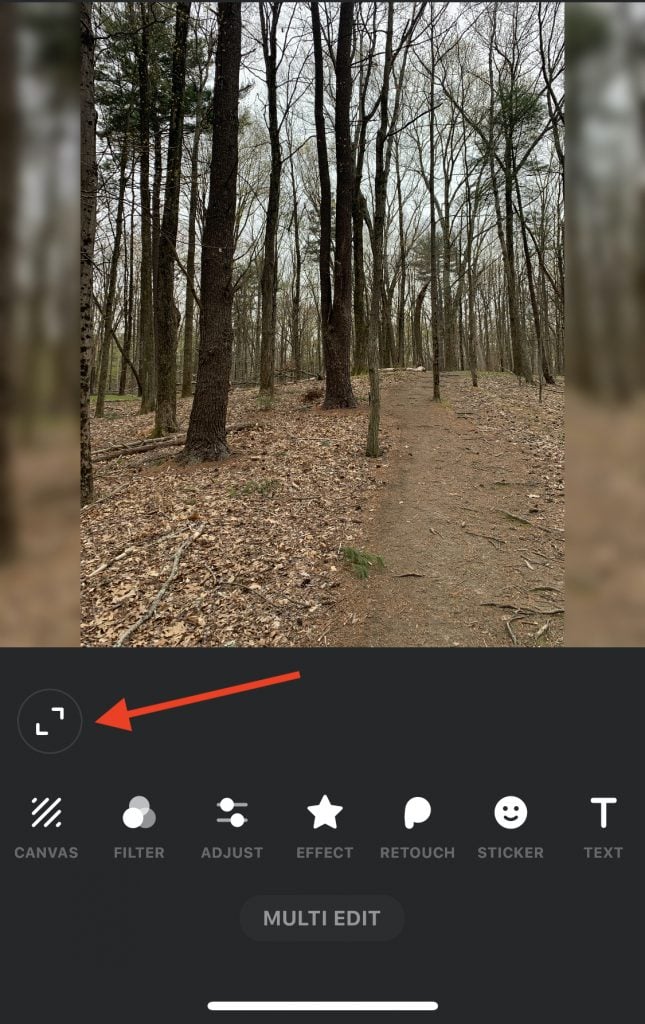
Clicking the Photo option on the main screen lets you upload an image from your device. After uploading a photo, you can leave it in the default 1:1 orientation – which may have blurring on either side – or you can click the arrows directly underneath the image on the left to expand it to fill in the space.
Adding a Video
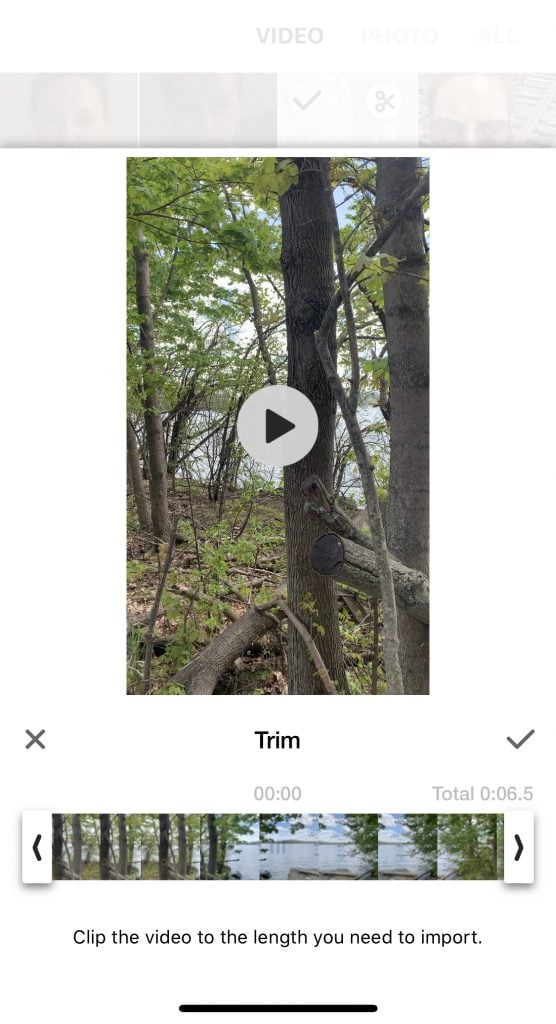
You can only import a video to the InShot app; you can’t actually film the video using the app. Once you select the video from your device, you can trim it before fully importing it by clicking the scissors icon, which brings you to this page:
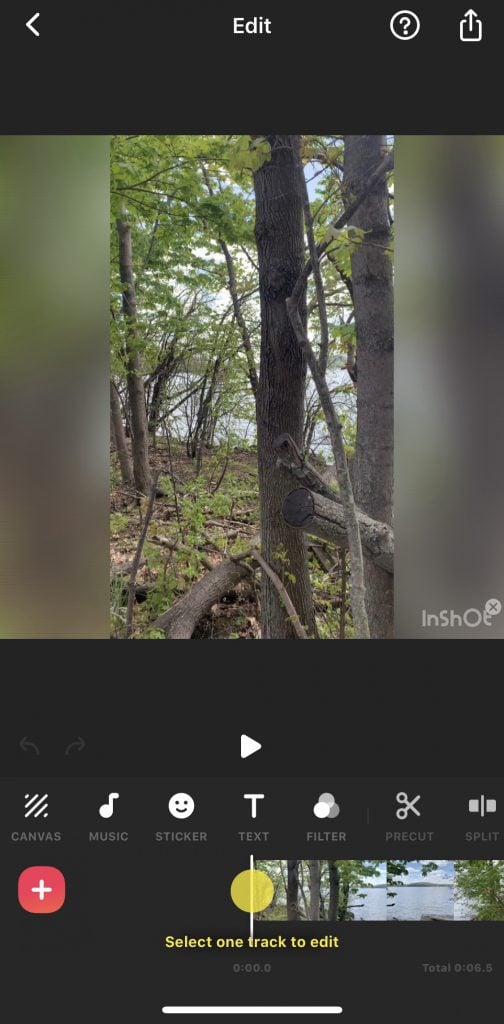
If you don’t want to trim it right now, click the green and white check mark on the bottom-right. This is the page you’ll be brought to:
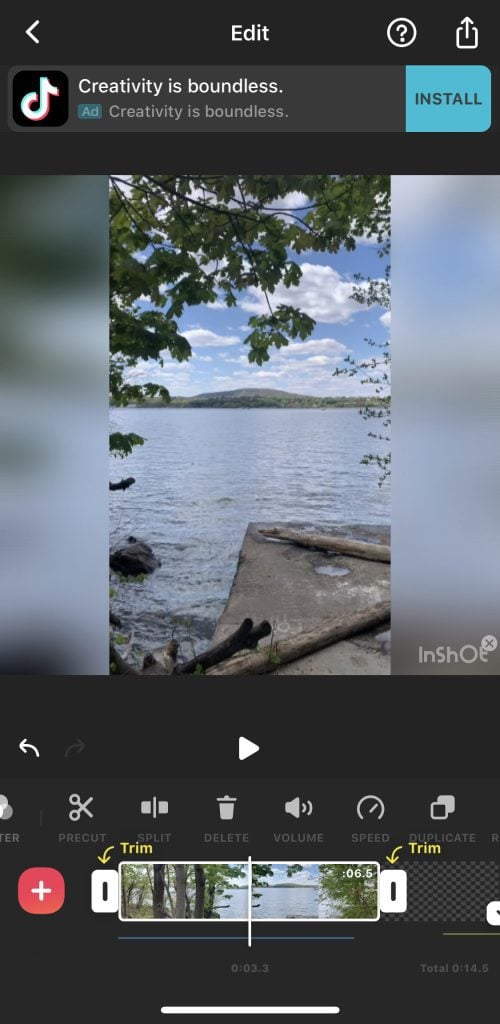
If you scroll through the “Select one track to edit” section on the bottom, you can choose the part of the video you want to edit. If you skipped trimming as the first step, you can trim the video here, too. Click the video slider on the bottom to bring up the trim option (see screenshot below). Tapping again will give you the option to zoom the timeline in and out, which means you can include additional frames to edit.
The plus sign on the bottom-left lets you add a blank section, a photo or another video. You may want to add a blank section to a video to create a natural pause or add something like a sticker or text to an otherwise blank canvas. Whatever you add will be tacked on to your original upload, and you can move the edit slider to those new sections. Long-press to swap the order of your sections and rearrange your video.
InShot App Photo and Video Editing Features
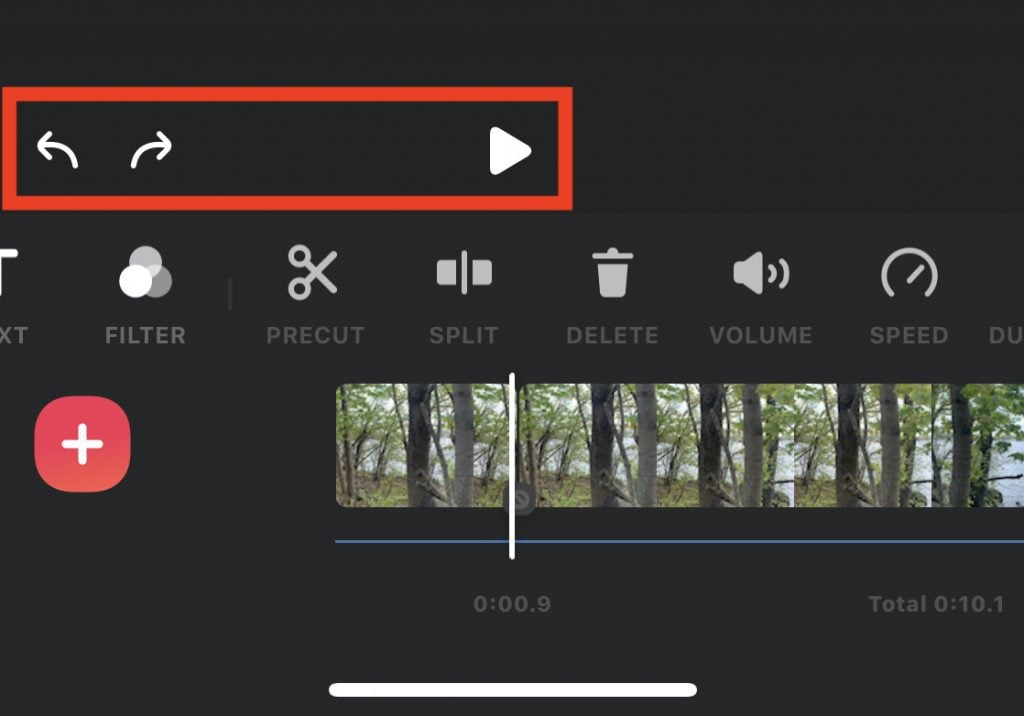
The row of editing options along the bottom opens up additional options and menus. There are undo and redo arrows, plus a play button so you can run your video to see if you like the changes you made.
There are a ton of editing options in here. Many are the same for photo and video, but some have distinct differences. Let’s go through them.
The order of the editing options differs slightly in the photo and video sections. For this article, we’ve laid them out in a way that makes sense, but they don’t necessarily follow the same order as the in-app menus.
Video Manipulation: Precut, Duplicate, Speed and Delete
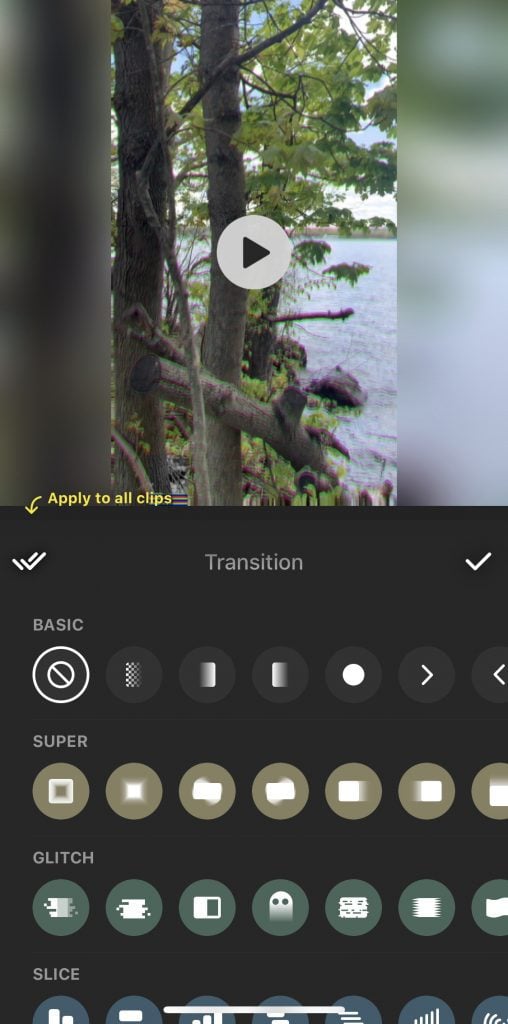
In the Precut menu, you can trim, cut or split your video. There’s also a separate Split menu option that you can click on to create a break in the video based on where you are in the video slider at the bottom. When you create a split, you can then tap on a transition icon in the slider to bring up a menu of different transitions to apply.
The Duplicate option lets you duplicate sections of the video. The Speed menu lets you slow down or speed up the video. There’s also a Delete option that lets you remove sections of the video based on where you are in the slider.
Canvas
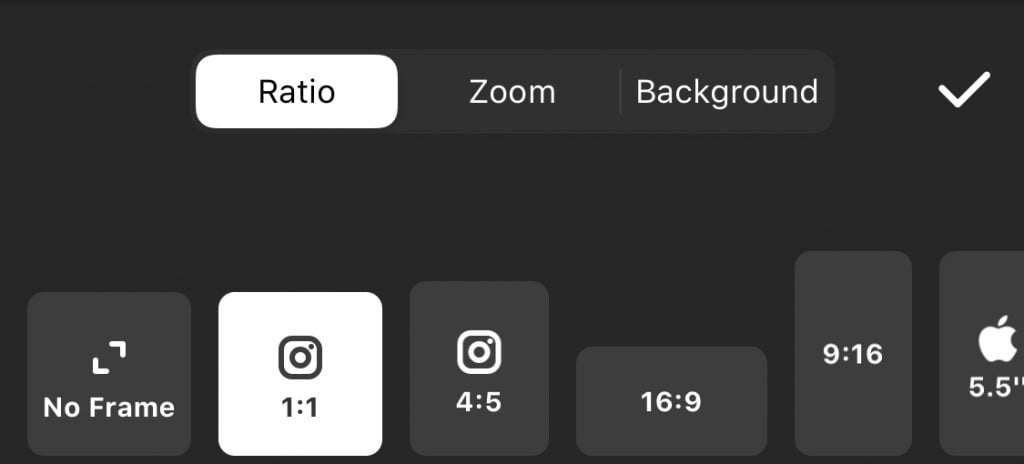
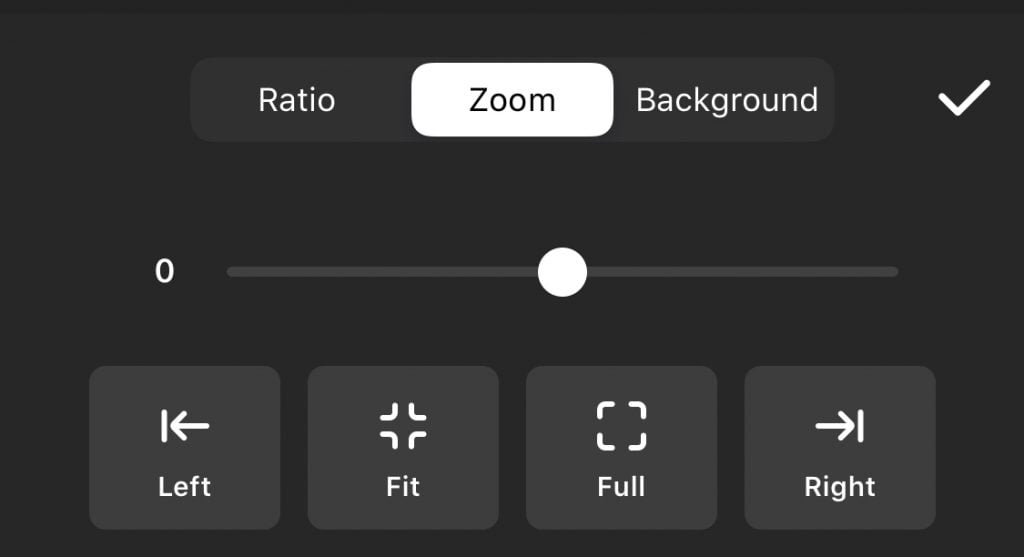
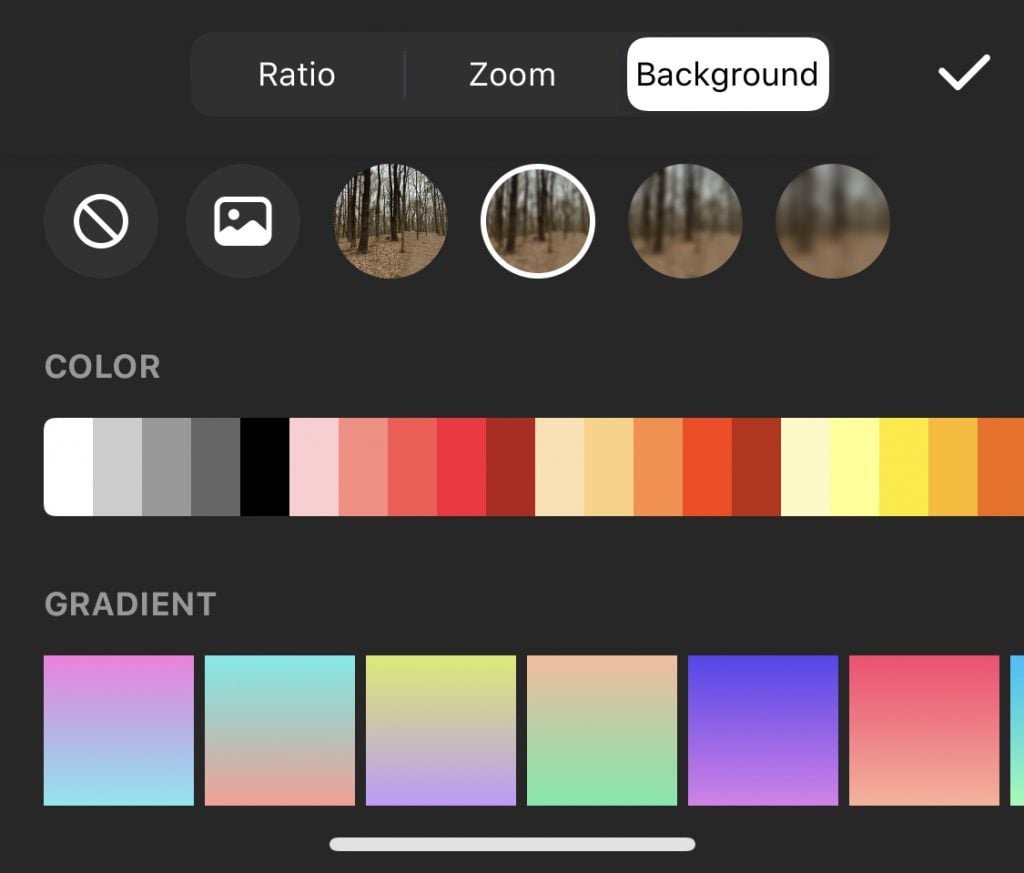
The Canvas option gives you more orientation options, including ones specifically for Facebook and Twitter. You can also zoom or change the background. Background options include different blur levels, colors, gradients and patterns.
Crop, Rotate, Freeze and Reverse
In the Crop menu, you can either crop your image or video manually or choose from common orientations. In the Rotate menu, you can rotate or flip the image or video. There are also options to change the angle or zoom. With videos, you can freeze or reverse a section.
Filter
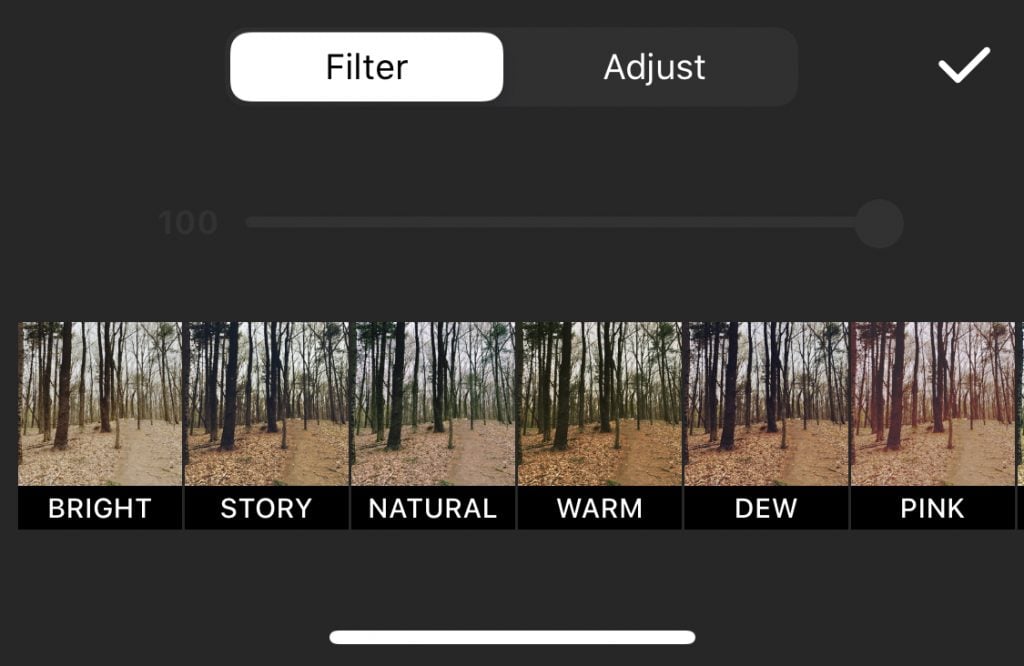
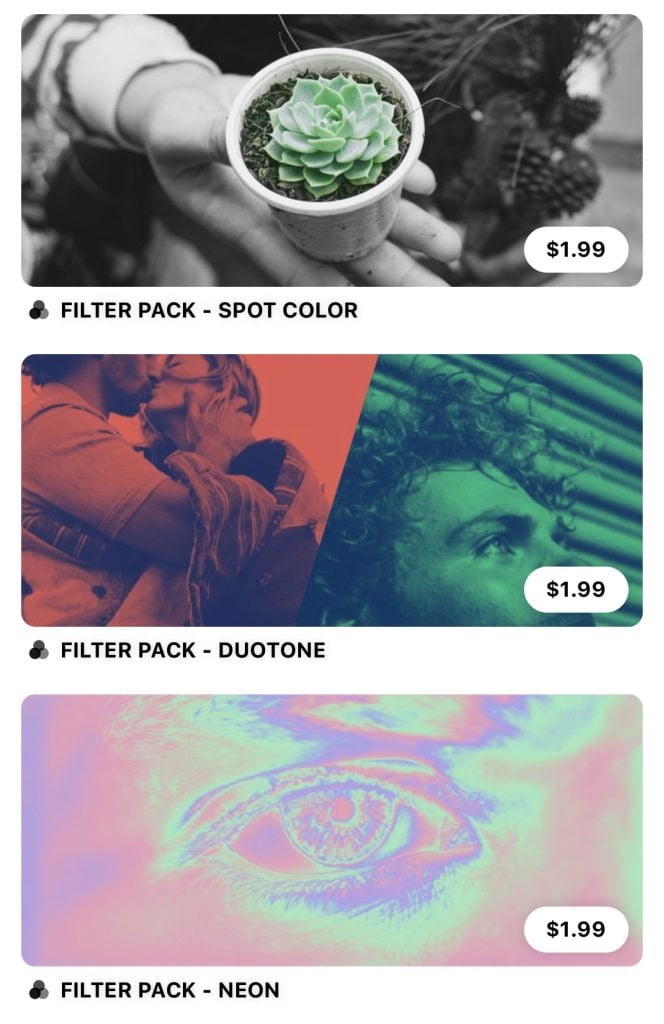
The Filter category has several filters to choose from. You can also click More at the end to buy additional filter packs for $1.99.
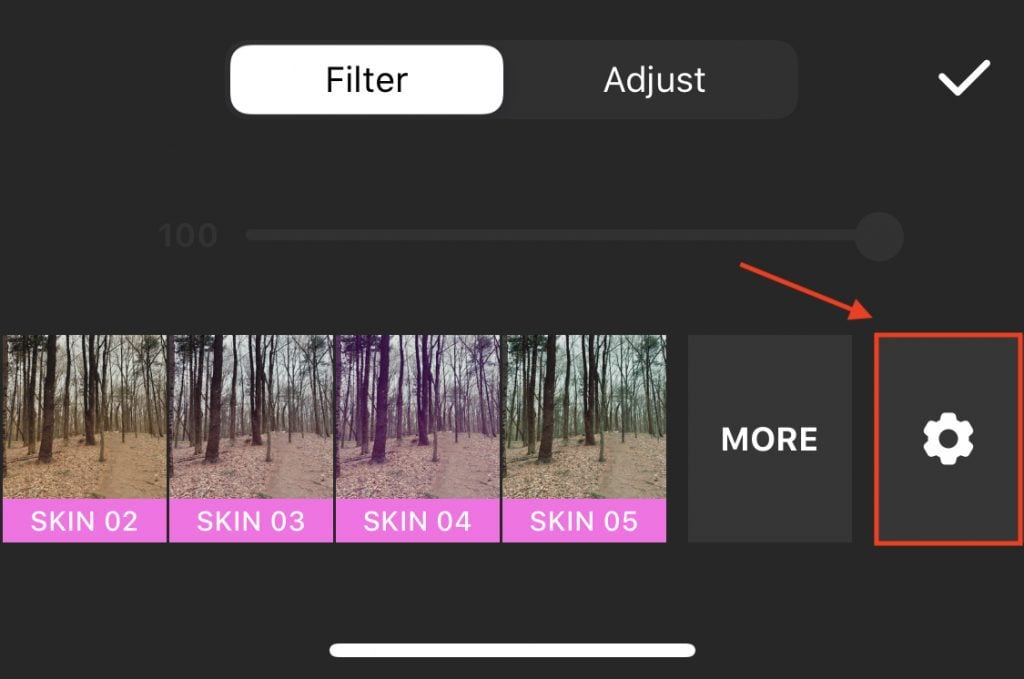
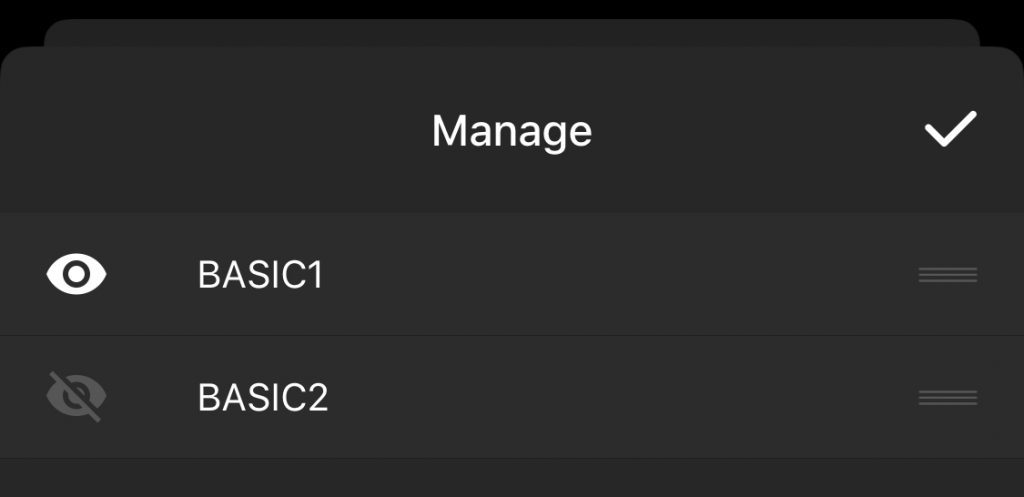
There’s another way to get more filters, too. Scroll all the way to the end of the list of filters, then click the wheel icon. By default, the BASIC2 filter set will be turned off. Click the eye icon to enable it. When you go back to your list of filters, you’ll notice several new ones were added.
Adjust
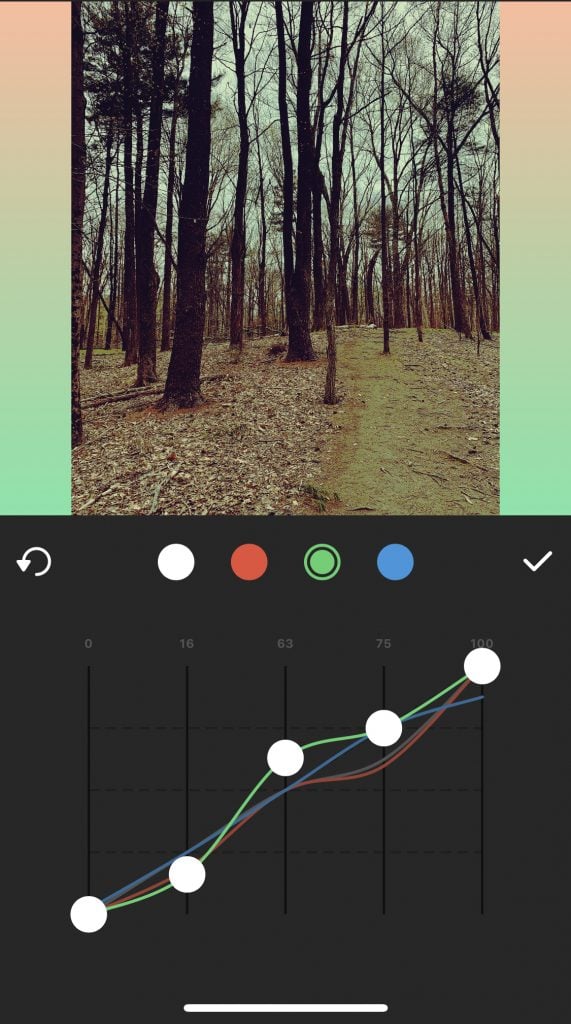
From the Filter menu, you can click Adjust, or you can go back to the main editing menu and choose Adjust from there. The Adjust menu has the different types of photo editing you’re probably familiar with, like contrast, warmth, saturation, grain, etc. There’s also an option called Curves, which seems to put white, red, green or blue tints in different areas of the photos based on how you play with the points along each color in the graph.
Retouch
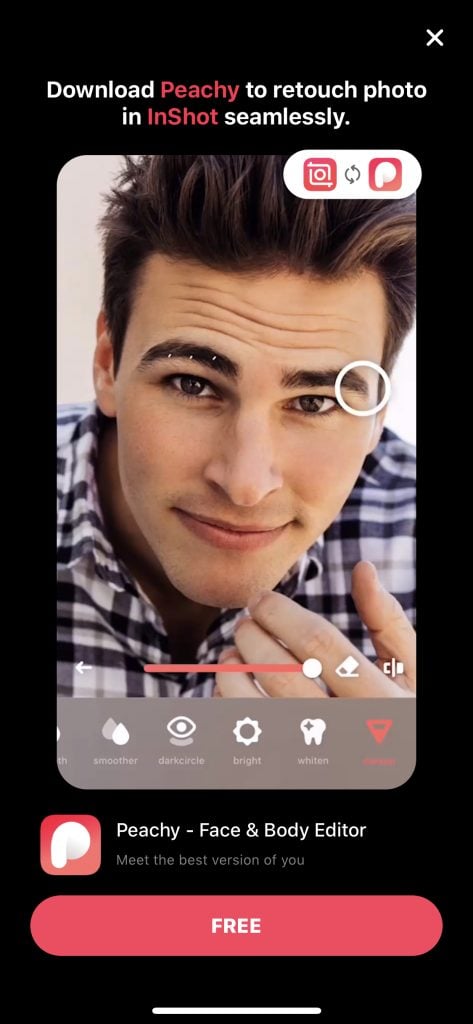
This is the only option that requires you to use another app. When you click Retouch, you’ll be directed to a page that promotes the Peachy app, which lets you use retouch features in the InShot app.
Effects
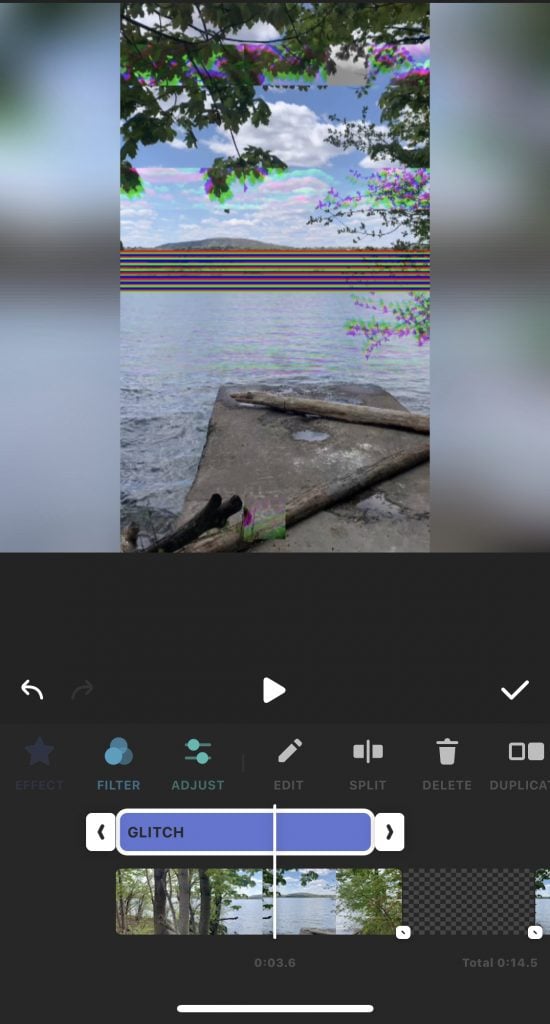
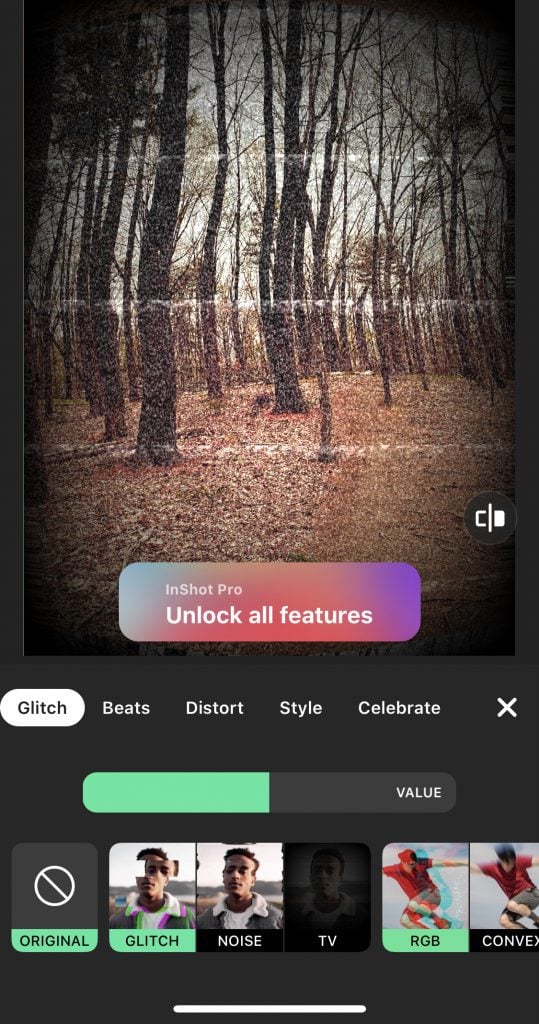
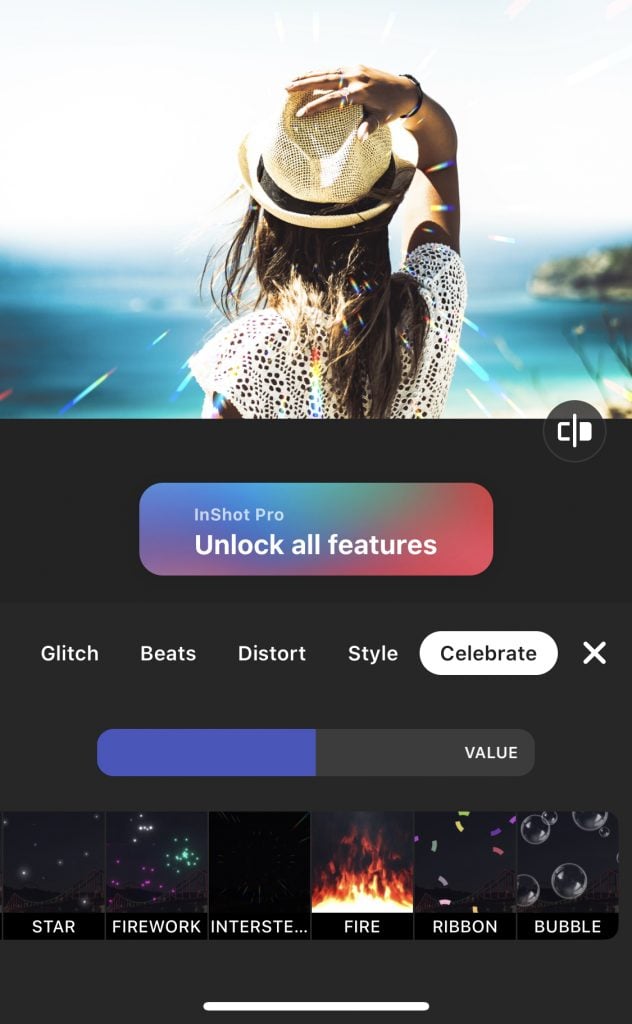
The next editing option is Effects. There are five effects categories, and each category has a number of effects to choose from. You’ll first apply an effect to one section of your video. However, you can then use the slider at the bottom to pull the effect to the left or right to automatically apply it to additional sections. In the example below, I used a Glitch effect on the first section and then expanded the slider to include more of the video.
Glitch
In the Glitch category, you can do things like make the image or video appear to have a glitch, add noise or give it an old school snowy TV look.
Beats
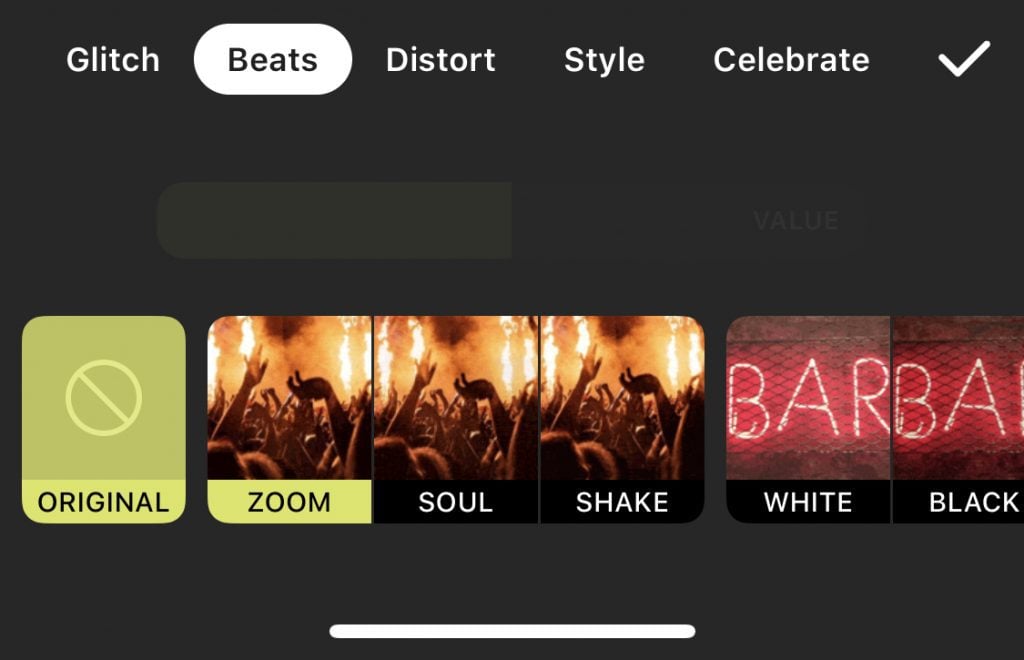
The Beats category is for adding motion, and it’s not available for photos. You can make your video do things like flash and pulse.
Distort
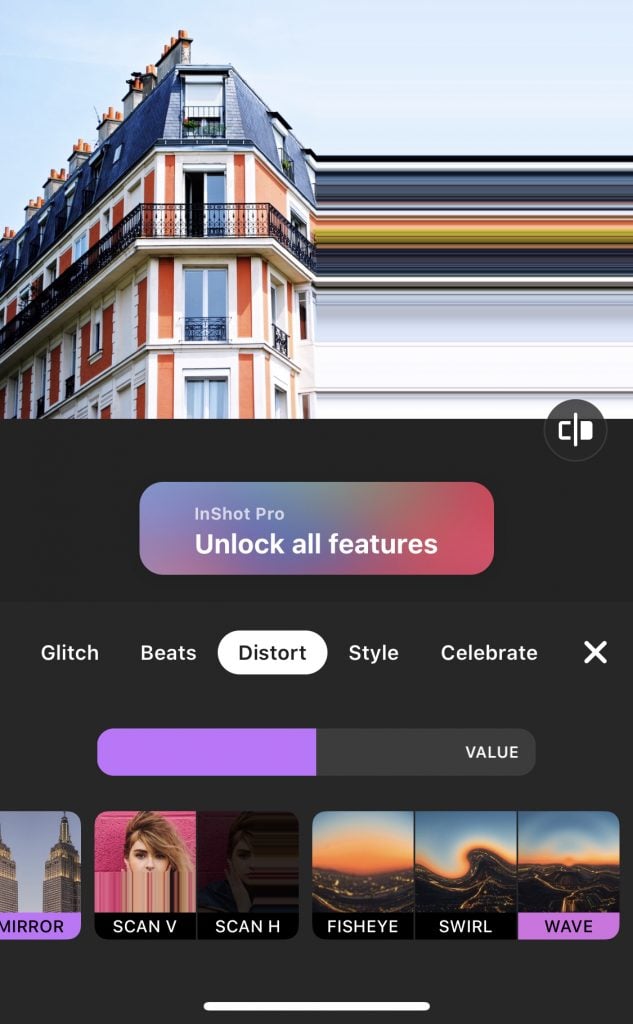
Distort does things like flip or mirror your content; give it a fisheye, swirl or wave effect; or make it look like a scan gone wrong, like in the example below.
Style
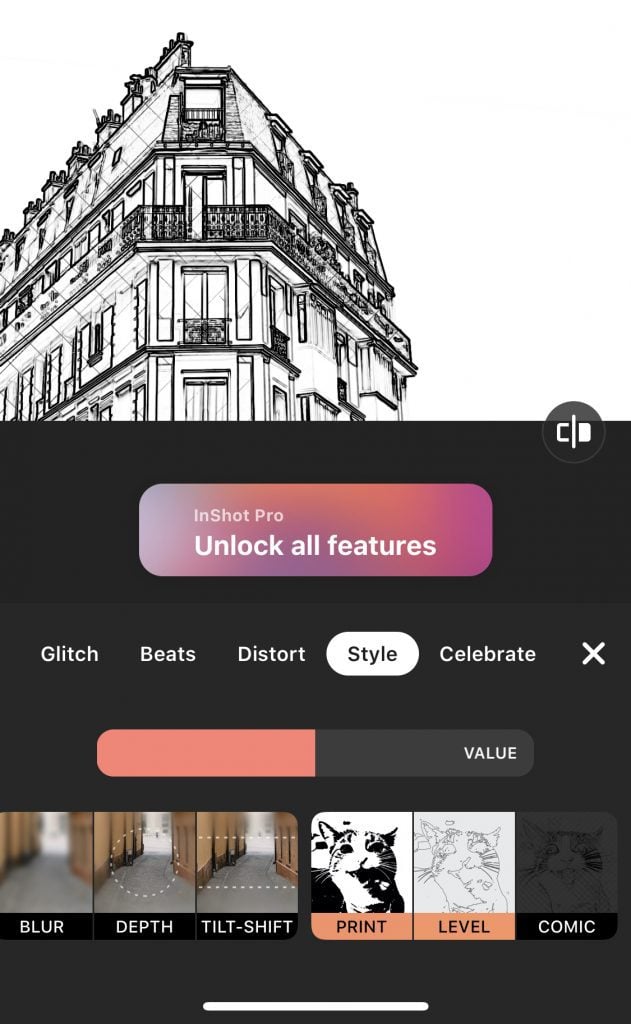
Style includes a few different mosaic and blur effects, and it also lets you turn your content into one of three types of sketches. The example below has the Comic effect.
Celebrate
With Celebrate, you can put a neon or flash overlay on your media or add things like bubbles, snow or fireworks. In the example below, I have the Interstellar effect on, which added those thin lines of light.
Stickers
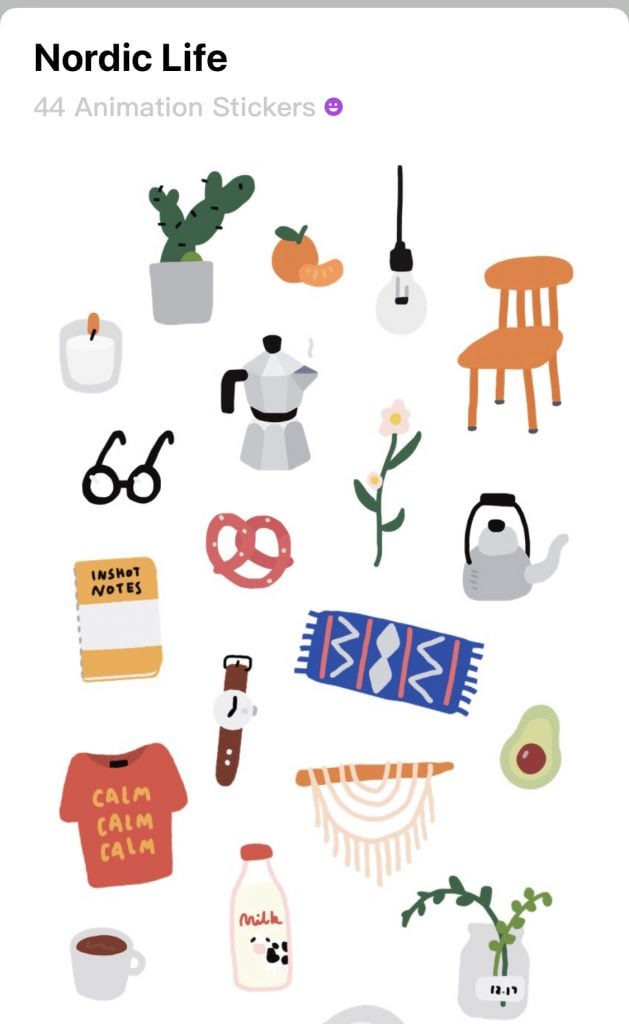
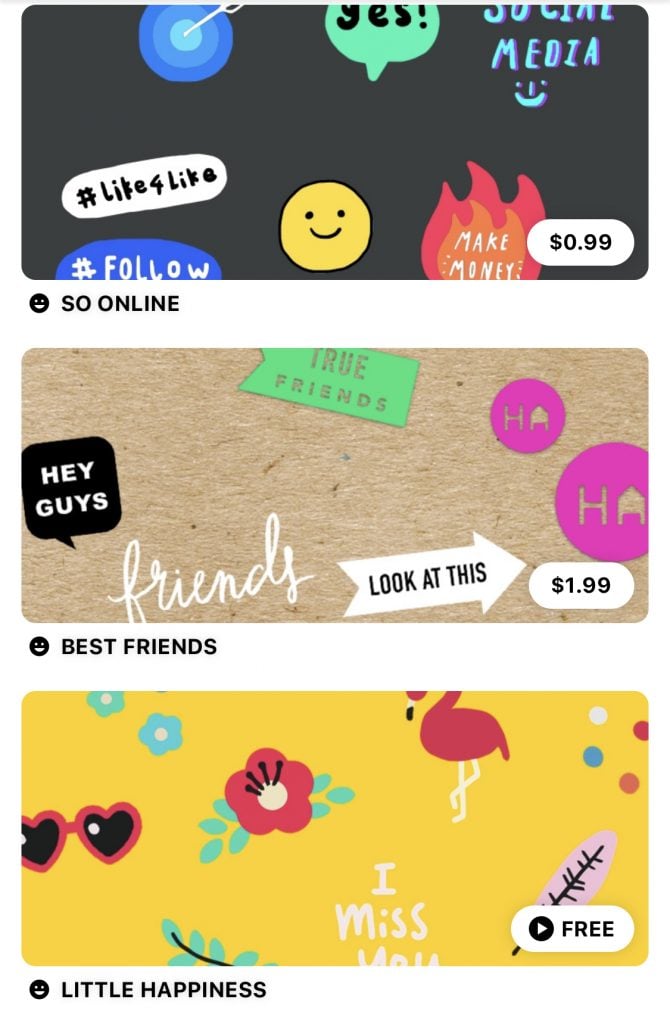
There are all sorts of stickers and effects that you can add to photos or that will sync with your video. Some sticker packs are free as long as you watch an ad, while others cost between 99 cents and $2.99. Click the shopping bag icon to visit the store.
The icons along the bottom let you filter different sticker and effects packs by the following categories:
- New
- Smiley face, which seems to be mostly illustrations
- Filters
- Text and fonts
The other icons represent sticker themes. You can also use an image from your device or import your own stickers.
Text
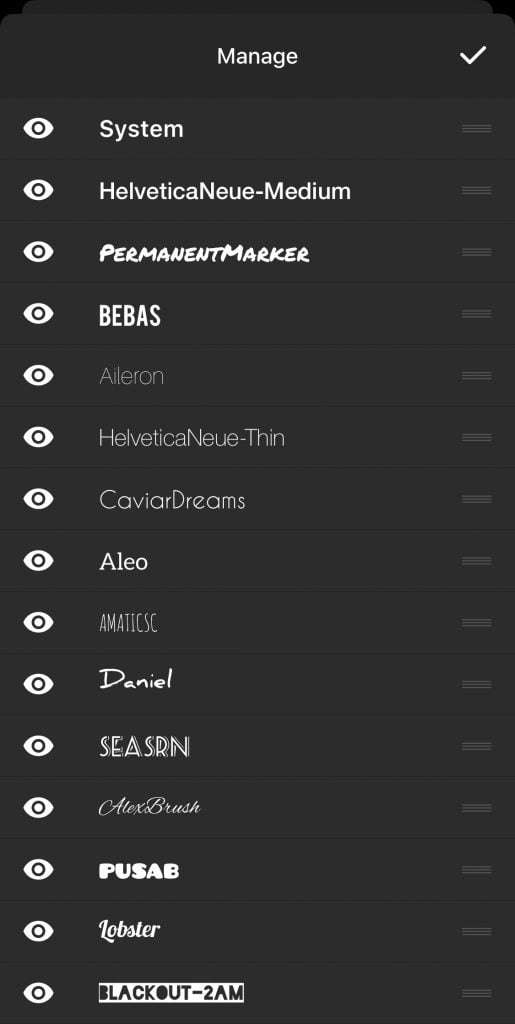
In the Text section, you can add text and change the color or font. You can also import fonts or purchase new ones. (Note that these are the same options as when you choose the Text option in the Stickers menu.) You can also manage which fonts you do and don’t see.
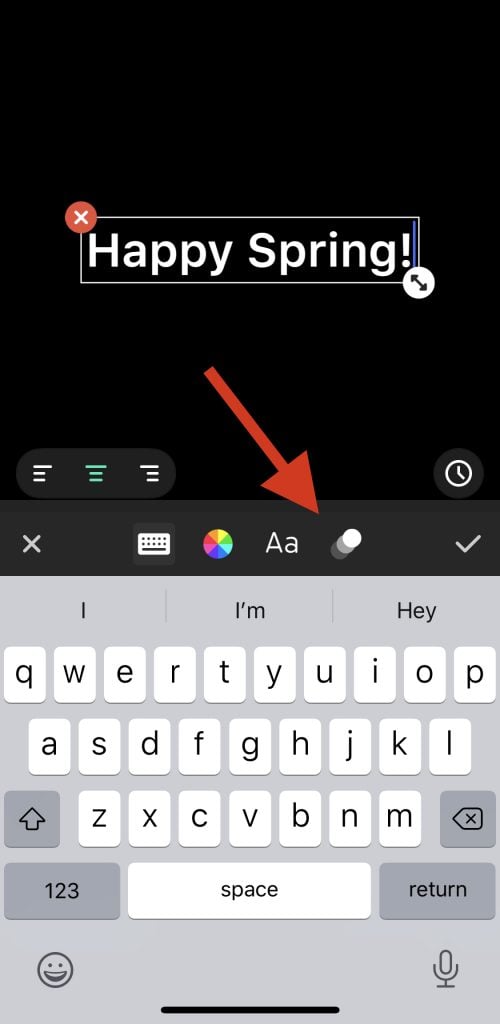
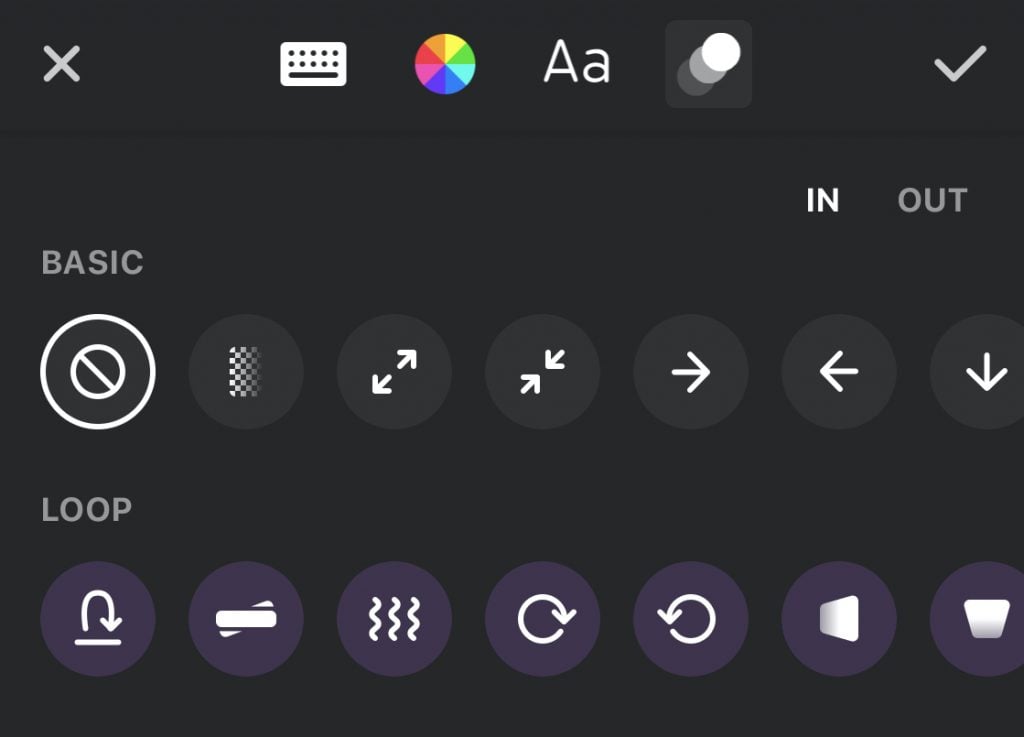
When editing a video, there are a few extra text options. Once you add text, additional options pop up. You’ll see color and font options, the same as with a photo, but there’s a new three-dot effects icon that opens more. There are all sorts of text animations here, including:
- Make the text fade.
- Expand or retract the text.
- Move it to the left, right, up or down.
- Make the text bounce, tilt, bop around, rotate, spin, flip or pulse.
Music
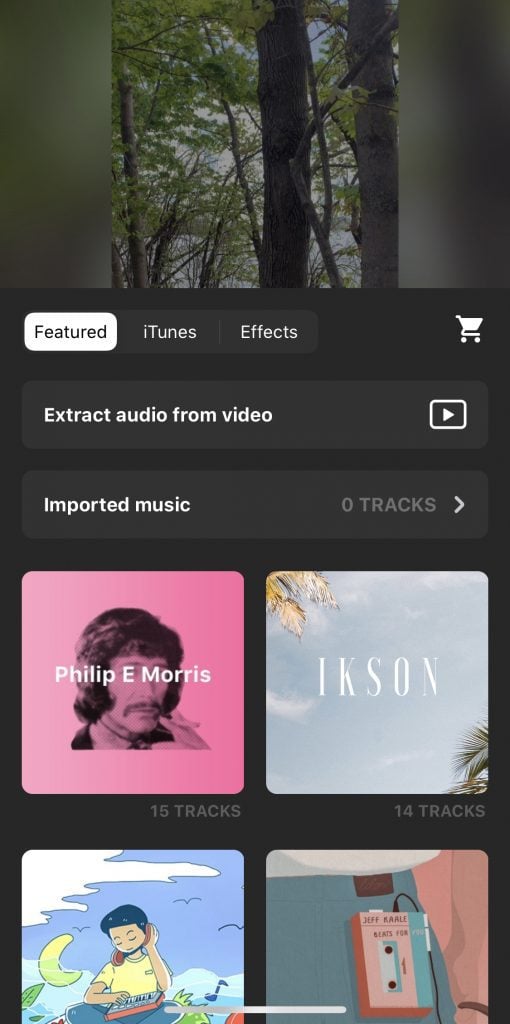
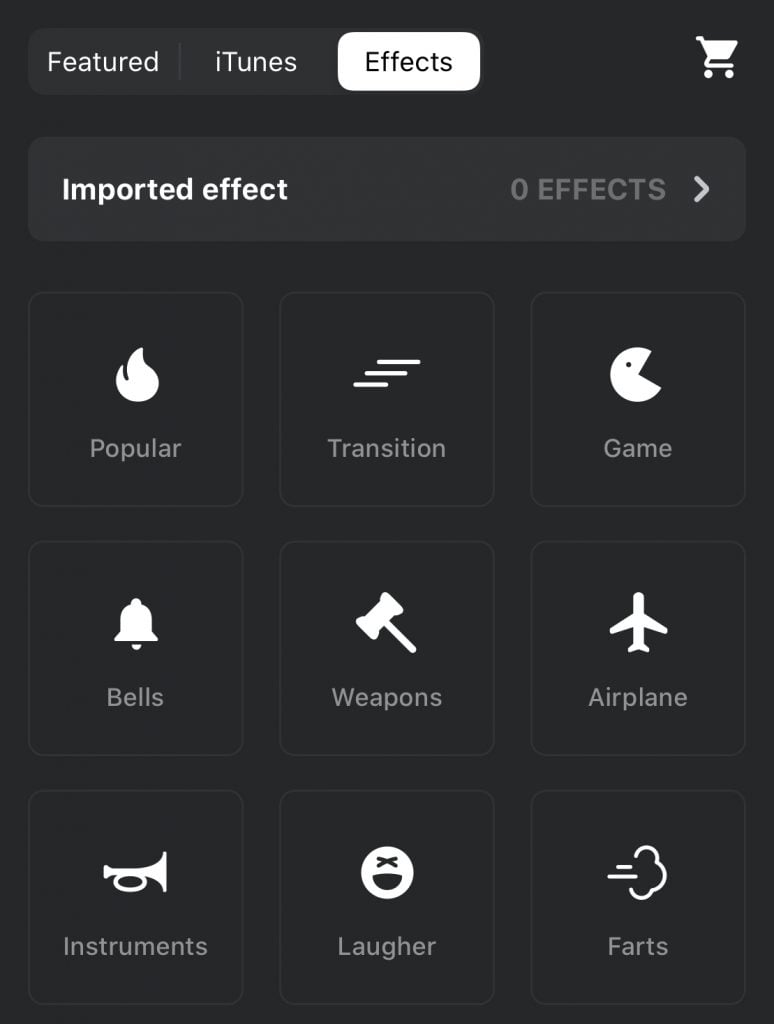
There are a lot of options for adding music or sound to your video:
- Add or import sound effects.
- Choose from their featured music.
- Connect to iTunes.
- Extract audio from a video.
- Import your own music.
- Record your own audio.
There’s also a shopping cart icon that lets you search for a track in iTunes and then use it in your video.
Volume
In the Volume menu, you can change the volume for different sections of the video. You can extract audio, too.
Settings
At the end of the list is Settings, which only has two options. You can set video resolution to 720p or 1080p. You can also toggle on or off the option to make enhancements like stickers or text sticky on your videos.
Photo Collage
The photo collage section is very easy to use. You’ll choose your photos from your device and select the layout and border. If you click an individual picture, you can make basic changes, but you can’t edit photos here. You’ll want to make sure the photos you add to the collage are already edited to your liking. However, you can apply many of the same editing features to the full collage, if you want.
InShot App Pricing
The InShot app is free to download, and you can do quite a bit in the app without paying anything. However, if you like the app and plan to use it a lot, you’ll probably want to upgrade at some point, or at least spend a little money on the enhancement packs you’ll use over and over.
InShot Pro is the app’s premium version, and it doesn’t have any limits on the effects, filters, stickers and transitions you can use. Plus, you won’t see the InShot watermark on your creations, and there aren’t any ads to deal with, either. Pro has three price tiers: $3.99 per month; $14.99 per year, which includes a three-day trial; or a one-time charge of $34.99 for lifetime access.
If you don’t want to spend that much or pay every month, you can spend just $2.99 to remove ads and watermarks. However, you won’t get access to all of the tool’s features like you do with Pro.
InShot App Pros and Cons
Overall, InShot is a powerful photo and video editing app with so many built-in features that you won’t need to use any other apps other than the ones to actually shoot the content you’re going to edit. However, it’s not perfect, and it has its drawbacks. Here are the major pros and cons of InShot.
InShot App Pros
Accessible Menus: A lot of menus include repeat sub-menus and options, which is smart because there’s often more than one scenario where you’d want access to a specific menu. For example, you may want to access the font menu at different stages of editing.
Affordable Cost: InShot is totally budget-friendly, even if you go all-out for the one-time $34.99 purchase (which is worth it if you’re going to use InShot as your go-to video editor).
InShot App Cons
Limited Photo Editing: Compared to other, more professional photo editing apps (VSCO comes to mind), InShot may not stack up. However, if you’re going to use your photos in your videos or collages, it’s nice to have so many editing features in one app.
Confusing Video Manipulation: It can be a little difficult to figure out which frame or section of the video you’re on in the slider, which is a pain when you want to do something like duplicate or delete something.
No Stickers Search: There are a lot of stickers to choose from, and the theme categories aren’t immediately obvious – plus, the icons are tiny. It would be much easier to find what you’re looking for if there were a search function.
Lack of Support: There isn’t any guidance for how to use InShot, and it’s not an intuitive app – it doesn’t have a walk-through guide when you use it for the first time or anything like that. That said, if you’ve ever used photo or video editing apps, you can probably figure it out after spending some time with it.
Final Thoughts About the InShot App
InShot has a whole lot of photo and video editing features in one. There’s a learning curve, but once you’ve mastered how to use InShot, you can create anything from basic videos to professional ones. Since you can combine your photo and video content, apply effects and enhancements to specific sections, and add transitions anywhere you want, you have a ton of control over the outcome – it feels like there’s no teeny tiny section of your video that you can’t manipulate. You can’t beat the price, either. Not sure what to do with those videos once you create them? We have top tips for video marketing in 2020.
[ad_2]
Source link

